|
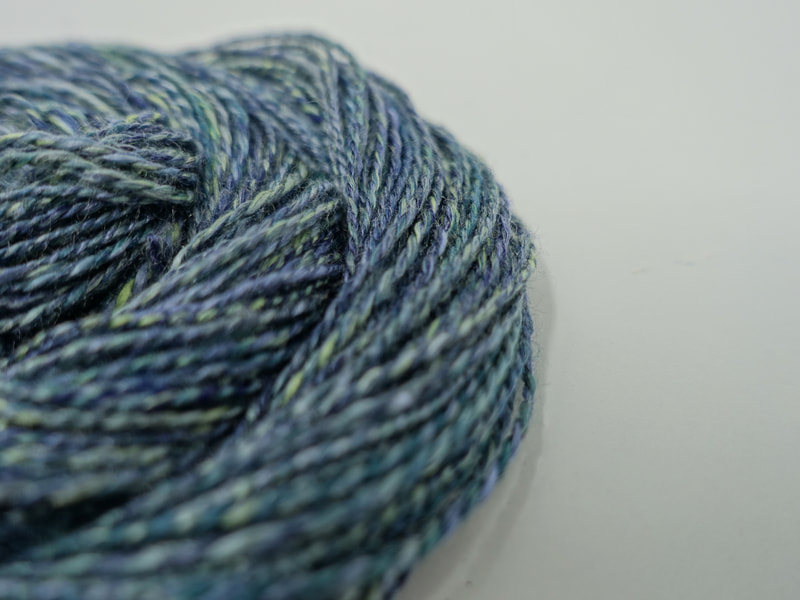
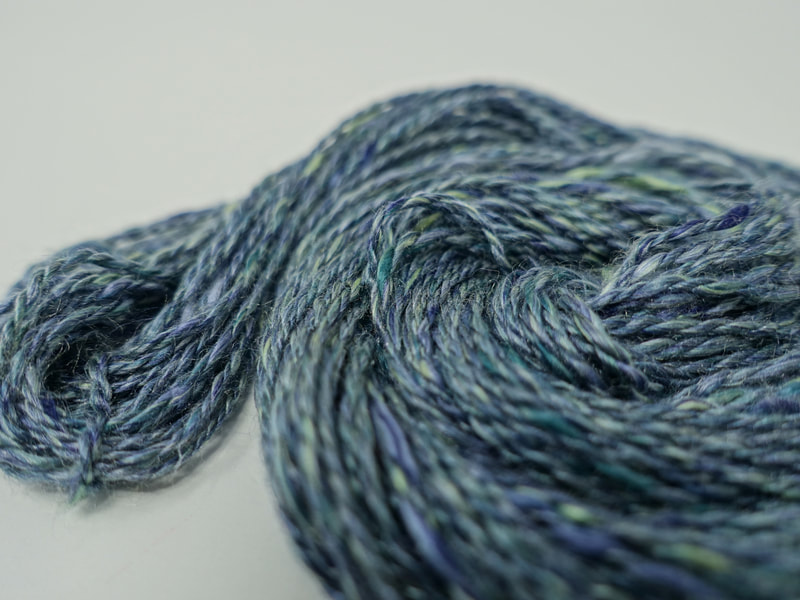
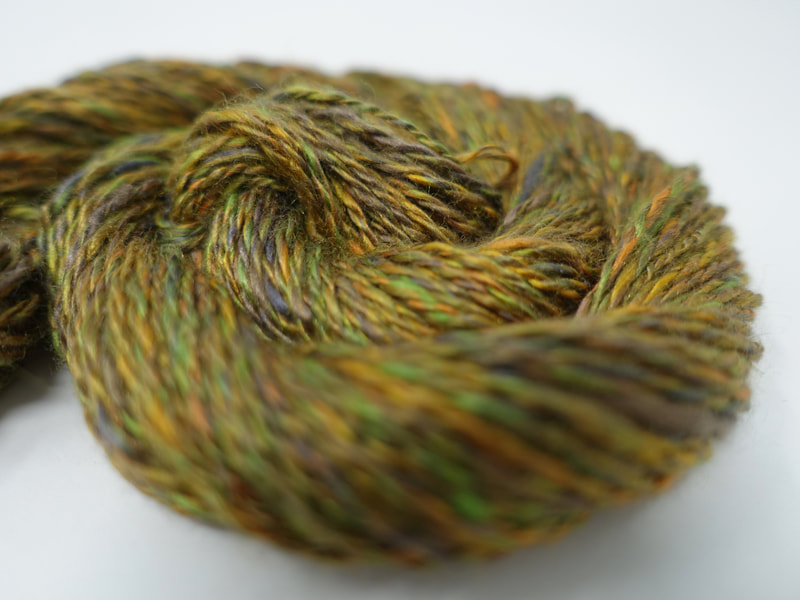
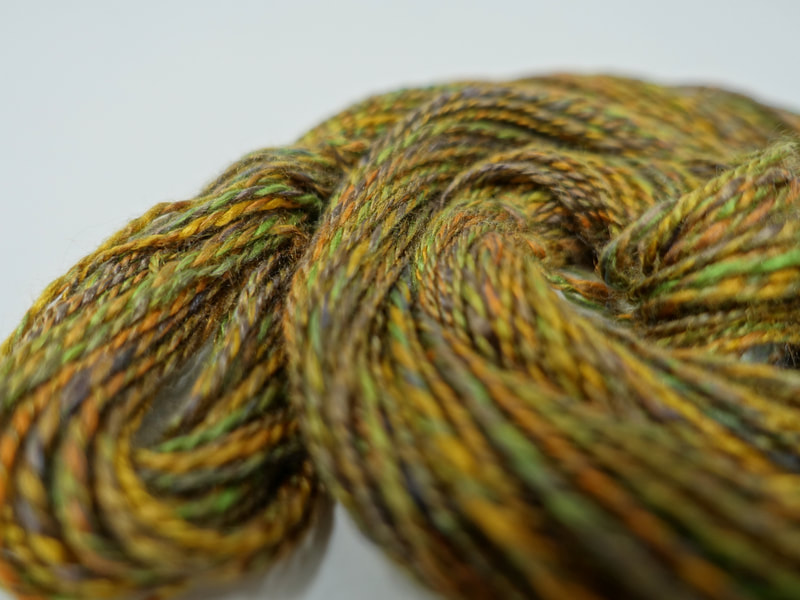
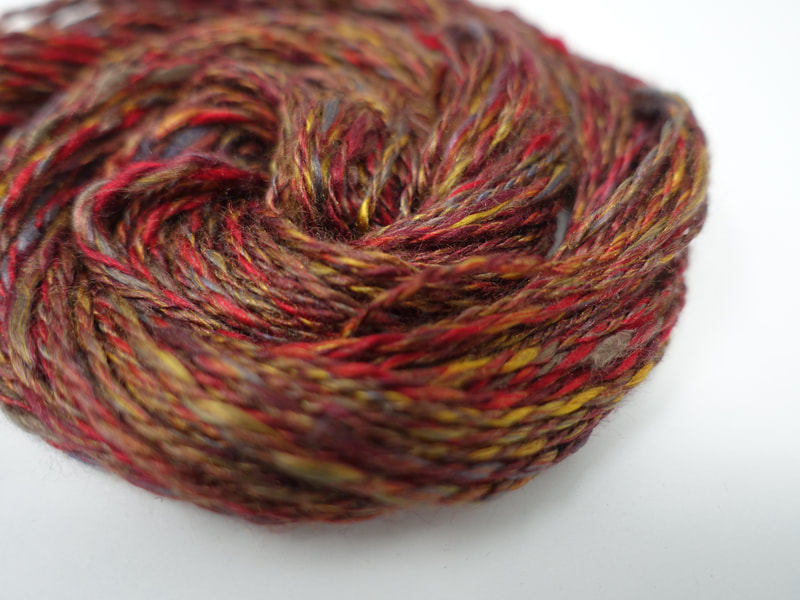
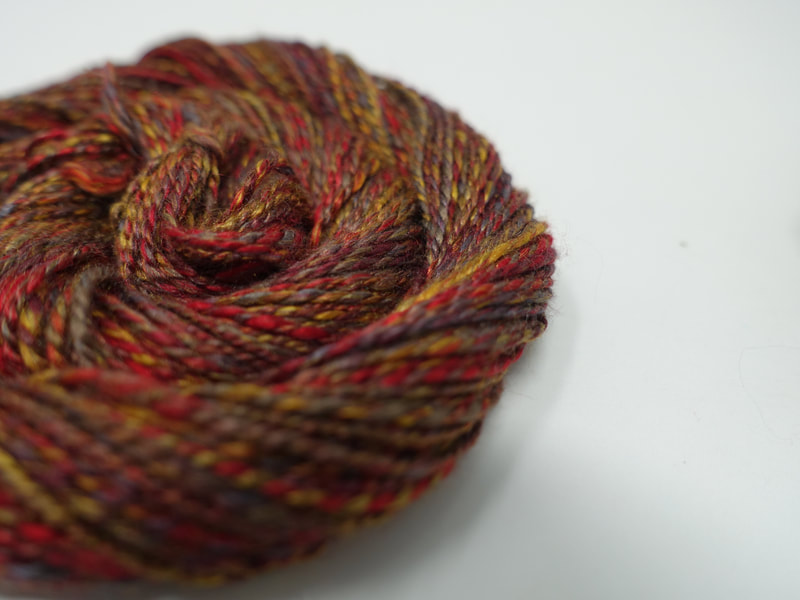
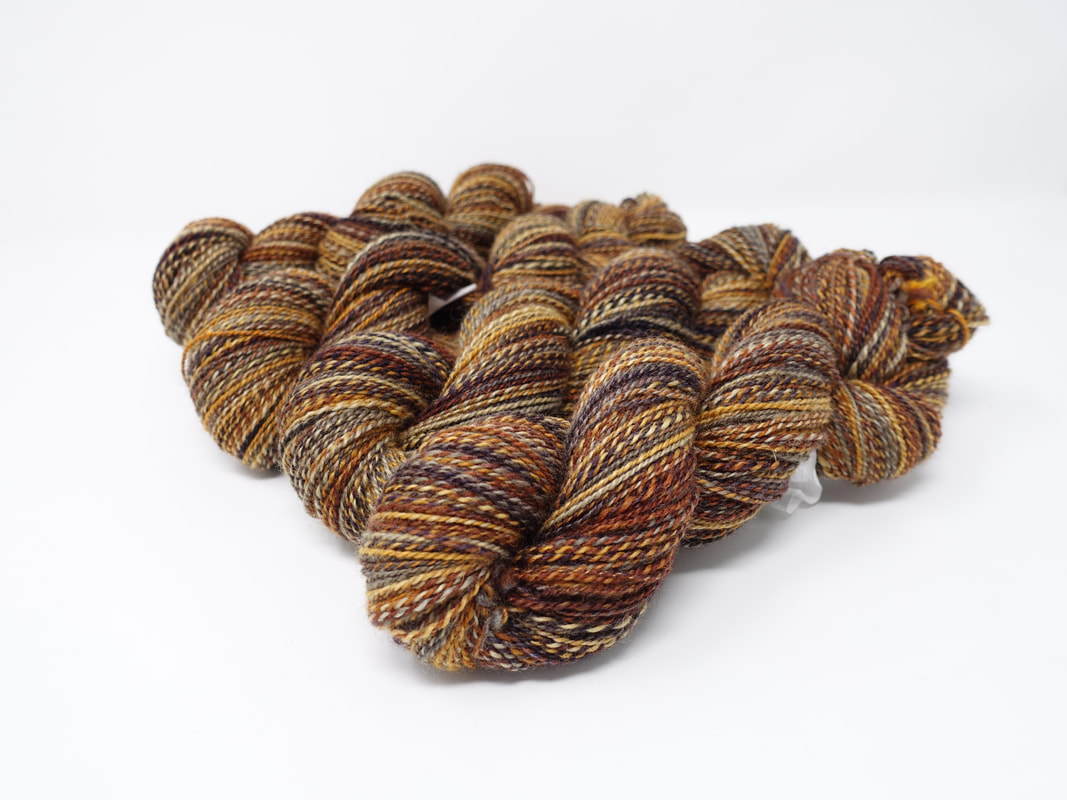
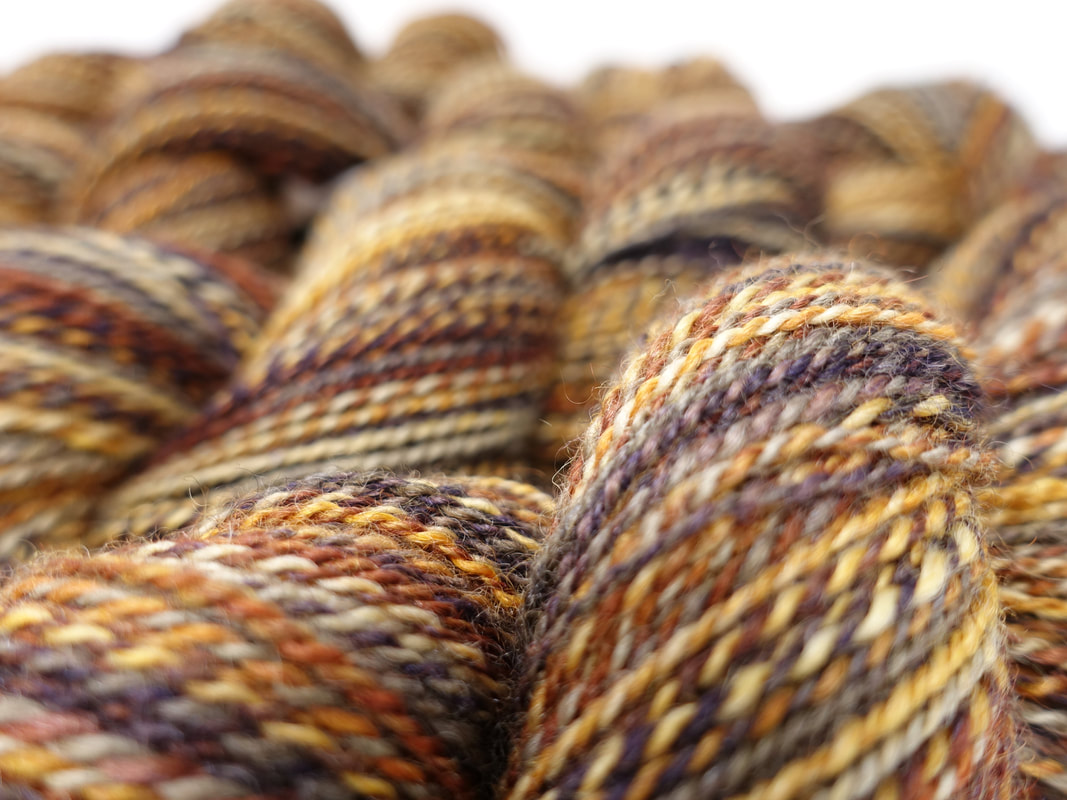
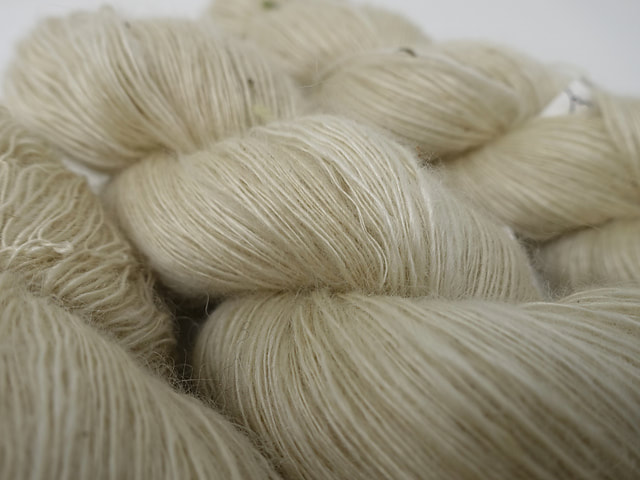
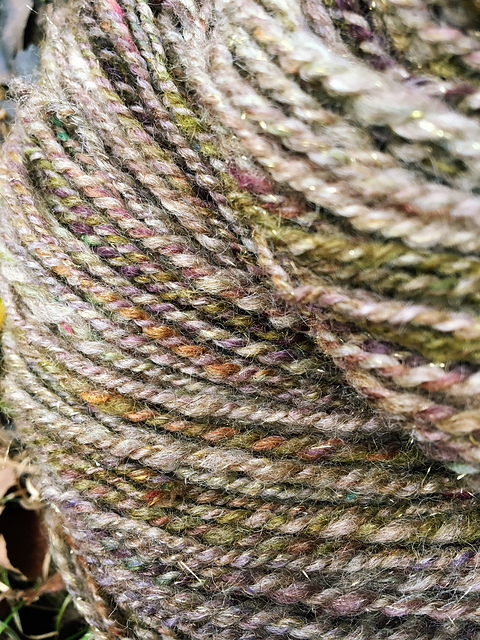
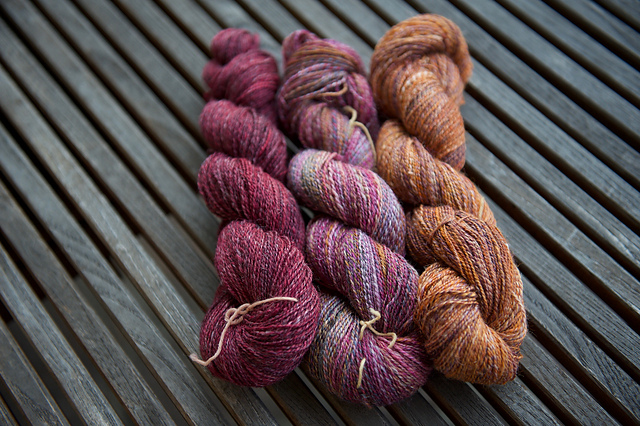
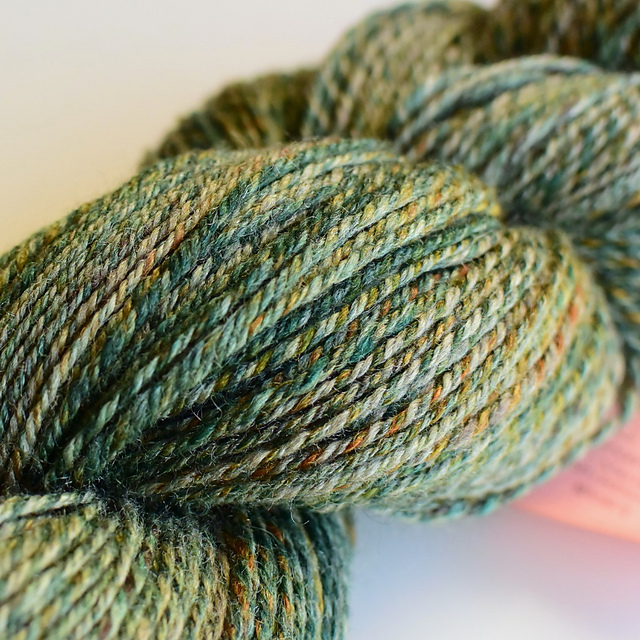
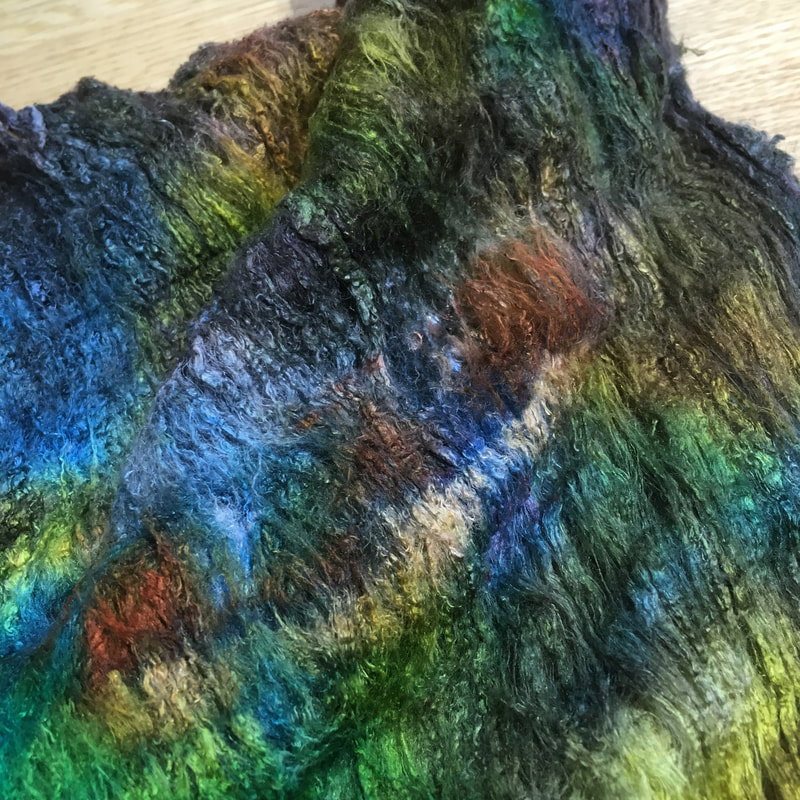
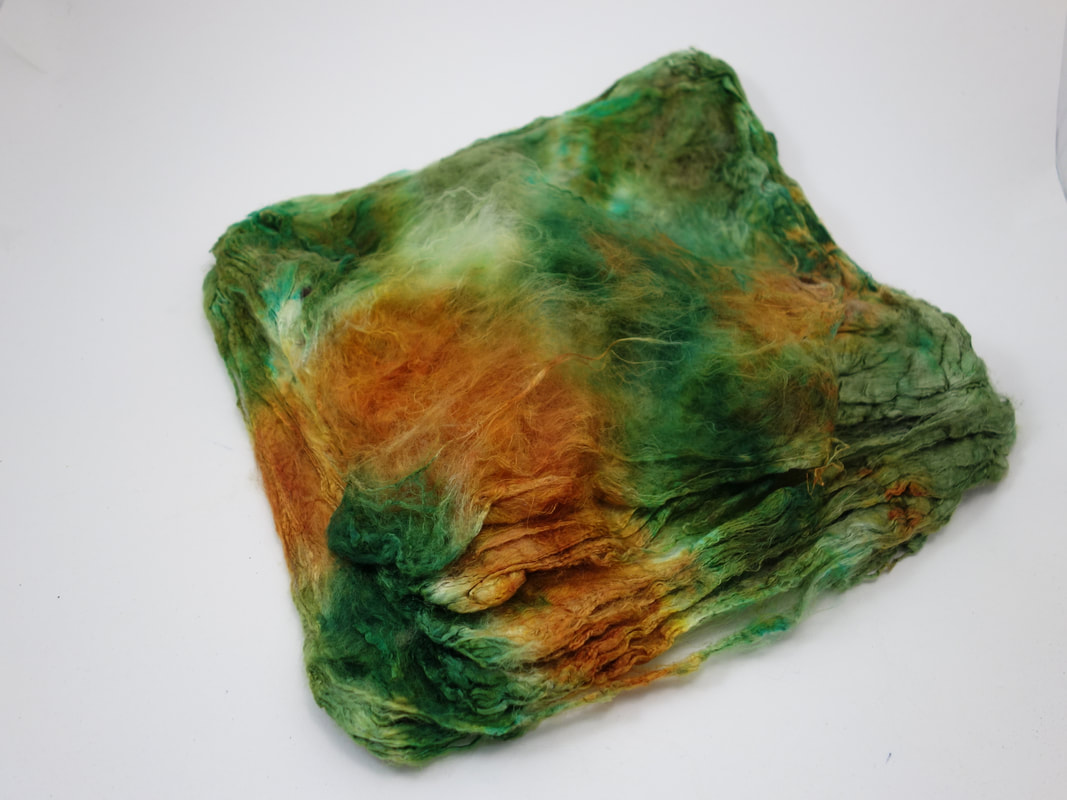
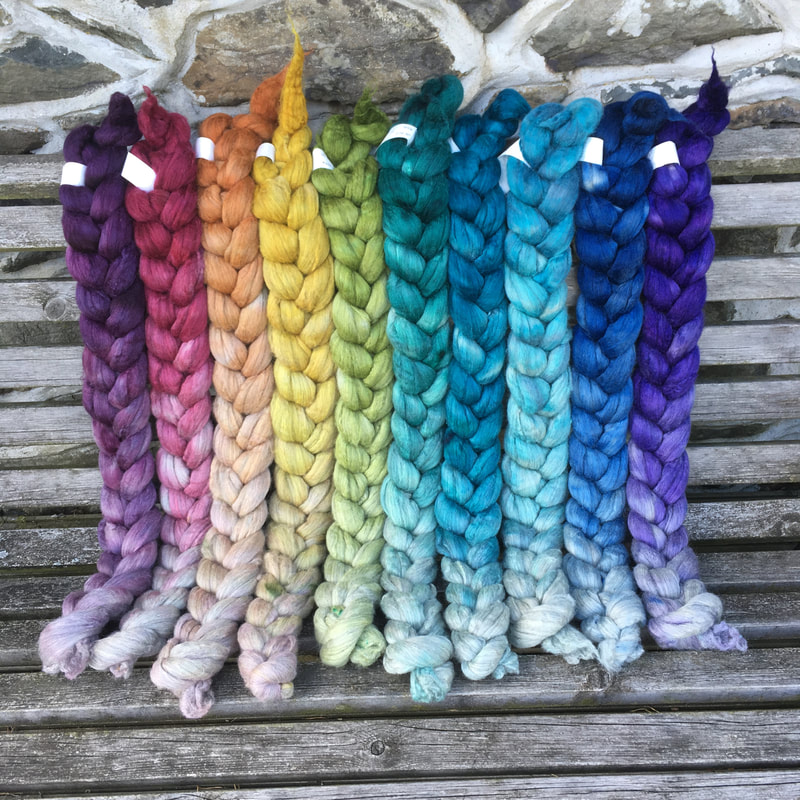
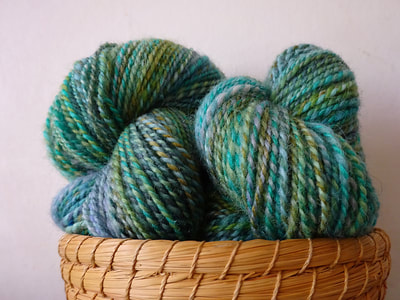
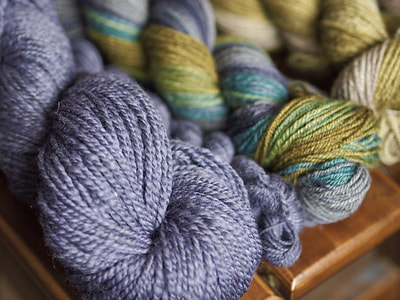
I've managed to take some photos of some spun skeins of my new Heather Silk. As ever, with this style of blended fibres taking photos is rather tricky, because the multi-tonal effect really plays tricks with the camera sensors. Add in the high shine you get from mulberry silk, and you end up with a very large number of rejected photos! For each colourway I spun 2 different samples. One was spun using my normal silk draft. Straight from the end , with a moderate degree of twist, and then plied to balance. It creates a smooth, very shiny yarn with excellent drape, and huge amounts of lustre. The other sample was spun using the style advocated by Sara Lamb (author of The Practical Spinners Guide- Silk). This sample was spun from the fold, using small chunks of fibre, with as much twist as I could bear to put it, and then plied with lots and lots of twist. This yarn will be harder wearing, more resistant to abrasion, but isn't quite so shiny, and doesn't drape quote as well. If you'd like to know more about twist levels in silk then I wrote an article for the Fine edition of Ply magazine a few years ago, and also shared some close up photos on the blog. If you prefer videos over words, then this video, filmed for last months Non-Wool Club should help. In addition to effecting the structure of the yarn, the spinning technique also has an effect on the colour. The silk is made up of lots of very thin streaks of different colours . When you draft straight from the end of the fibre you draft in fibres from multiple streaks of colour. When you draft from the fold you sometimes end up pulling in fibres from just one colour. Spinning from the end produces a yarn where the colours are more blended together, as the act of drafting carries on the blending process. Spinning from the fold produces a yarn where you get more flecks of yarn that are only a single colour. In the photos below the yarn on the left was spun from the fold, the yarn on the right was spun from the end. Hopefully if you've been wondering about how this fibre spins that might help answer some of your questions, and help with your design making process if you've already bought some of this fibre.
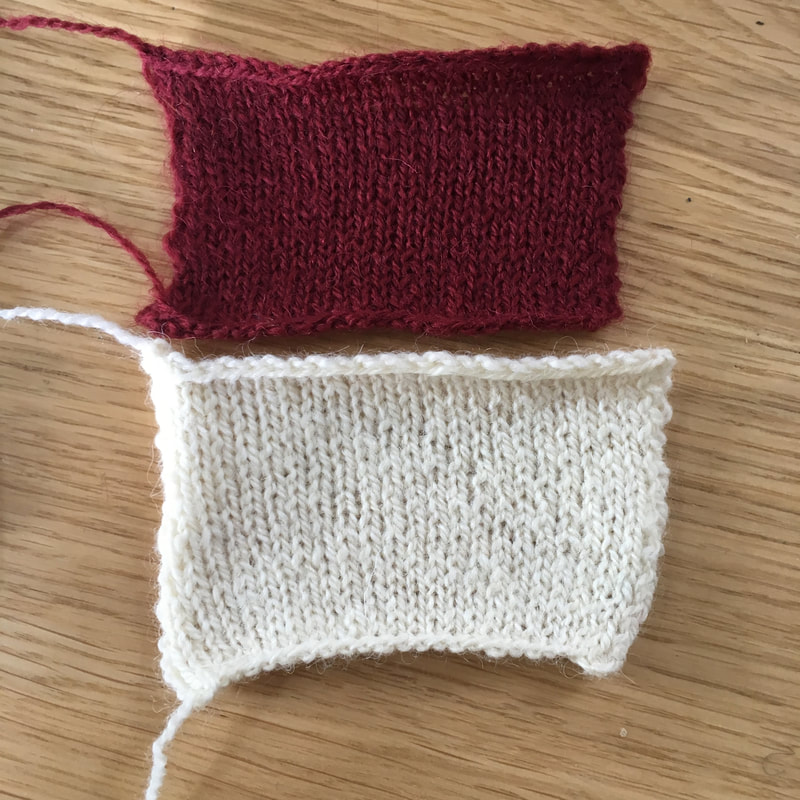
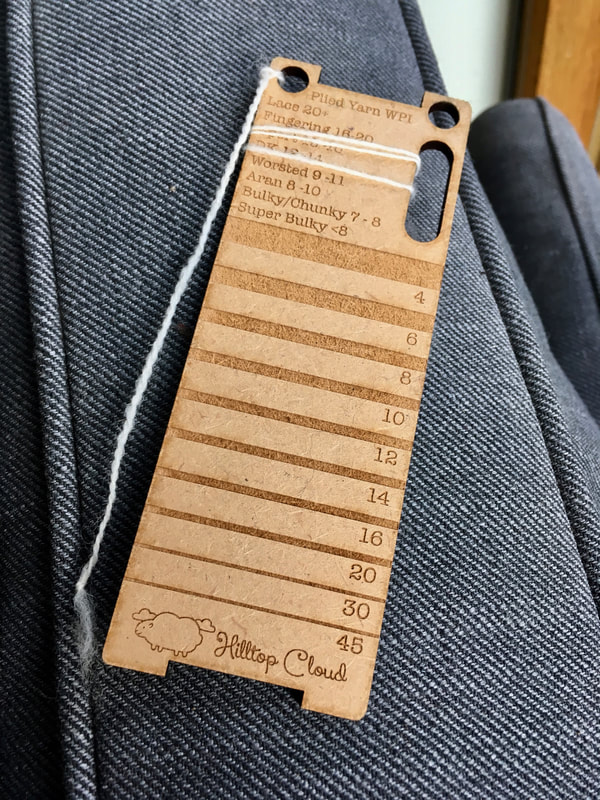
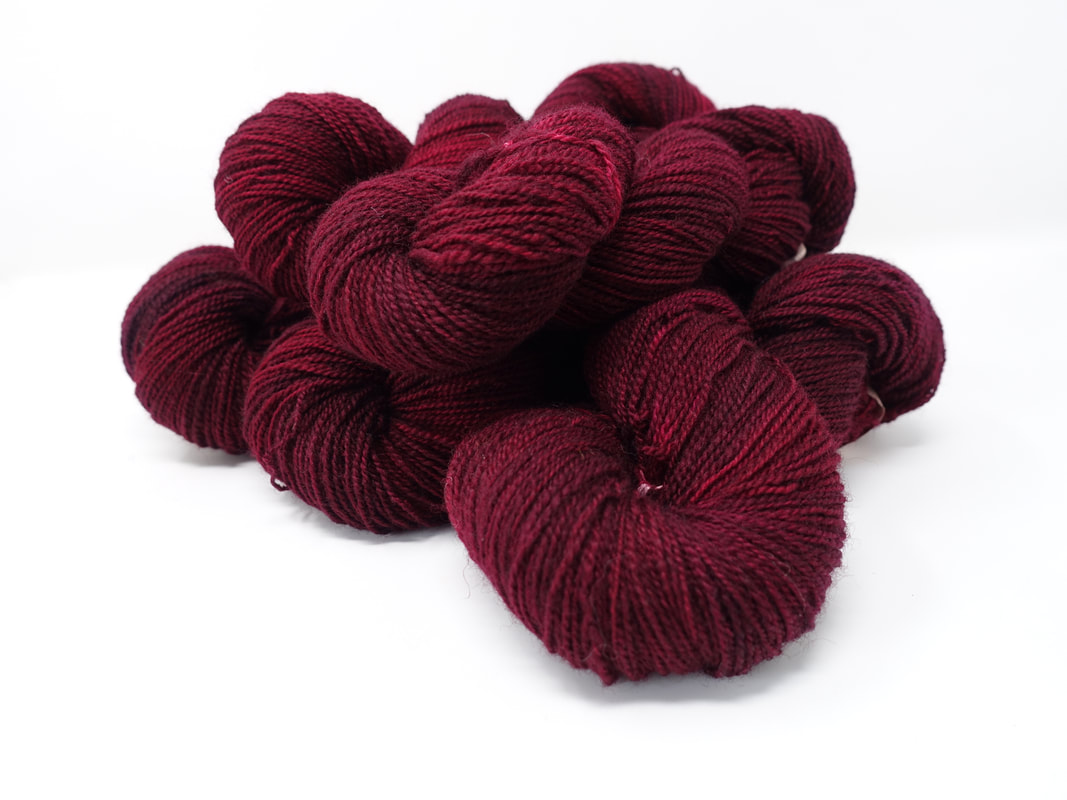
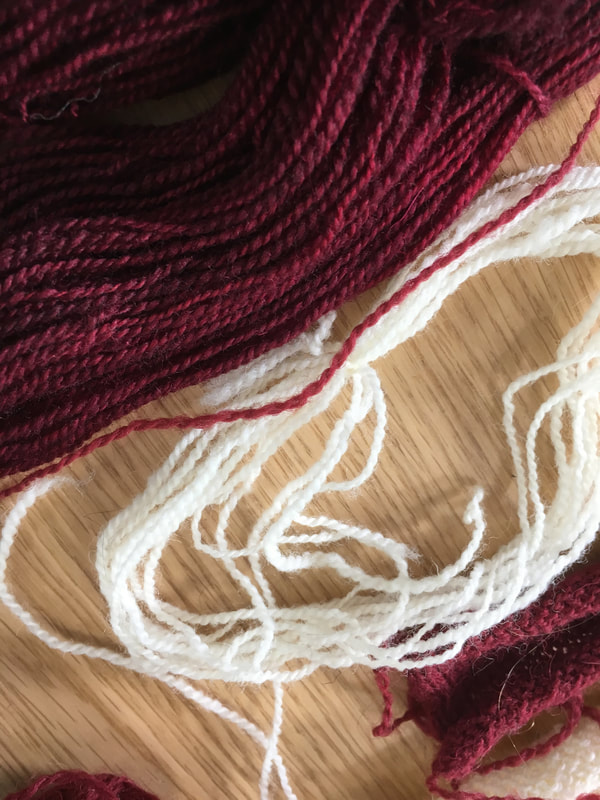
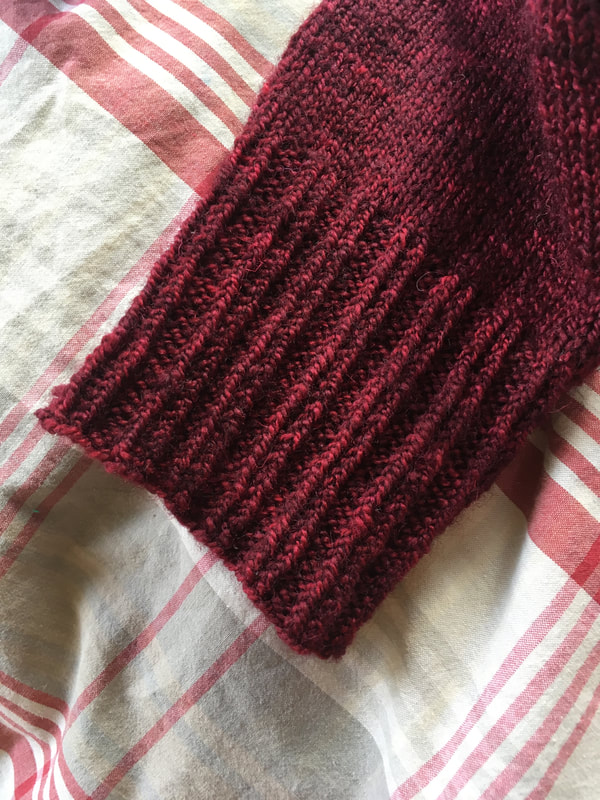
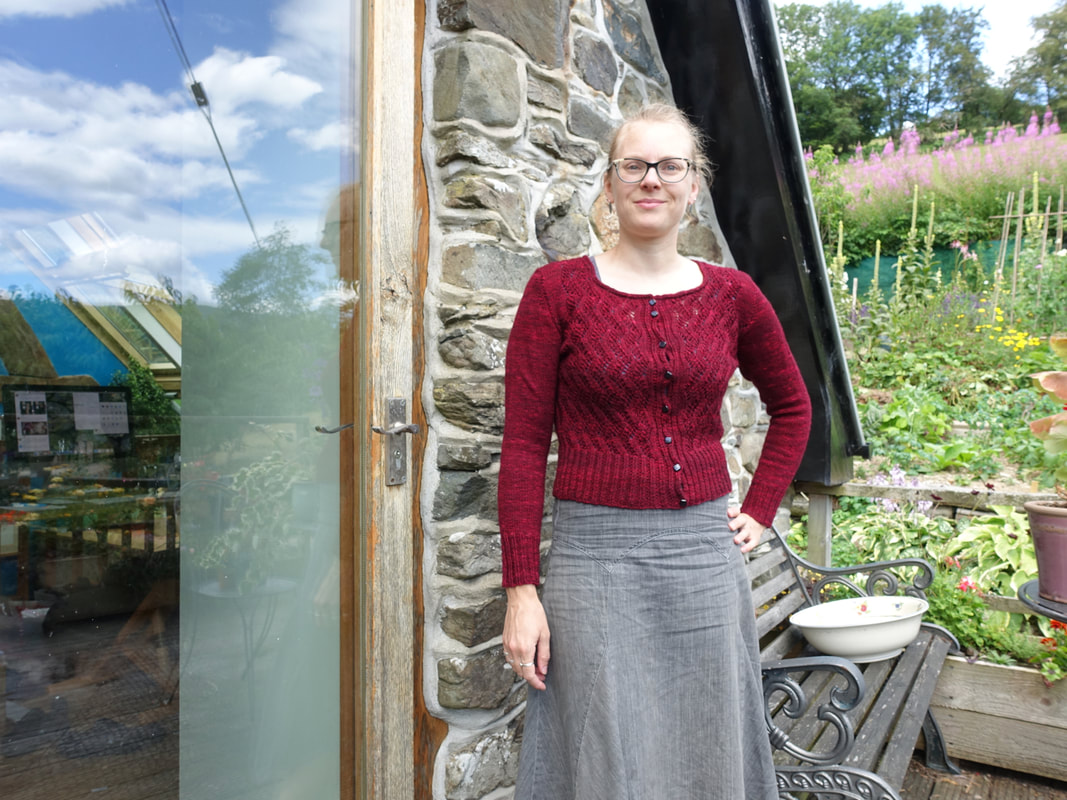
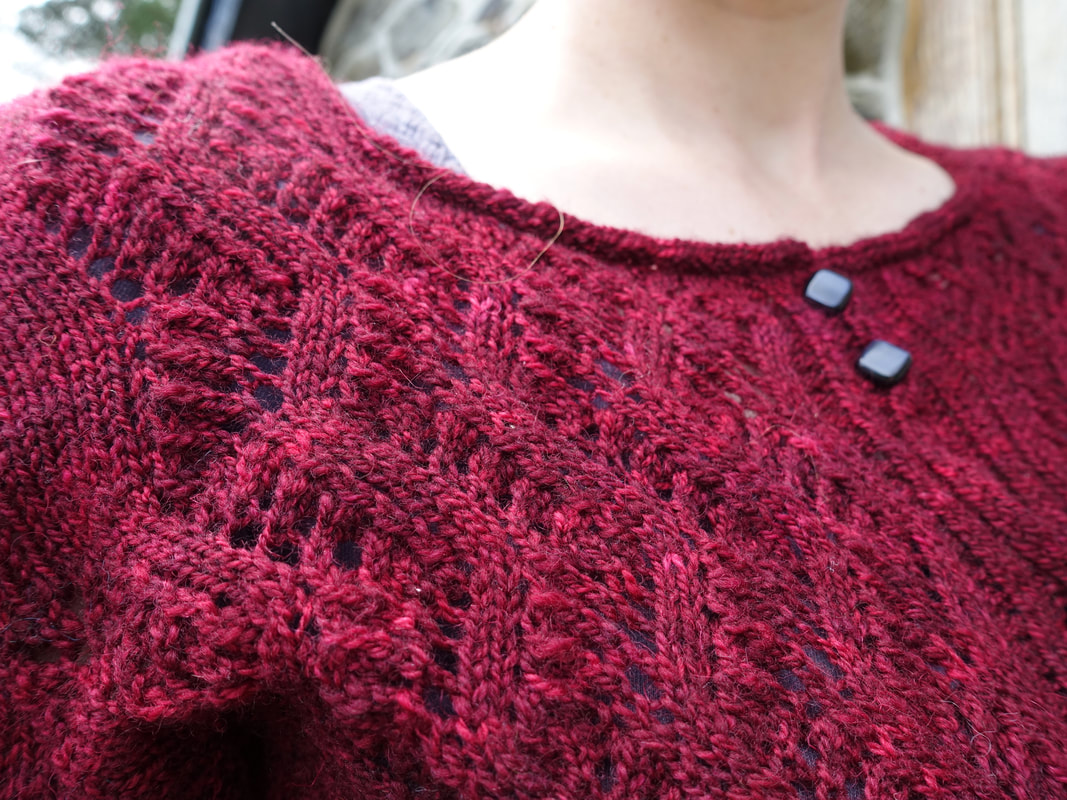
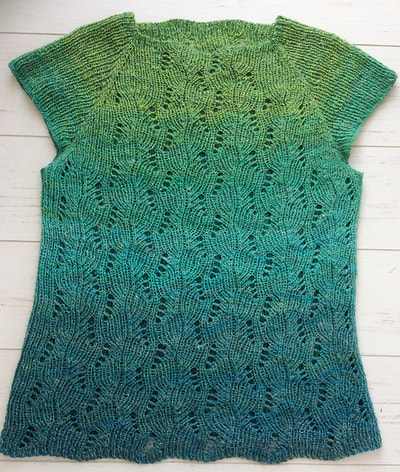
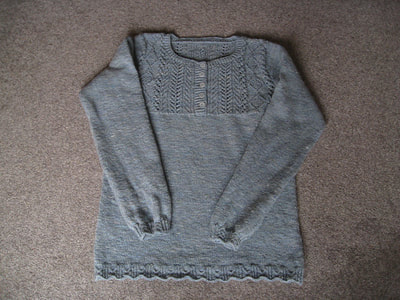
Back in June I posted a photo of some handspun yarn, and promised I would reveal all later on. A couple of months later and I've finished the knitting and have caught up with myself for longe enough to sit at the computer and write a blogpost. The yarn was actually spun for specific pattern, and I know it's something people struggle with, so I thought I'd document the process step by step. The pattern I wanted to make was Belmont. It's a cropped lace cardigan, and was a garment that was missing from my summer wardrobe, I tend towards longer length jumpers because in winter in a Welsh cottage you don't want a draft round your back. To start the process off I ordered a ball of the yarn that's used in the pattern. I don't always do this, but it's such a low cost yarn that it saved me a lot of sampling. If I can't get the yarn to go with the pattern then I'll just create more samples and swatches until I get to where I'm happy. So step 1 was to swatch with the original yarn, see how it behaved as fabric, and roughly what needle size I needed to get gauge. Then I spun some yarn that was the same thickness as the commercial yarn. However, I made a minor tweak. I increased the twist I gave to my singles, and therefore increased the plying twist. I wanted a yarn that is slightly harder wearing, though in part this is helped by using Cambrian Wool with it's lovely long staple length. A more tightly spun yarn will wear better. I washed my yarn in super hot water, and then knitted a swatch, my handspun in this swatch is at slightly fewer stitches per inch than that called for in the pattern, so I then did a further swatch with a smaller size needle. Again, more densely knit fabrics wear better, and the denseness of the fabric produced with the commercial yarn at the pattern gauge is slightly loose for my taste. Now the most important part of the process is the samples you keep from this step. They will allow you to spin the whole project at the same thickness as your original swatched sample. As you are spinning take some singles and wrap them round a sample card. You also need to keep a ply back sample to show how much plying twist you need and to monitor your spinning twist. As you spin you can go a quick glance to check the singles are roughly the same thickness, and on a regular basis do a ply back sample to check that the thickness is still correct, and that the plying twist of your payback sample matches the one on your reference piece. I set mine up on my wpi tool, but a piece of card is low cost version that works just as well. All these samples are unwashed, because you are comparing them to unwashed singles as you spin. Advert breaks are an excellent reminder to check your spinning, though setting a timer to go off every 15 minutes is also really helpful. Now if you've played around with the grist (this says how many grams of yarn you have per metre) the weight of yarn suggested in the pattern won't be accurate. However, the total yardage will still be the same. The results should be several skeins of yarn, all of the same thickness, and ones that should match your sample. In an ideal world, do another small swatch to check, but if you skip this step it's not generally disastrous. I spun my fibre in the white and then dyed it as yarn, so I could create this lovely glazed effect with a deep red, just washed over with a init of black. (Note to self however, remember to use loose ties if you're dyeing handspun!). In the photo below the main skein at the top is the dyed handspun, the single red strand is the Jamieson & Smith Shetland Heritage (the original pattern yarn), and the white skein is my original sample skein. Then I could set to with the knitting. after what felt like miles of twisted rib I got to play start on the lace pattern. Now this is where I was quite pleased with my decision to make a bouncier 2-ply yarn. The slightly rounder nature of my yarn means that the twisted rib sits beautifully, with the knit twitches sitting really proud of the ribbing. But the 2-ply structure still gave me a more open lace pattern. Want to know more about ply number and cables and lace... I wrote a blogpost a couple of years ago. Once finished it had a really good block, and I sewed on some vintage buttons.
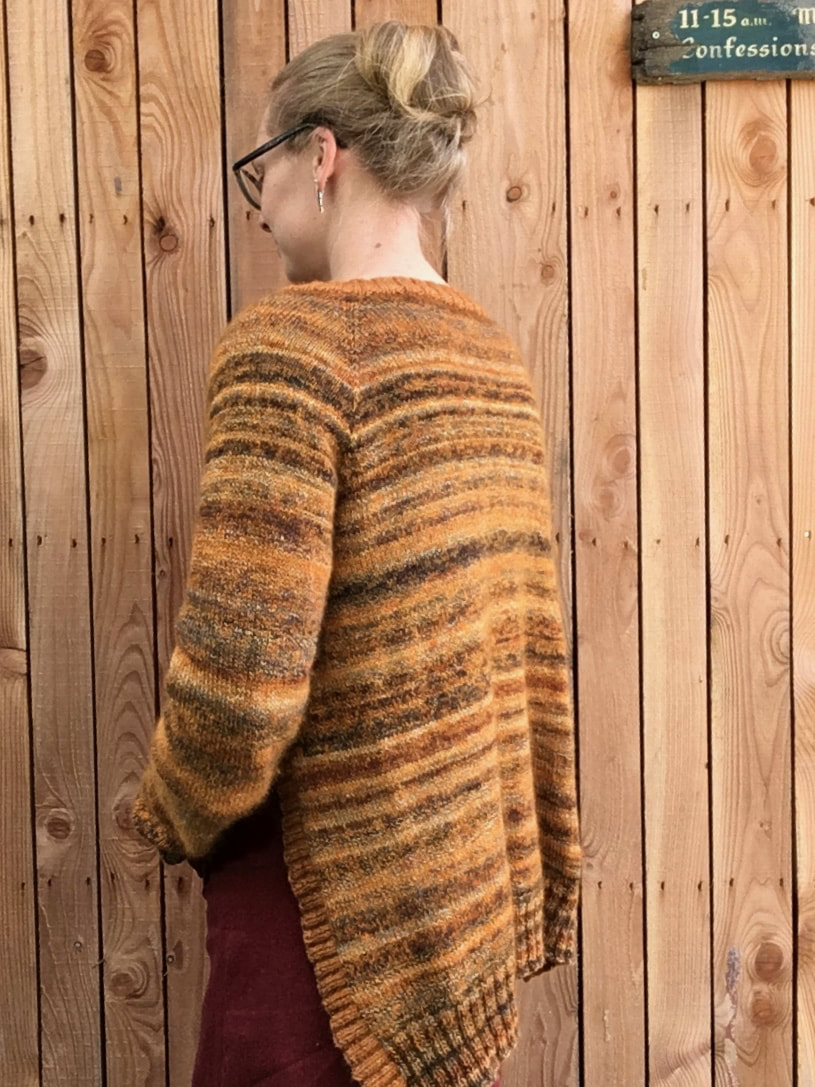
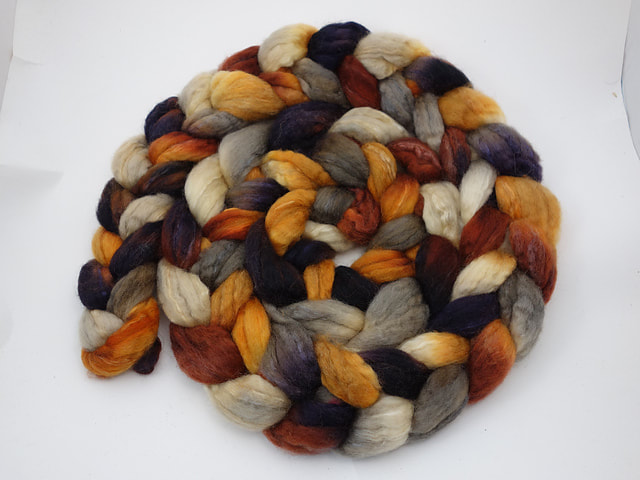
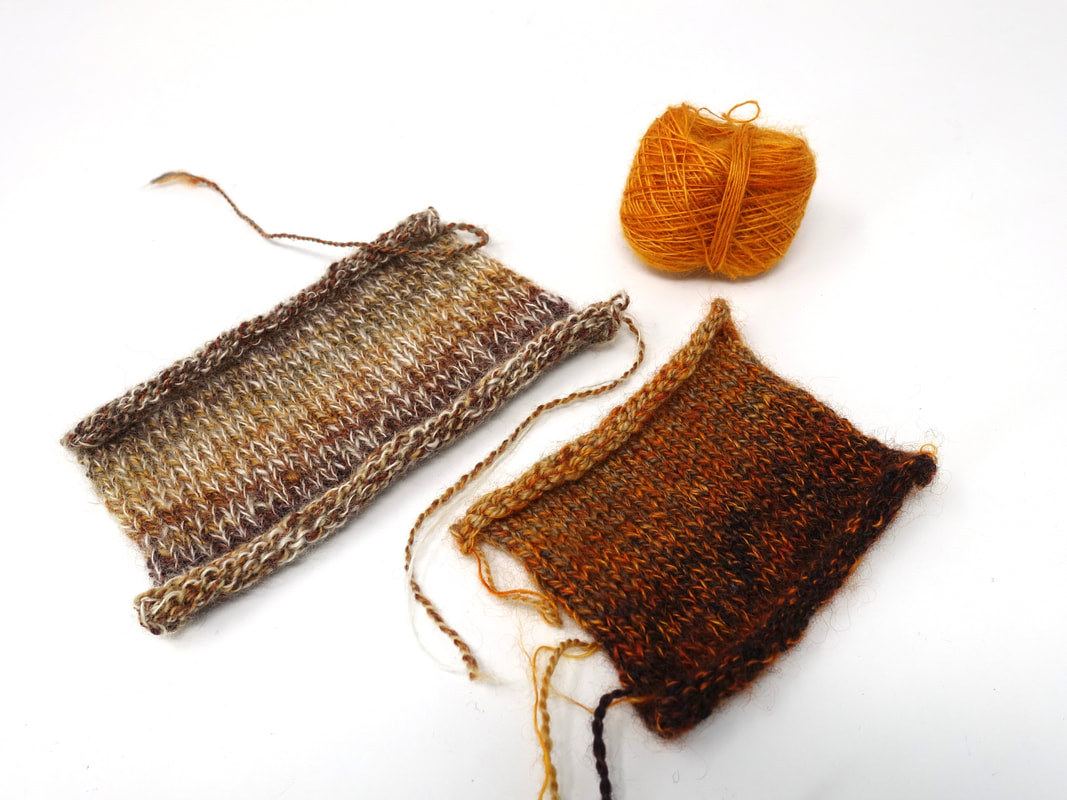
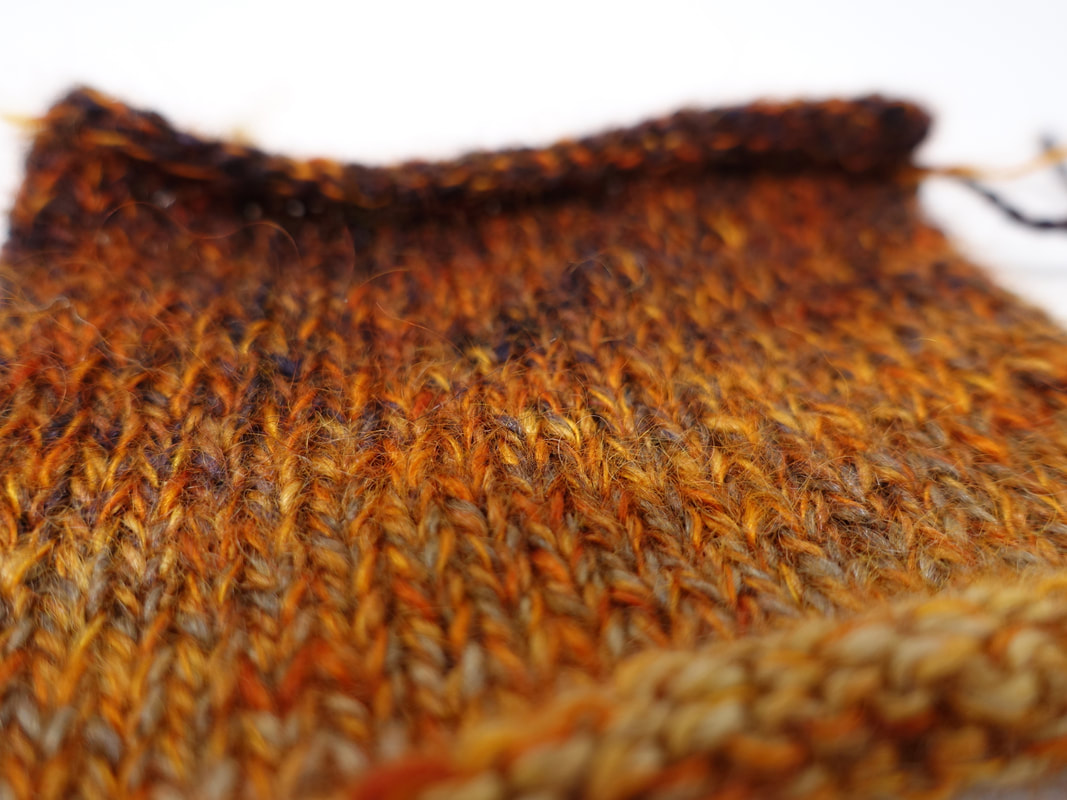
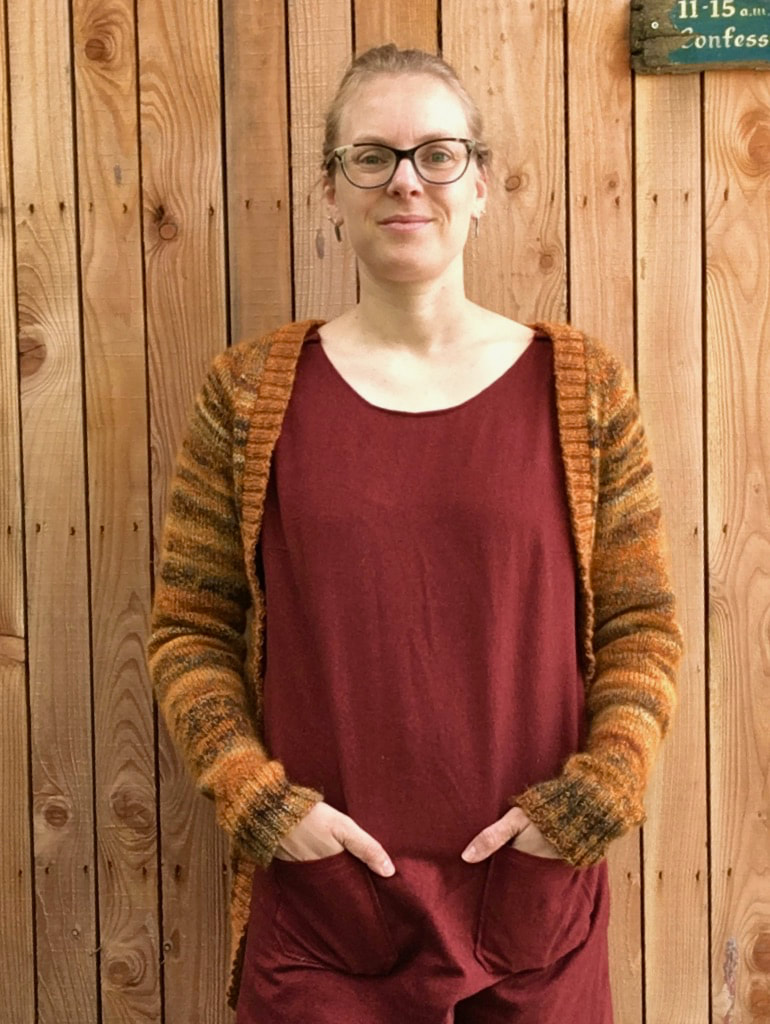
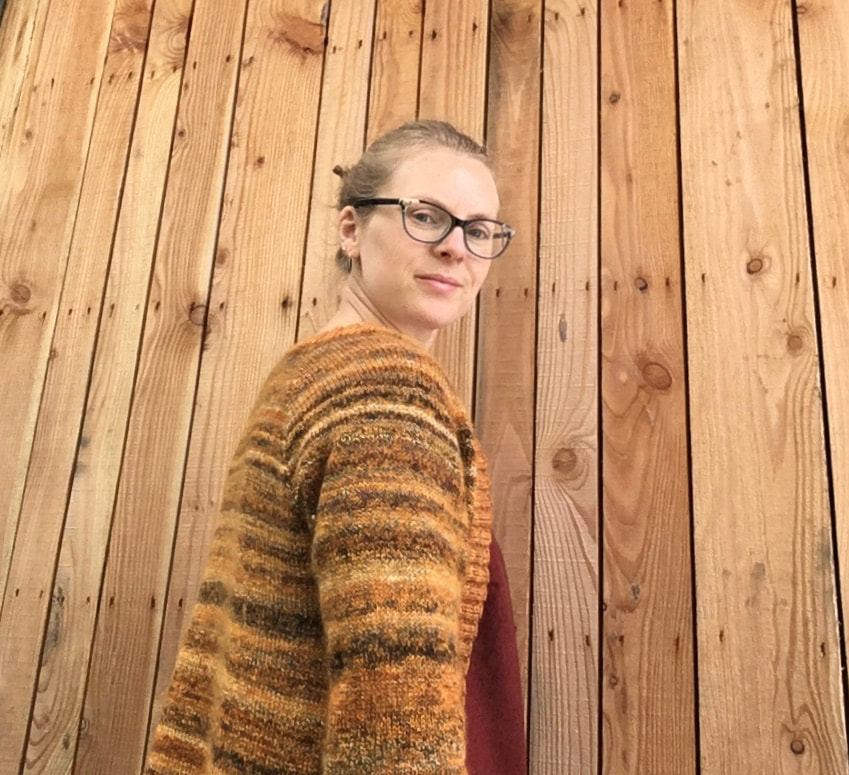
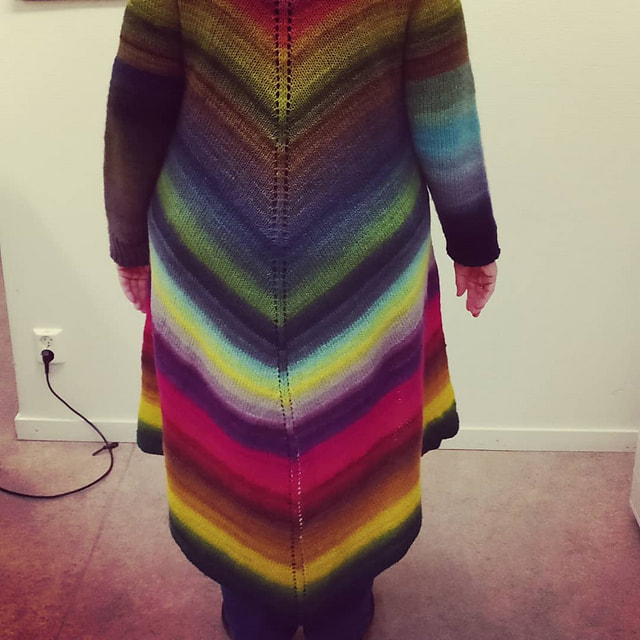
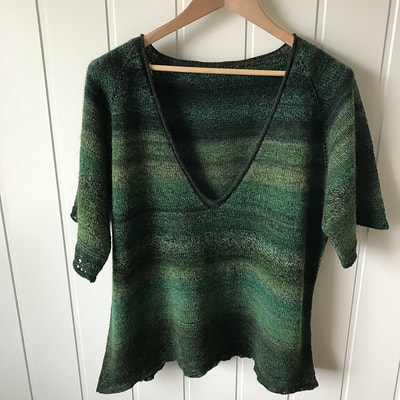
I finished this cardigan a couple of weeks ago and it's already got so much wear. The combination of an open front, but still with a Mohair fuzz has proved to be perfect in the Welsh spring. I spun the yarn from some hand dyed BFL & Silk I bought from Mandacrafts a couple of years ago. It's dyed in what I refer to as a repeating style, so the blocks of colour repeat at a regular interval. Fine if you want stripes, but I knew I wanted to use this in a garment, and didn't want broad stripes that I would want to match up on the arms and the body. So I stripped it in to thinner pieces of varying thicknesses, and broke those up in to chunks of varying lengths. That gave me 1100m of heavy fingering/sport weight yarn.... I also had some Mohair singles that I'd intended to use as a carry-along yarn in a project, and thought it would work well with this BFL & Silk to allow e to work the yarn at a looser gauge and to knit something larger. I swatched the 2 together to check I liked the fabric, and then dyed a small sample to bring out the orange shade in the BFL & Silk. I really fancied an open fronted longer length cardigan, and found Mama Vertebrae, which is excellent for handspun because it gives you instructions that cover 4 different yarn weights (fingering, DK, light Worsted and Aran). The open front makes it very size flexible, and the top down construction means you can put the sleeve stitches on holders, knit until the body is long enough, and then go back o use up every last scrap on the sleeves.
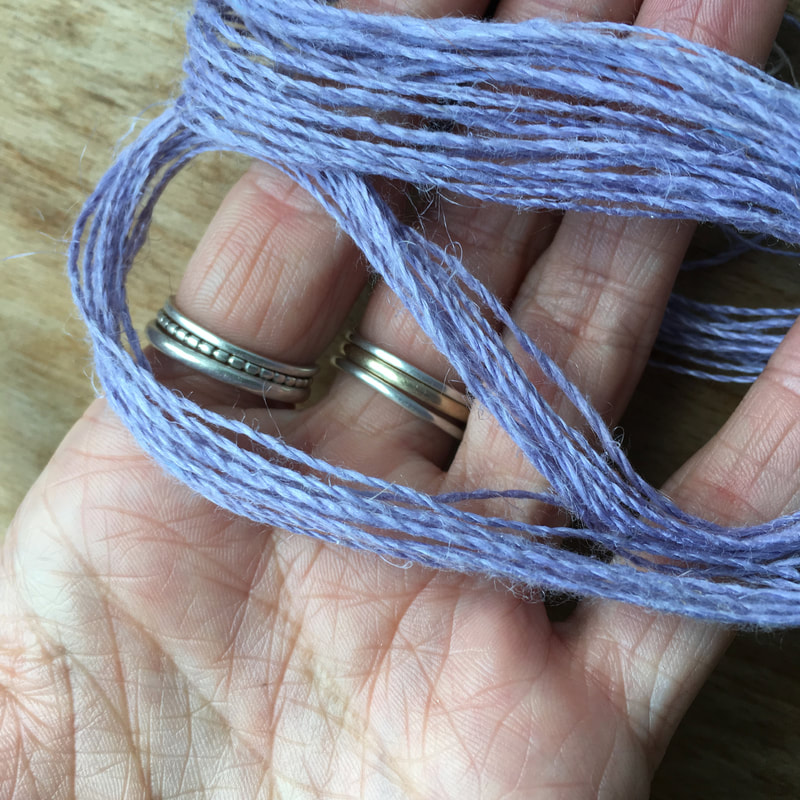
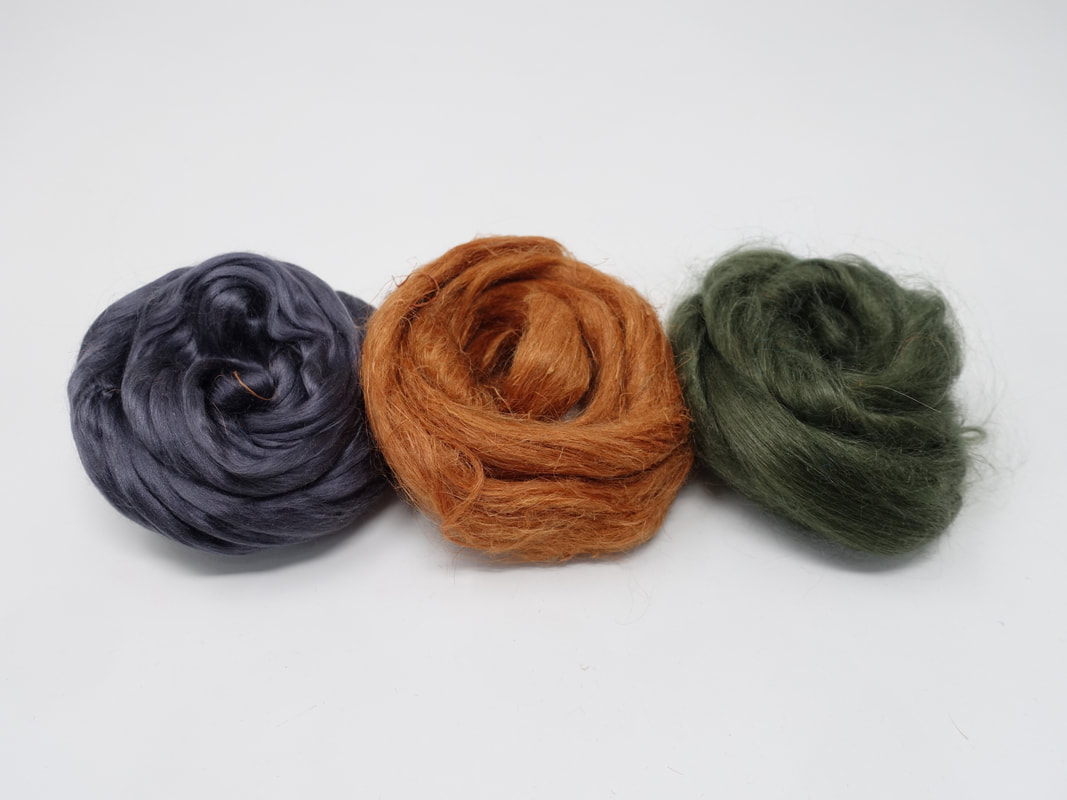
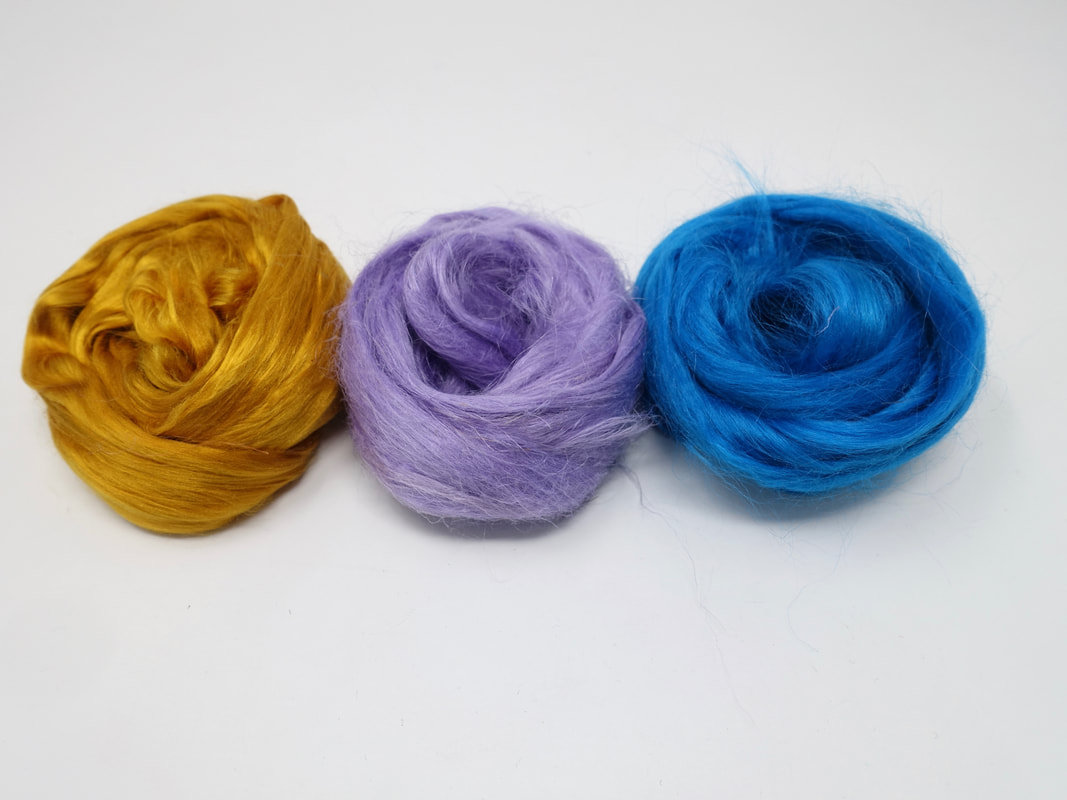
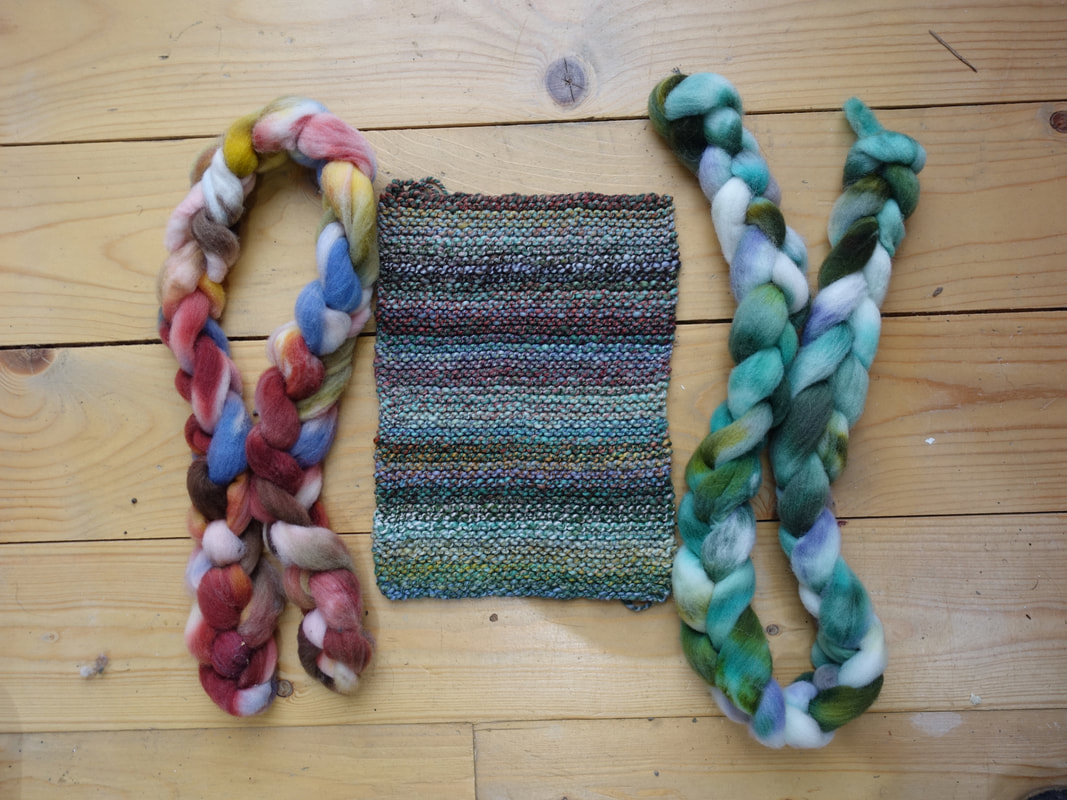
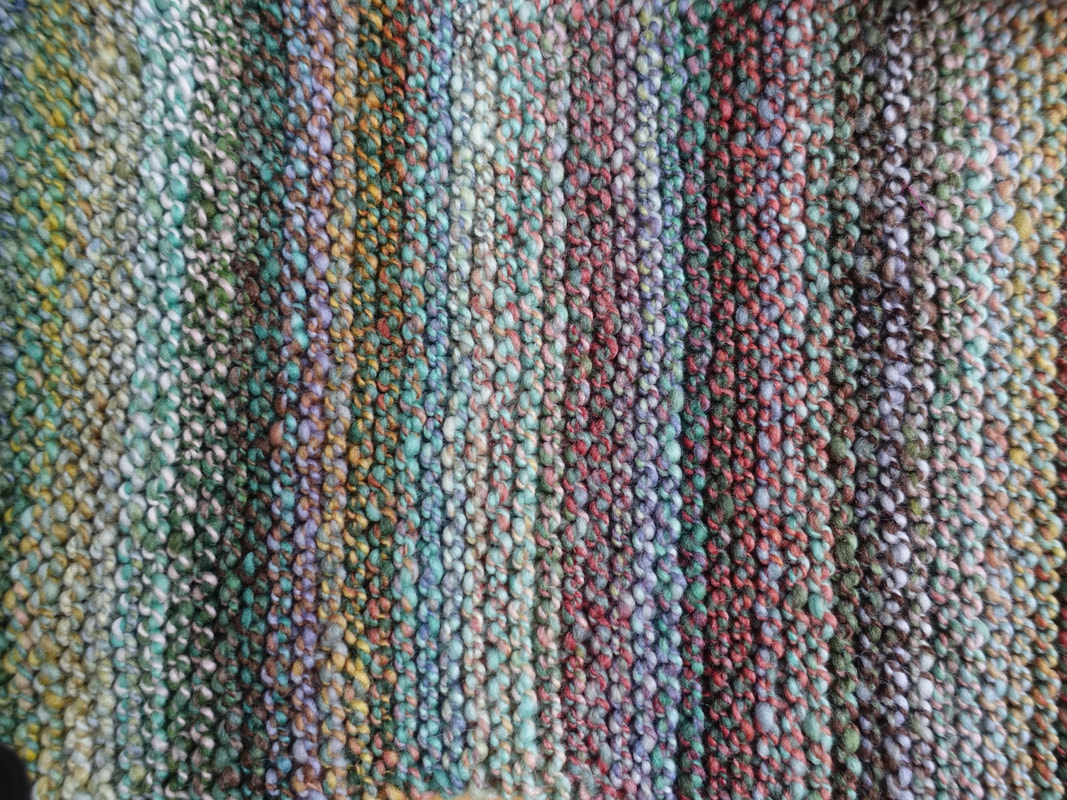
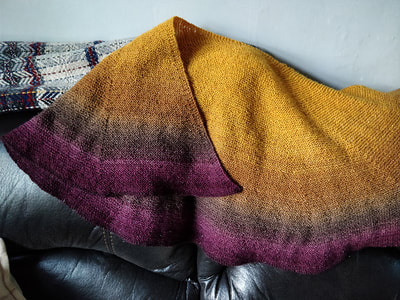
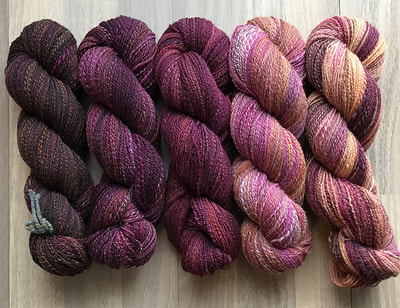
By now the UK parcels for the April Non-Wool Club have arrived, so I sat down and filmed some short video clips showing me spinning them. I am aware that these are probably not the most professionally shot videos in the world, but do hope you find them helpful. If you aren't a member of this club and are thinking about joining then I plan on opening up the next round of 3 month subscriptions at the start of May. The cost will be similar to the current prices for the club, though may alter slightly depending on the exact fibres I use. There will be some repeated fibres, but will be some new ones as well. These are the colours that are going to inspire the next round, if you're interested in joining then select the option on the poll below, I pre-order all the fibre required for this club before putting it on sale to make sure I have adequate supplies. So voting helps make sure I can meet demand. The colour options last time were inspired by the Italian landscape, and this time we're going to Spain. So with the admin out of the way, on to the videos and spinning hints. The first fibre that I recommend you start with this month is the mulberry silk. We spun 2 fibres last month that were similar, the tussah silk , and the viscose. If you still have your tussah silk, compare and contrast the 2 types, you may also find this old blogpost on types of silk useful. The main thing is to remember the staple length. Mulberry Silk is more like spinning a long wool, so a relaxed grip with you hand holding the fibre supply is crucial. I favour a short forward draw for my mulberry silk, without using too much twist, it maximises the shine and makes the yarn feel very soft and luxurious next to your skin. The next fibre I recommend you spin is the Ramie. Ramie is a bast plant fibre like linen, so hasn't needed the same level of chemical processing as that required for viscose of rayon. Ramie is processed from plants belonging to the nettle family; Boehmeria Nivea and Boehmeria Tenacissima. These plants grow incredibly quickly, they can reach a heigh of 2 or 3 metres and be harvested several times in a single year. When linen is processed you can remove the outer stem by hitting it, but this isn't possible with ramie, which is one of the things that contributes to the price. The inner stem is then treated with lye (the same chemical used to make soap) and that dissolves the pulpy material, leaving behind the fibrous vascular bundles. The fibre is then combed to make the length of top we're spinning from. The final fibre to spin this month is Hemp. This is a very ancient textile plant, one of the first to be spun in to yarn as long ago as 10,000 years. Unfortunately the familial connection with the plant that produces cannabis meant that this very useful, very ecologically sound textile was largely abandoned. The Hemp plant that is used for textile production is completely different to the plant that produces the THC chemical which is needed to produce a high or be useful on a medical basis. Hemp was commonly grown until the 1900's, but is now experiencing a revival particularly as it is one of the fastest growing plants, producing a crop very quickly, and requiring half the amount of water and yielding twice as much usable fibre as cotton grown in the same field. In the video I recommend reading the Flax edition of Ply magazine, this is available as a digital download and is well worth the money to get a sense of how to work with this bast fibre, as in essence you can treat flax (linen) the same way as the hemp. Finally some advice on finishing this yarn. I treated it as I would linen thread, and gave it a gentle boil in a washing soda solution, the yarn came out much softer and more flexible. I wanted to test it because this normally something that's done with undid thread, and I was a little concerned that the colour might leach out from the fibre. However, the water was slightly lilac, but not really enough for me to not recommend this method. I do love seeing what people do with my fibre, and I know from so many people how inspired they get by the work of others. Over on the Ravelry group we have a thread that is just devoted to the sharing of pictures. There's no chat in the thread, so it's the perfect place to browse if you're short on time. Asa think you for sharing the photos I do a random number draw every 3 months, for gift certificates to the online shop. We've just got to the end of the time period of the current thread, so I thought I'd share a few of my favourites here. Clicking on the images will take you through to the Ravelry project page. Might have mentioned that I'll be teaching at the Association of Guilds of Weaver, Spinners and Dyers Summer School next year... Very broadly I'm going to be teaching a course based around my book. In short. we will be spending the week experimenting with hand dyed braids, and generally becoming better and more confident spinners who are in control of the yarn we make! I've just finished a sample piece that will be part of the discussion materials for the course. I took the 2 hand dyed colourways that I created for the Tour de Fleece, and plied them with the corresponding colours of Merino & Silk that were used as the dye colours in the variegated braids. As usual, the results are fascinating, and really highlight the value of sampling. Thanks to a grey welsh winter day the photos aren't the best, but hopefully give you a hint of the sort of experimentation we're going to be having fun with. We won't just be piling with solid colours either, we're going to be doing all sorts of experimentation, and really starting to dig in to the "why's" of certain colour combinations. There will be elements of the Power of Colour article I wrote for Ply Magazine, and we'll be looking at how to use the skeins you spin from hand dyed article. You will be doing lots, and lots of spinning, and I'll be encouraging you to turn your samples in to something meaningful and useful as a souvenir of the week. Applications are open to anyone, you don't have to be a guild member, or even a UK resident. Both hand dyed colourways plied together. This one is really interesting to look at, so many different new colours created from the optical blending.
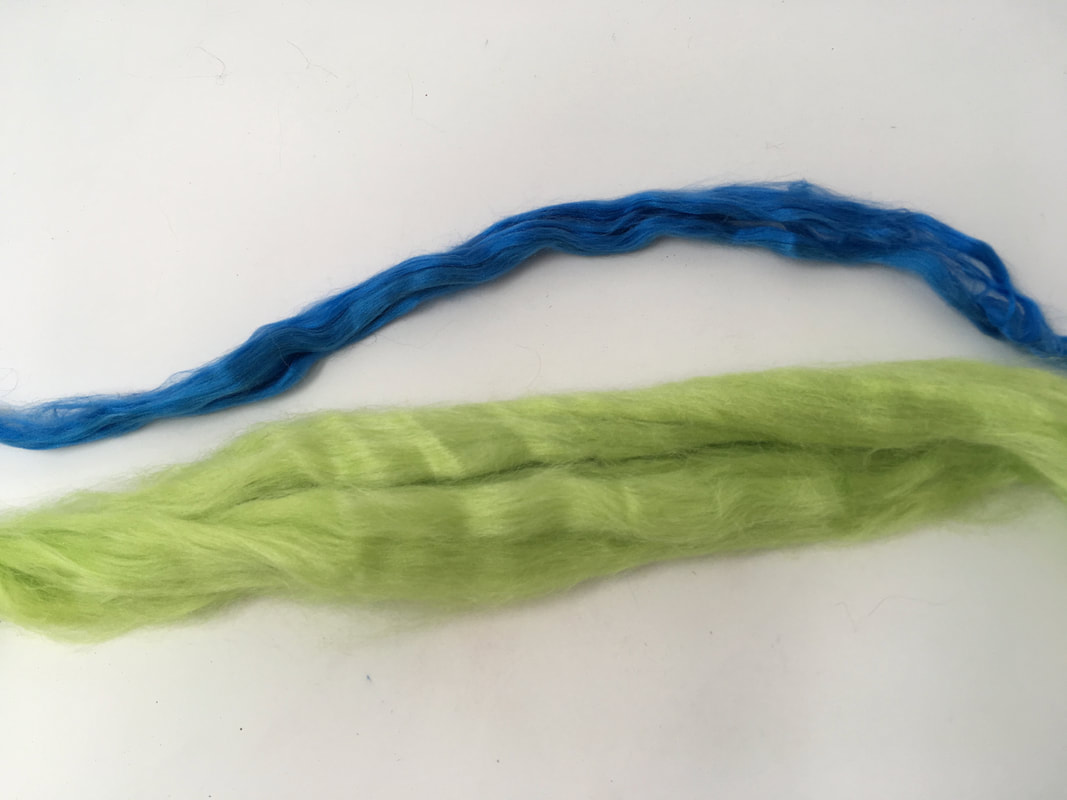
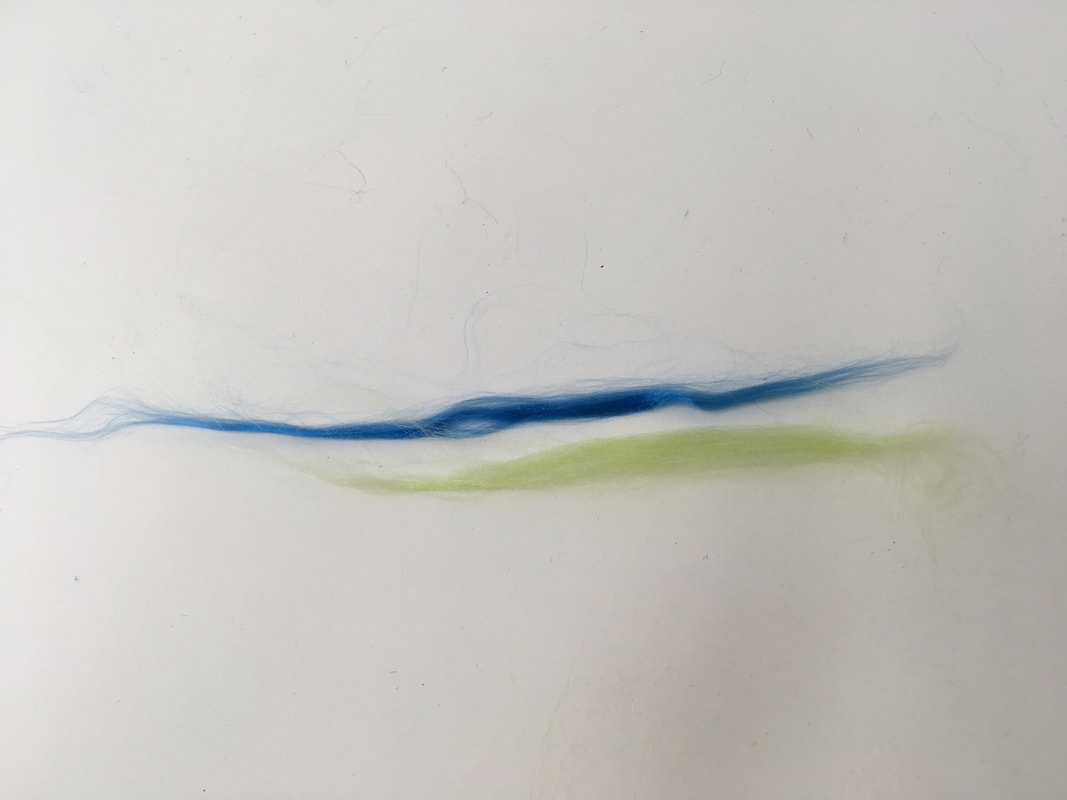
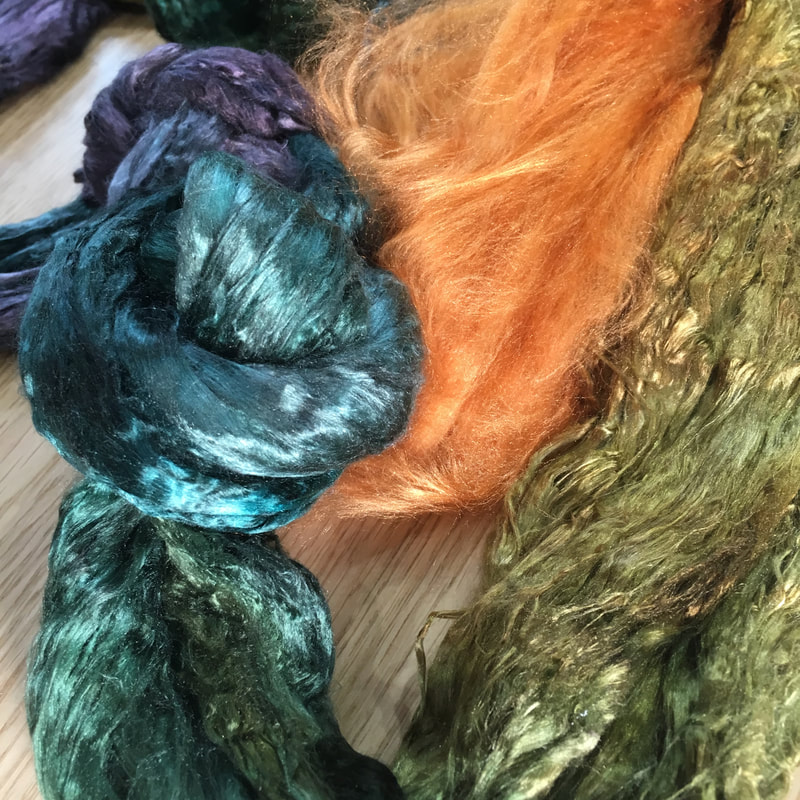
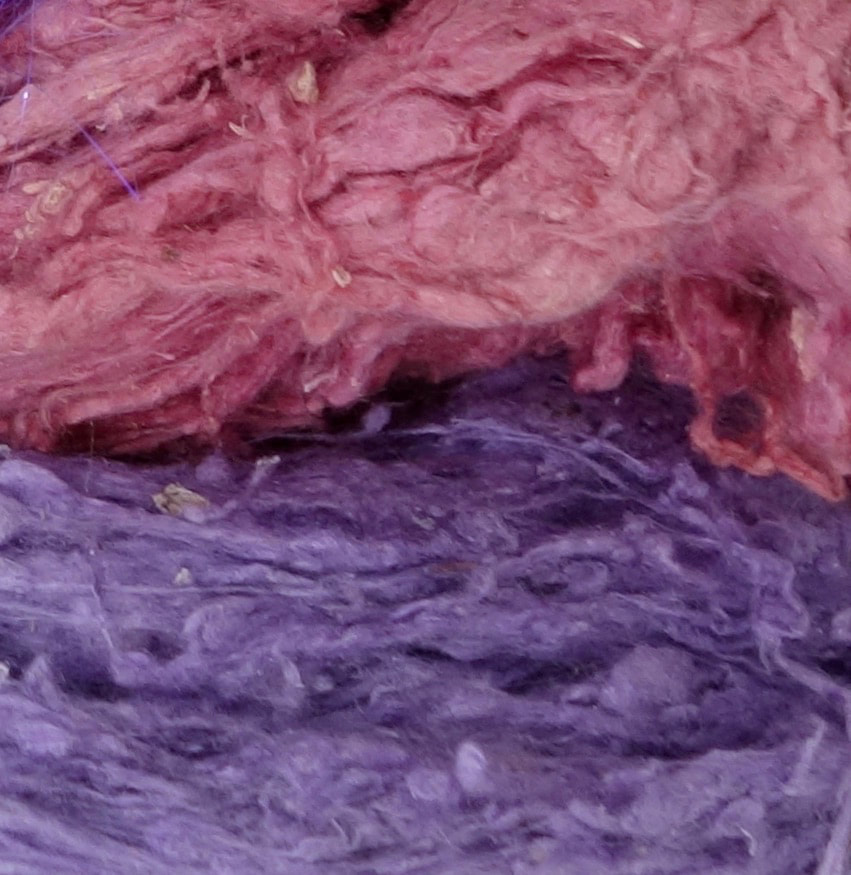
I love silk. I love spinning it, love dyeing it, and just think it's such a wonderful fibre. But it has it's own terminology, and that can get confusing, someone asked me about it via email recently, so I thought a summary on the blog might be helpful for other people. First things first, what is silk? I sell 2 kinds of silk, and they're the kind of silk you're most likely to encounter as a spinner. All silk comes from silk worms. We're all familiar with the idea that caterpillars build a cocoon in which to turn in to a butterfly or moth. A silk worm does this by spinning out a strand of silk, similar in the way a spider spins out a web. The best quality, shiniest silk comes from a reeled cocoon. 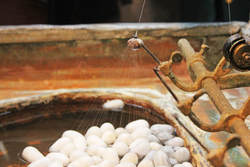 By Claude Valette - Own work, CC BY-SA 4.0, https://commons.wikimedia.org/w/index.php?curid=14980967 This produces a single strand of continuous silk. In order for this process to occur the cocoon must be processed before the moth emerges. However, this isn't wasteful, for people who process the silk the pupae is a valuable source of protein Each stage of further processing then goes on to make use of each lesser grade of silk, usually depending on consistency of the fibre length, and fibre type. There's next to no waste, everything gets used, and as spinners we use nearly all of the different grades of silk, either as top, brick, noil, or laps. The key exception to this, and explains their comparatively high price is silk hankies. These are a whole cocoon stretched over a frame, so they can't be processed to remove as much value from the different grades. Tussah vs Mulberry There are many types of moth who produce silk during their pupal stage. The most common are Tussah and Mulberry. Which moth provides which kind starts to get complicated, but generally Mulberry Silk comes from the Bombyx types of moth. This is sometime why Mulberry silk is also called Bombyx silk. Tussah silk comes from other types of moth. However, the types we usually have available as spinners are all farmed. So what are the differences that matter to us as spinners? These are both silk top. Bottom fibre in green is tussah, top in blue is mulberry. Mulberry is shinier, and much more compact. The tussah feels slightly toothier, with a little bit more wave to the fibre. Mulberry also has a longer, more consistent staple length. They will both spin in a shiny silk yarn. But for maximum shine I tend to go for mulberry over tussah. For blending with wool tussah is generally a better option, as it matches most wool staple length better. If you're a beginner, it honestly doesn't matter which kind of silk you choose to spin. A good quality Mulberry is in some ways easier than Tussah as the staple length is more consistent. However, Tussah can be slightly grippier, and easier to keep control of. There's no one correct fibre to begin with, try both! The main thing is to keep your hands far enough apart. Remember the staple length, if you hands get too close together they will be pulling on the opposite ends of the same piece of fibre. Silk is incredibly strong, you will never draft silk with your hands too close together. Some people advocate spinning silk from the fold with a backwards point of twist draft, and using a high twist level. Personally I spin straight from the end, using a regular short forwards draw, with relatively low twist levels (less than I would use for wool in a yarn of the same thickness). I find that gives me a yarn with maximum shine, and that's what I want from my silk! So experiment, find the way that works for you. Put-Ups Unlike wool which usually only comes in 3 commercially processed forms (combed top, roving or batts), there are a huge variety of ways in which silk is processed. The most common form of commercially dyed silk is as tops. This is a thin strip with all the original fibres aligned in parallel. It will be one of the forms of silk that is processed first, and as a result contains high quality fibres, of even consistency and quality. Both fibres in the photos above are combed top. The form of silk that I dye most often are Silk Bricks. In essence these are a thicker piece of combed top. They are called a brick because they are bundled up in to a dense rectangular form. They're easy to dye because you can spread them out. Dyeing Mulberry Silk top with hand painting techniques is a little like wrestling eels. Other forms of silk you'll come across - Silk Laps These are the waste from the processing. When the silk cocoons are carded the long fibres pass through the machines, but the shorter, clumpier fibres are left behind. They build up on the drums of the carding machine, and are then cut off in enormous sheets of textured silk fibre. You can spin them by themselves, and get a shiny textured silk yarn, but where they excel is for adding texture to blends. They also work wonderfully on the surface of felt. -Silk Noil These are the bits and pieces that are leftover inside the cocoon. They're lumpy and bobbly and short. They're great for adding a tweed texture to blends. Silk Hankies These are a whole cocoon, stretched over a frame. They look like a square handkerchief, hence the name. They are also sometimes stretched in a cap shape, which do exactly the same thing. Because they contain a fibres that are so long they can be a real battle to spin. The best way I found to spin them was mounted on a distaff, and in the same way that you would spin linen. However, they are versatile... You can knit with unspun hankies Photos here, More details here. I love using them directly on the surface of a piece of felt, they form a thin spiders web over the top of the wool. Knitty Article with more details on drafting them out, and spinning with them here. They will give you a textured, uneven yarn. Do not try to spin these on a smooth, even thread! Another way to use the is to take a pair of scissors to them, cut them in to strips that match the staple length of you wool, and card them with other fibres. Grades? Silk comes in various grades, particularly mulberry silk. The grade refers to the quality, both in consistency of fibre length, and the amount of straight, non-waste fibres that are present. Silk top is usually A-Grade, it's such a narrow strip of fibre that you will spot any inconsistencies. Silk Brick comes in several grades. A, B1, B2 and C are the most common. As a spinner, do not bother with anything less than A grade. It's just an exercise in frustration. If you do have inconsistent fibre then spinning from the fold with a point of twist draft helps to keep the fibre under control. However, what's coming in to the UK at the moment is of nowhere near the quality that it used to be. I have bricks from 6 years ago, and compared to the Silk Bricks I can buy now they're in every way superior. There seems to be a tendency for far too much seracin to be left in the fibres. Seracin is the glue that the caterpillar uses to glue the fibres together. It has to be removed before processing by boiling and use of an alkali. If it's not properly removed the machinery tends to damage the silk, and you also struggle to dye the fibre as it acts as a resist to water. As a result I'm switching away from dyeing bricks and am moving towards dyeing silk top. This seems to be better processed and better quality. I'm having it specially made in a thicker put-up to make it easier to hand paint so I can get the same colour effects as you're used to seeing on my silk bricks. If you want to read more about silk, then the Wormspit website is filled with useful information, but is quite in depth.
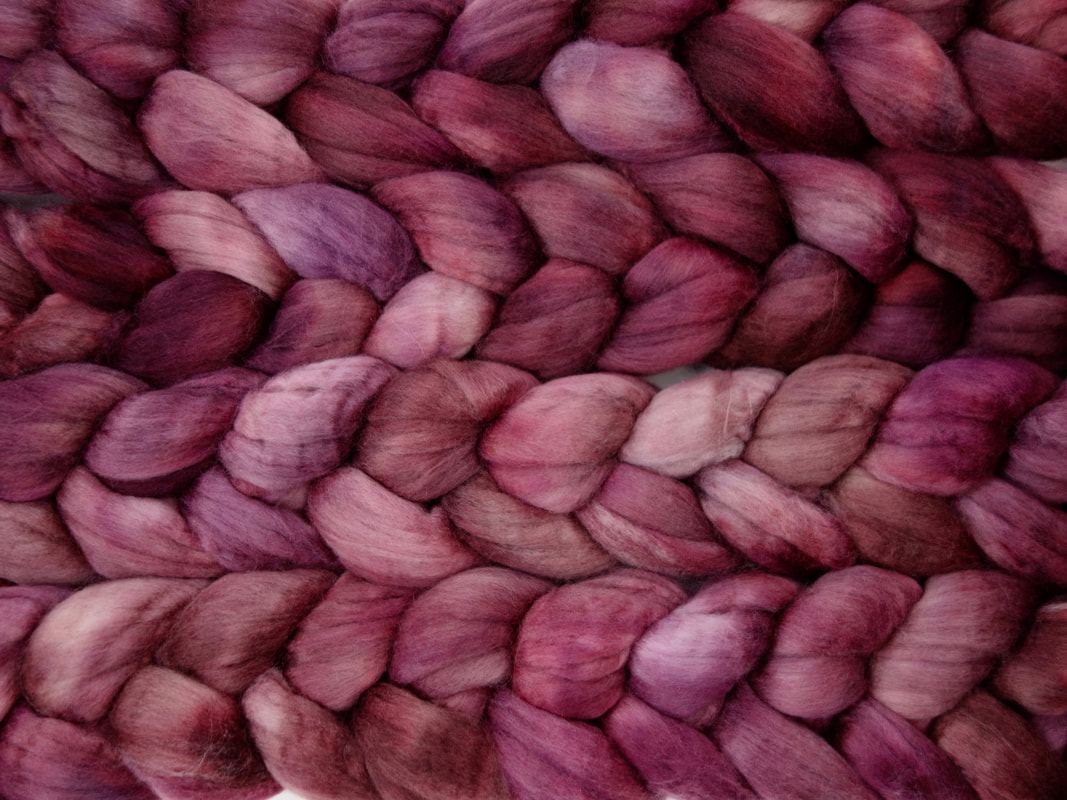
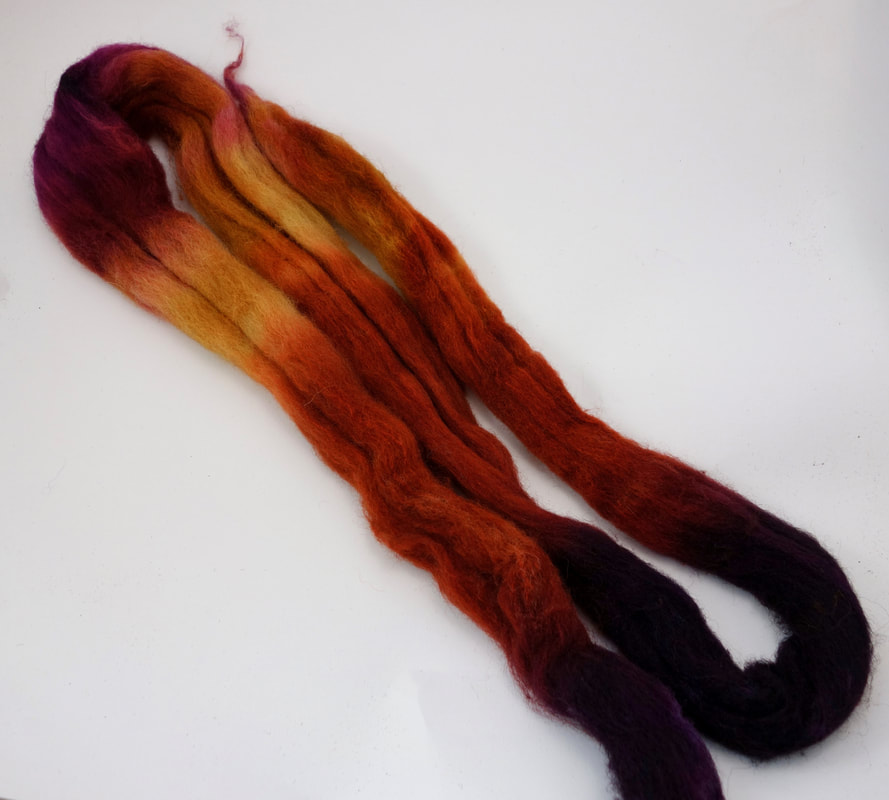
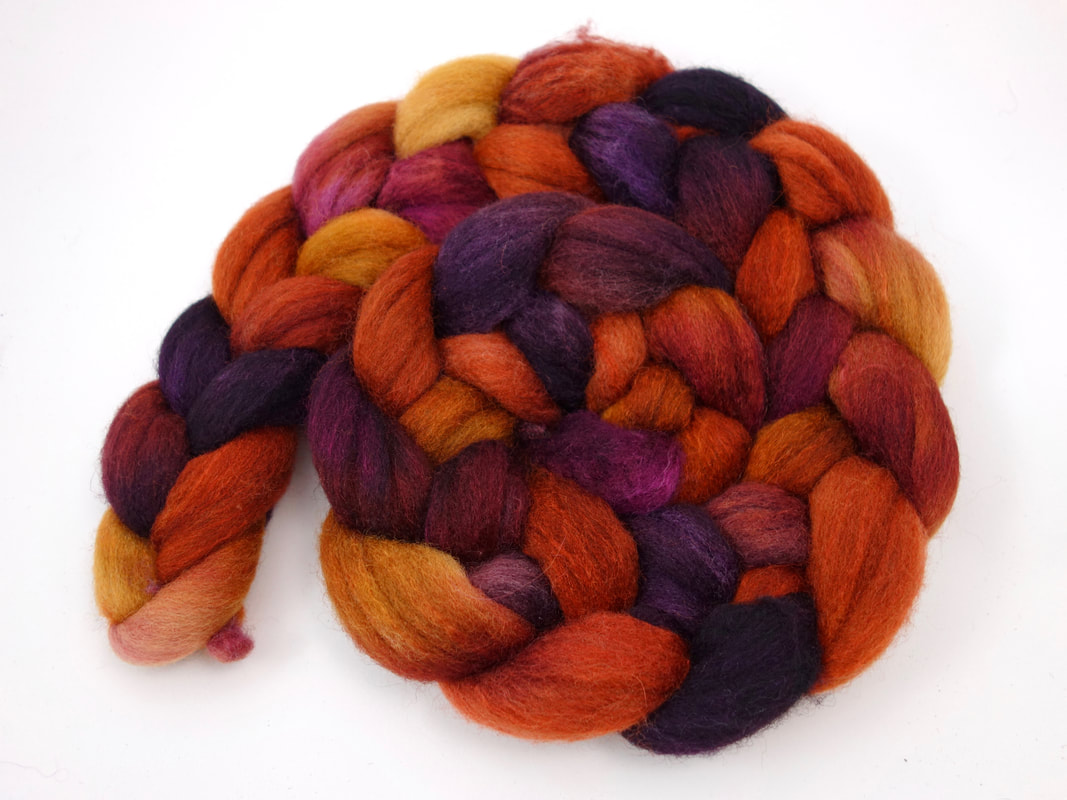
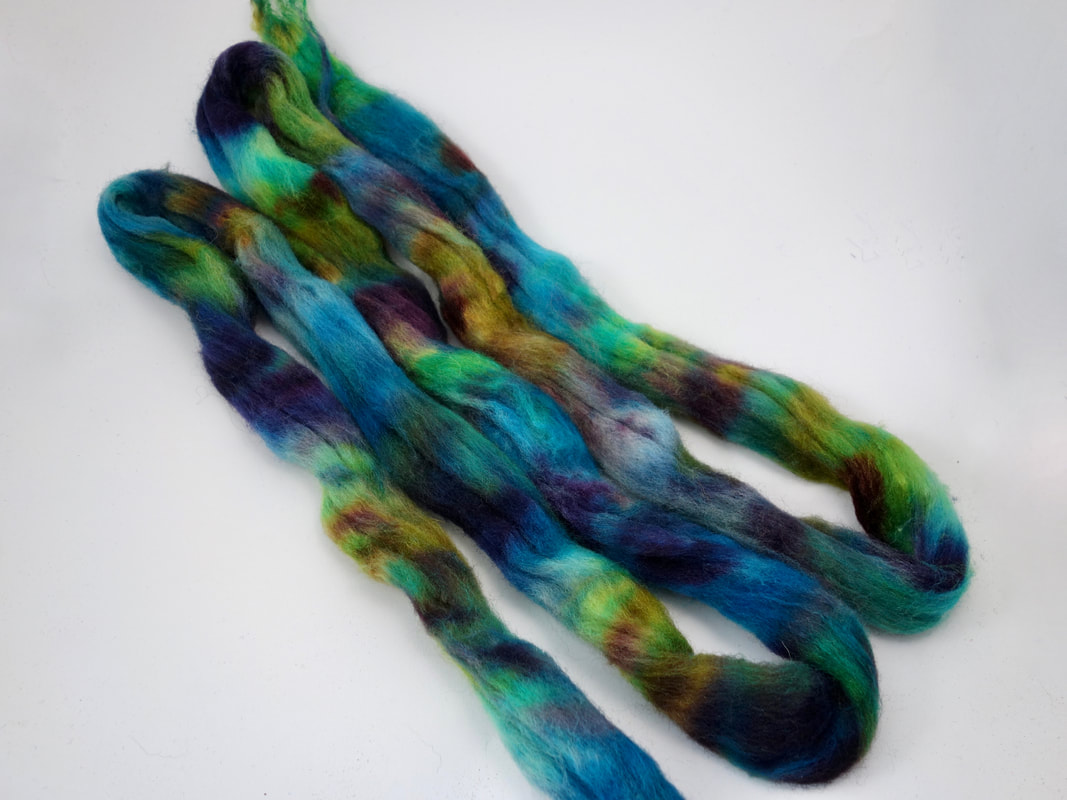
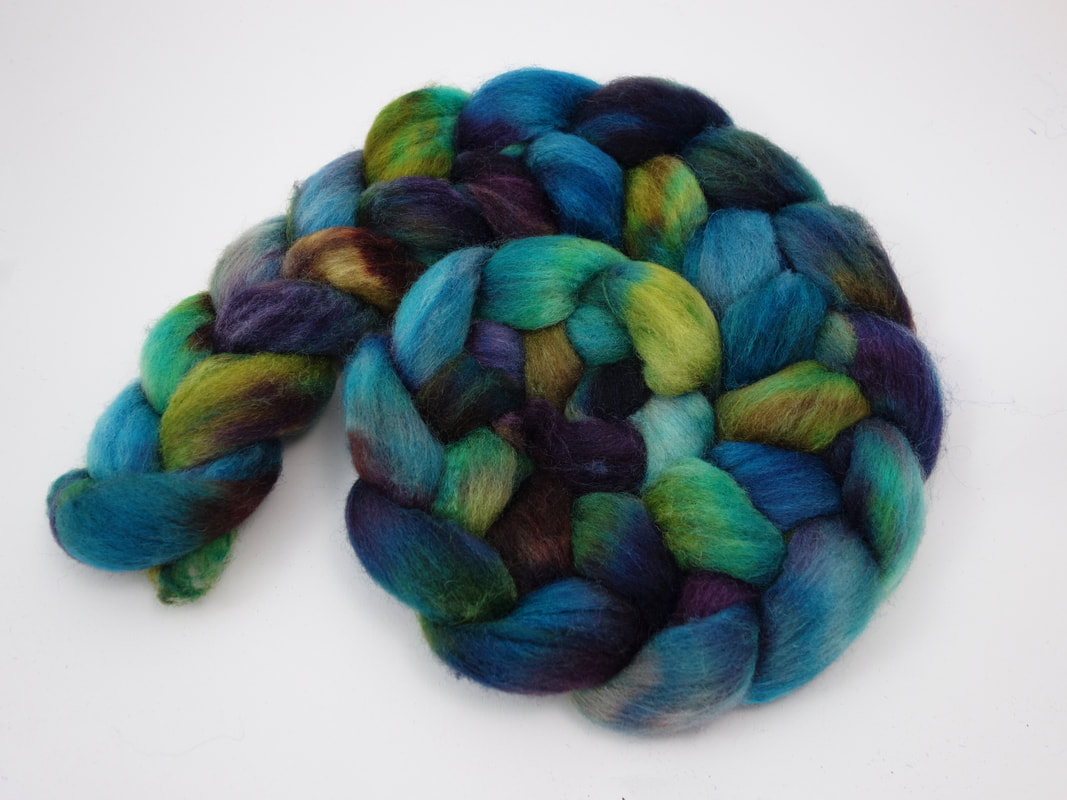
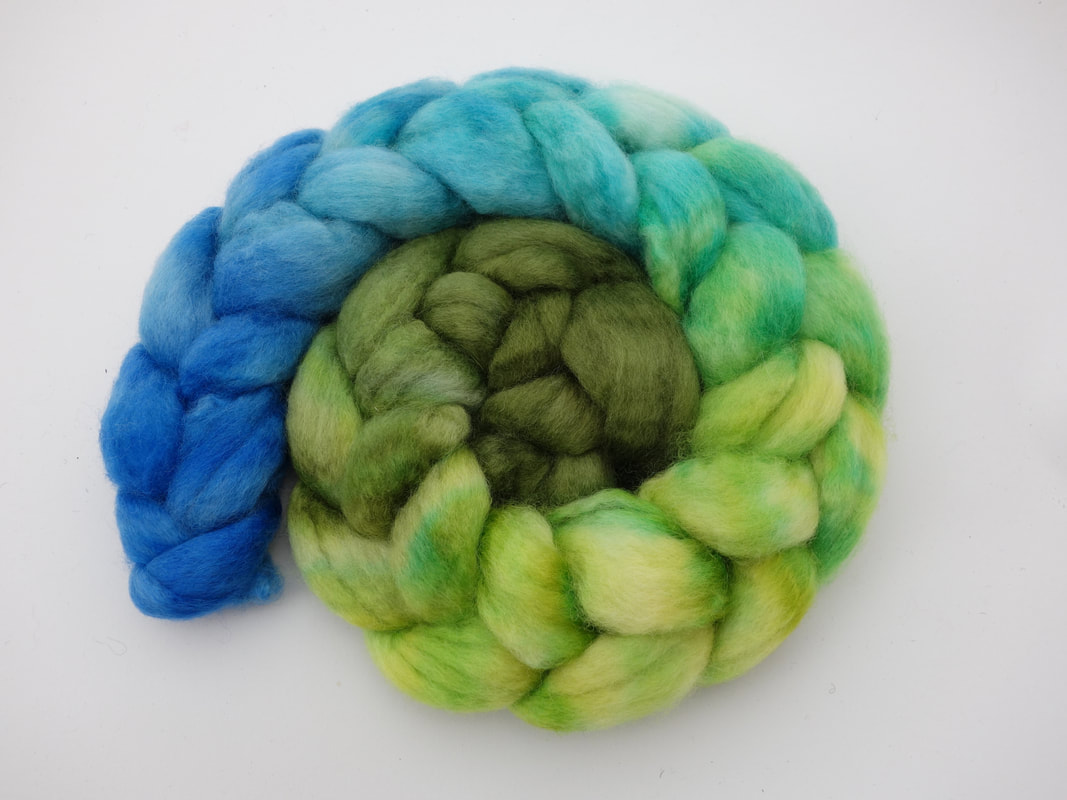
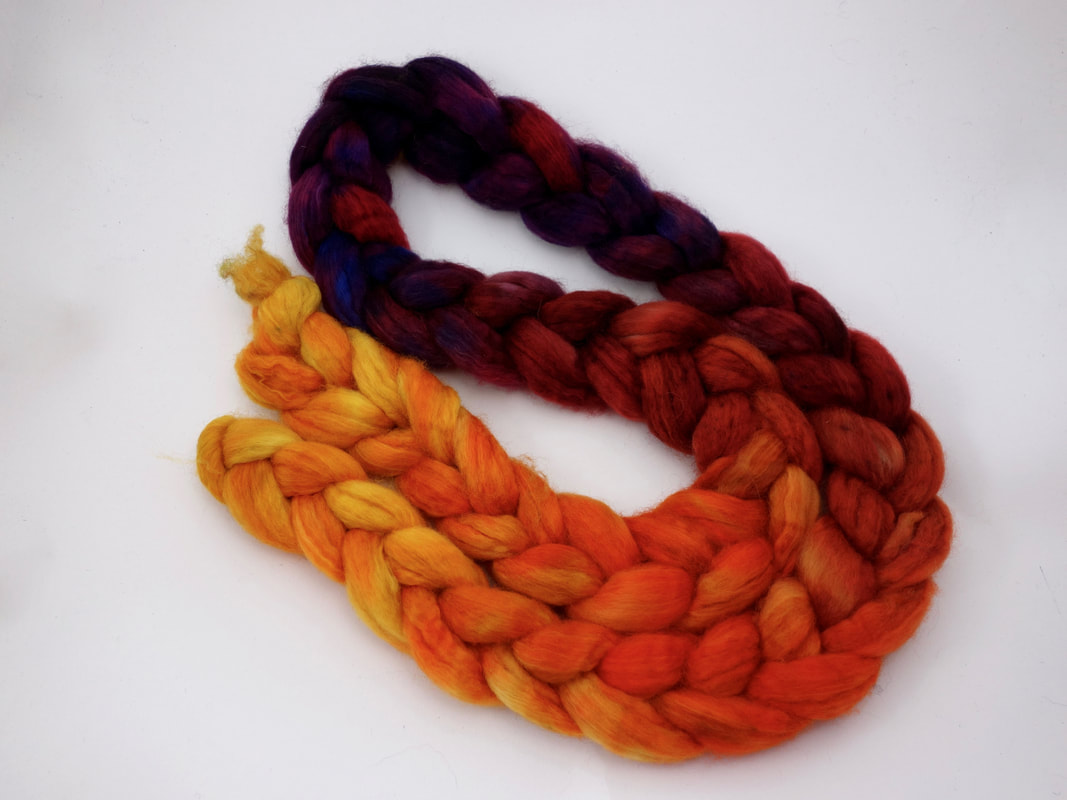
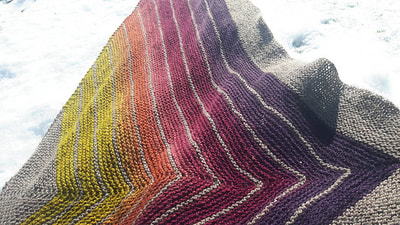
http://www.wormspit.com/images/silkandsilkworms.pdf http://www.wormspit.com/peacesilk.htm This is a short, modified excerpt from my book, A Guide to Spinning Hand Dyed Fibre. If you browse the shop on a regular basis you'll notice that the hand dyed fibre braids have lots of information in the titles, and at the end of the titles are a few key words... Repeating, Variegated, Semi-Solid and Gradient. Those titles are telling you how I dyed the fibre, and are a big clue about how the braid will spin. Now, these are my classifications, rather than a recognised "industry" standard, but I do use them consistently, and most dyers will describe braids using a variation on these themes. Semi-SolidThis technique at first glance isn’t that different to the commercially dyed solid shades you can buy. However the hand dyed version will contain far more subtle variations. These give life to your yarn. It’s a particularly effective dyeing technique for yarns you know you’ll use for textured fabric for example cables or lace, because the variation in the colour won’t be fighting with the pattern of the stitches. Many times when I dye a semi-solid I'll actually mix up 4 different subtle variations of the same colour, and use those to dye the fibre. RepeatingThis dyeing technique uses multiple colours, they are applied to the fibre in a regular pattern to create blocks of colour that appear in the same order, and are the same length all the way along the braid of fibre. These braids can occasionally be hard to tell apart from variegated fibre, particularly if the colour blocks are short. The best way to tell is to unbraid your fibre, and lay it out in the same way the dyer will have done while applying the dye. It soon becomes pretty clear when the colour blocks start lining up. If you spin this yarn with no further manipulation then you will get a yarn that forms stripes. This is not a description you'll see many dyers use, but I find it helpful to distinguish between this style, and one where the colours are applied in a ore random fashion. VariegatedThis technique produces a braid with a whole variety of shades, but crucially they’re not placed at regular intervals, and appear in blocks of different sizes in a random order. That means the yarn you spin will have a variety of colours in it, but you won’t get a regular pooling or striping pattern. Again, the best way to check if this is the dyeing technique that’s been used is to unbraid and lay out the fibre. You shouldn’t be able to find any sort of repeating pattern. The degree of variegation will depend on how contrasting the colours were in the original braid. GradientIn braids that are gradient dyed each block of colour will only appear once. In comparison to repeating dyed fibre this dyeing technique should produce smooth transitions from one shade to another. You sometimes see braids of mirror gradient fibre. In these the fibre will have been doubled, and then dyed. This means you can use the 2 halves of the braid for a very easy matching 2-ply yarn, or can spin each half separately for matching skeins to make a pair of items such as socks or mittens. Ombre Gradients are similar to regular gradients, but only use one colour. This shade becomes progressively paler along the length of the braid. If you want to get more in control of the yarns you can make from these fibres then there's lots of information, and a huge number of swatches showing the techniques and manipulations, in the book.
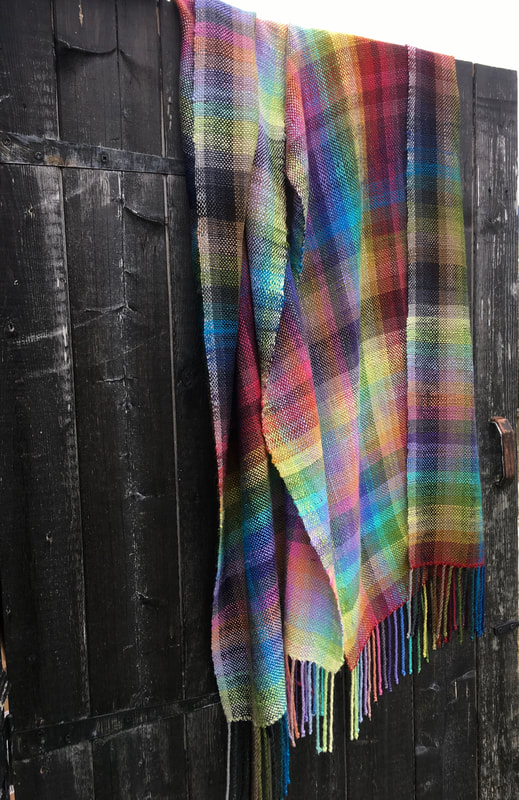
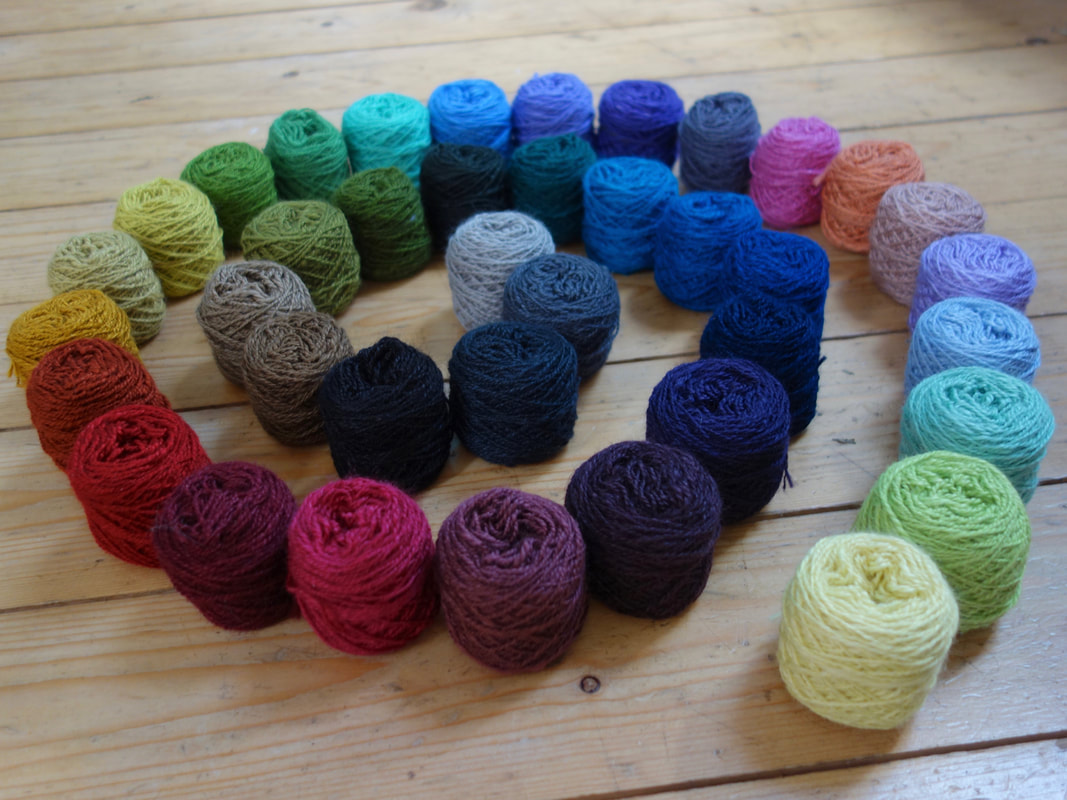
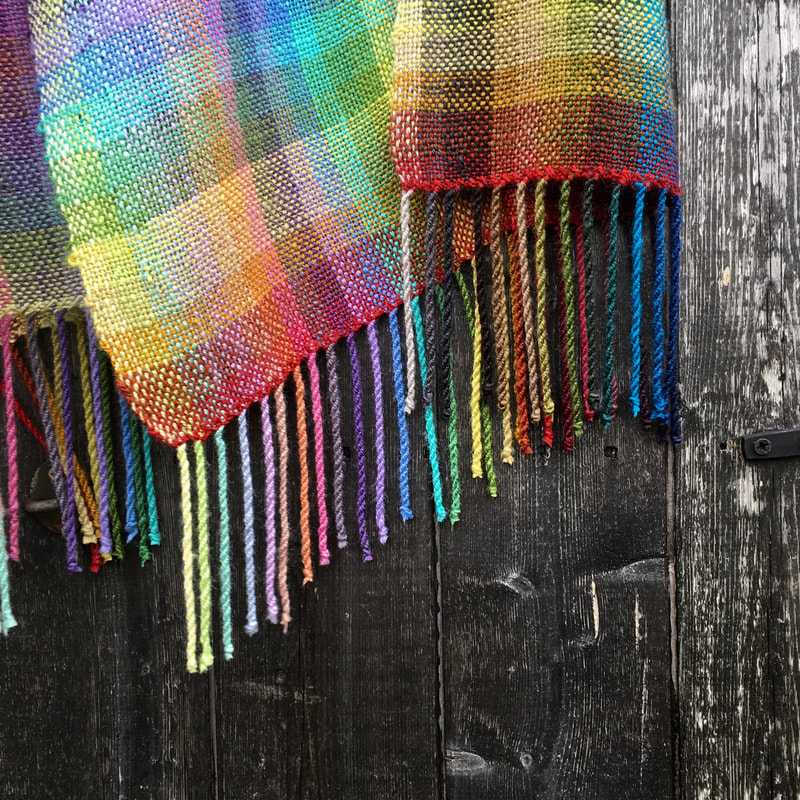
I love dyed fibre in it's raw form, I once had a lengthy twitter debate about dyeing and wether it counts as art (side point, I think it is, particularly in the style I use, if you're only dyeing solid shades to a recipe then maybe not...) However, the nice thing about this form of art is that it really is a group project, and I love seeing what happens to fibre once it's turned in to yarn, and then turned in to a useful item. Over in the Ravelry group I run a thread that's dedicated to the sharing of skeins of yarn and finished objects, and it's always stuffed full of inspiration. Wether it's the first skeins from a new spinner, or a wonderful huge project combining many braids, I love seeing them all. As a bit of a thank you for the effort people make in sharing photos I offer a bit of an incentive, and every 3 months there are two £25 gift vouchers available, the winners are picked from the thread using a random number generator. The new thread has just been started, so if you get some yarn spun, or something made in the next 3 months then head over and share it, this time you had a 1 in 50 chance of winning the gift voucher, and those odds are none-to-shabby! Here's my favourite posts from the last 3 months, the images should all link to the original project pages if you want to know more details. Just before Christmas I started stocking a really huge range of dyed Tussah Silk. I love dyeing silk, but in all honesty dyeing it in plain colours is really hard work for something that seems like it should be so simple. By getting the solid colours commercially dyed I can concentrate on hand dyeing the fun colourways, but still stock a beautiful range of colours. Solid colours are really helpful in things like silk for a whole variety of reasons. Often you want to spin for lace, and a variegated colour way can work against the pattern. If you're going to use the silk for blending then solid colours are all you need. When I was doing a lot of carding I was often frustrated by the really limited palette of colours I could buy . This silk is dyed in Italy to Okeo-Tex Standard 100 so you can be confident it's been dyed with environmental responsibility. The colours themselves are stunning, and so varied. I've got 39 that I will be stocking regularly (picking 40 would have been over-kill!) So I wanted a sample to show them all off... I took 10g of each colour, and then spun them in to a light fingering 2-ply yarn (approx 18wpi). From each colour I ended up with approximately 45m of yarn. I direct warped my rigid heddle loom using 6 ends per colour with a 12dpi heddle. So during warping I filled 3 slots with a double end of each shade. I have a 25 inch Schact Flip, and this warp didn't fill the whole loom, but there's not quite enough space for 8 ends per colour. If you have a narrower loom you'll need to do the maths and check this warp will fit. You can always reduce the number of ends per colour and make it narrower, or if you have a larger loom you could do more ends per colour, you should have enough yarn spare if you spin it finely enough. I used a soft-of spectrum to decide on the colour order... though with this many colours deciding on a "perfect order" is probably impossible! It's the same order as shown on the Tussah Silk page. Warp length was approximately 2.8m to give a generous sized wrap once finished. I wove in blocks of 8 picks per colour to give me rectangles rather than squares of colour. The edges were hem stitched on the loom, and then I twisted each colour separately to form the fringe. Off the loom it had that stiff, new cloth feeling, but after a wash ( I didn't wash the yarn before weaving) it's softened up and the drape is lovely. You have to feel to really appreciate it... but maybe this will help! If you want to, you can make one of your very own! The sample set contains all the fibre you'll need (and some to spare that you can use in other projects). |
Archives
January 2024
Categories
All
|
Hilltop CloudHilltop Cloud- Spin Different
Beautiful fibre you'll love to work with. Established 2011 VAT Reg- 209 4066 19 Dugoed Bach, Mallwyd, Machynlleth,
Powys, SY20 9HR |







 RSS Feed


