Spinning for larger items...
How to go about it, tips, tricks and more.
|
Spinning for a garment! How scary…
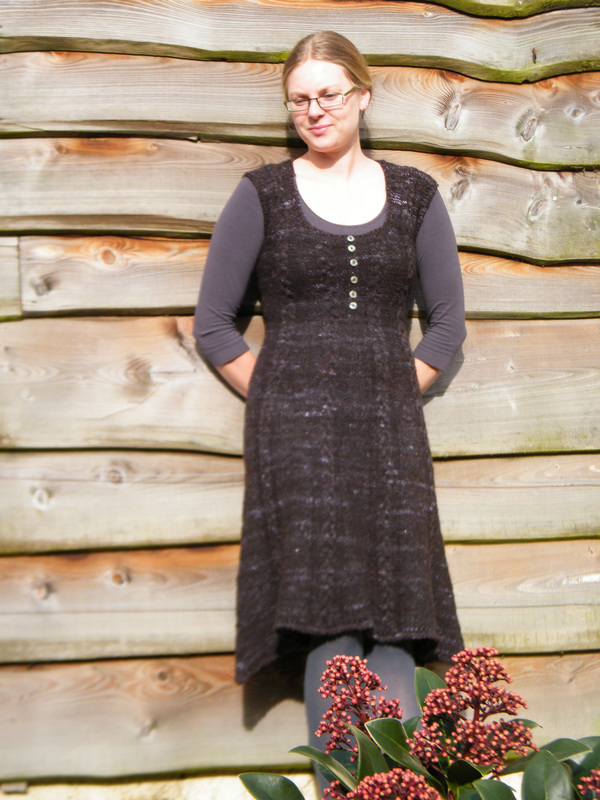
Well maybe not quite so scary as it may seem. There are a few tricks, and different approaches you can use that will hopefully make the whole process seem slightly less intimidating. Just to qualify what I mean by garment, I’m talking the big stuff, more than hats, shawls, scarves, socks. The sort of thing you wear to cover your body, jumpers, sweater, cardigans, even, gasp, shock, horror, a dress! First step; How much? As somebody who sells fibres for a living I’m often asked how much fibre someone needs to make a jumper or similar. The short answer is “it depends”! There are a few factors that will effect how much fibre you need to make a garment. The most obvious is the size of the garment, larger sizes will need more yarn. If you’ve made a garment before out of commercial yarn then take a look at how much yarn you needed for that, it will give you a ball park figure. Handspun is nearly always denser than commercially spun yarn of a comparable thickness. So a worsted spun commercial yarn will have more yardage than your handspun, spun in the same style to the same thickness. |
|
|
Another factor is garment type. If you know you’re limited in fibre quantity you don’t want to pick a garment that features cables. Maybe go for something lacey, or with shorter sleeves. A jumper will also use less yardage than a cardigan, as you have no button bands to overlap, unless you pick an open fronted style.
Yarn thickness also plays a factor. If you know you want a big, thick, squishy jumper then you’ll need to have more fibre than if you’re planning on making one out of fingering (4-ply) weight yarn. As a rough guide, 500g of fibre spun to a DK weight will probably make a plain garment, with long sleeves, for someone around a size 12-14. However, please don’t come and find me at a show and beat me up if that doesn’t work for you! In general, more is better. That’s often why people buy fleeces to spin in to garments, if it covers a sheep it will probably cover you! The exception to this is the small primitive breeds (Shetland, North Ronaldsay, Soay and similar), who often have very tiny fleeces. If you know you’re tight on quantity there’s a few things you can do. You can spin finer, you get more yardage, you’re more likely to have enough yarn. Woolen yarn will also give you more yardage for any given weight. Now’s the time to learn how to do longdraw, after a whole jumper project you’ll have the technique nailed! You can also look at combining your fibre with something else.
Having acquired enough fibre the next step is to decide how to spin it. This probably reveals something about you as a person… you can either spin the yarn, and then find the pattern. Or find the pattern, then spin the yarn. Both will work, both cause math induced headaches at different points in the process! |
Yarn then Pattern
Check your quantity of fibre, if it’s on the low side, go for something thinner, DK and under.
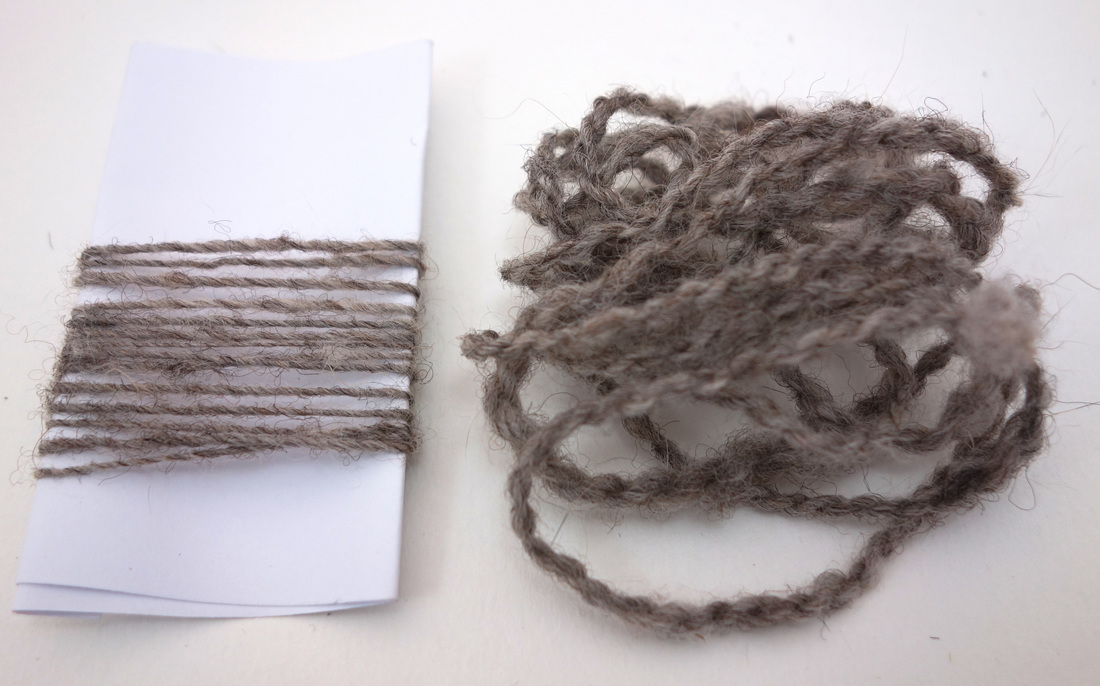
Spin your singles, then, before you get too enthusiastic, pull off a few metres of singles from your first bobbin. Attach them to your wheel. These are your reference; every 10 minutes just pause, compare the thickness of the singles you’re spinning to the your reference. You want to keep a consistent thickness, and amount of twist. Don’t get too worried if you deviate though, it’s amazing how unevenness disappears with knitting, and then blocking.
Ply your singles, you can either ply as you fill up bobbins, or spin all your singles then do the plying, this latter method is particularly helpful if you know you’ve struggled to keep your singles consistent. Mix and match from different bobbins and you should get a plyed yarn that’s more even.
Wash your yarn, treat it how you plan on washing the finished garment, that way you won’t get any surprises. Leave it to dry, then calculate your yardage, and work out how thick your yarn is. If in doubt, compare it to some commercial yarn, we all tend to think our spinning is thinner than it is, but in this situation you don’t do yourself any favours by thinking this.
Now to pick a pattern. The advanced pattern browser on Ravelry is a spinners best friend. No matter what thickness of yarn, or what yardage, you can search to find any pattern you want. You can use the filters on the left hand side of the page to customise yardage, yarn thickness, and pattern type. For example, there are 1,703 patterns that use between 750 and 900m of DK weight yarn to make an adult sweater!
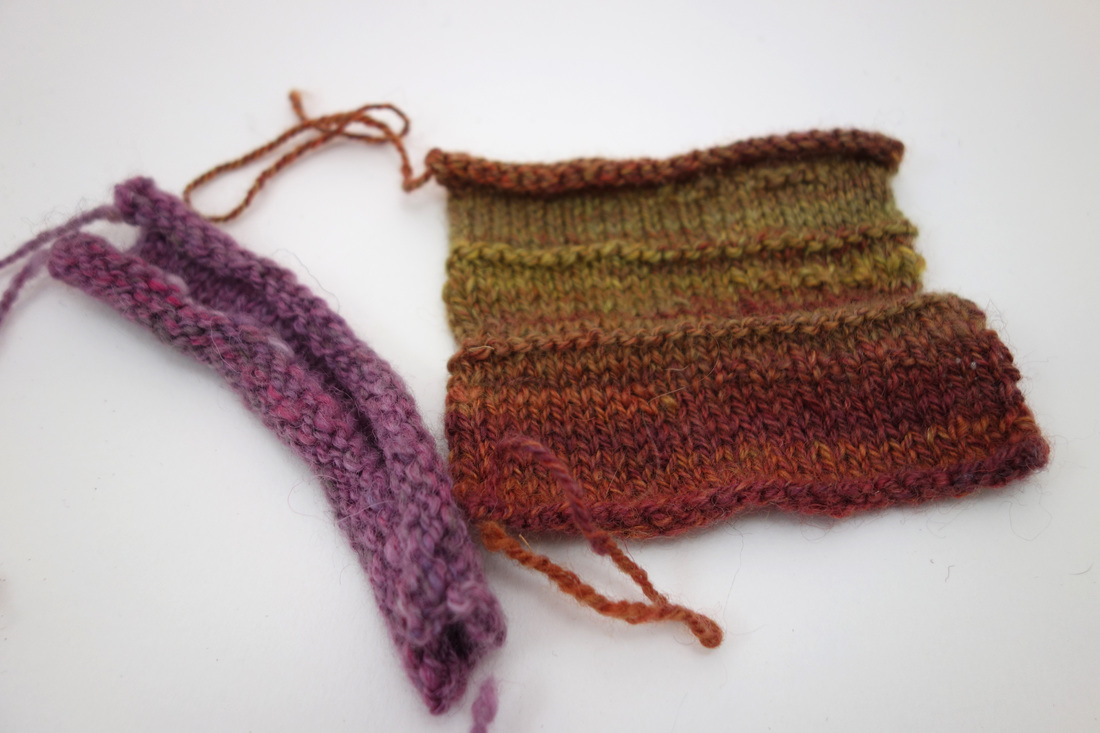
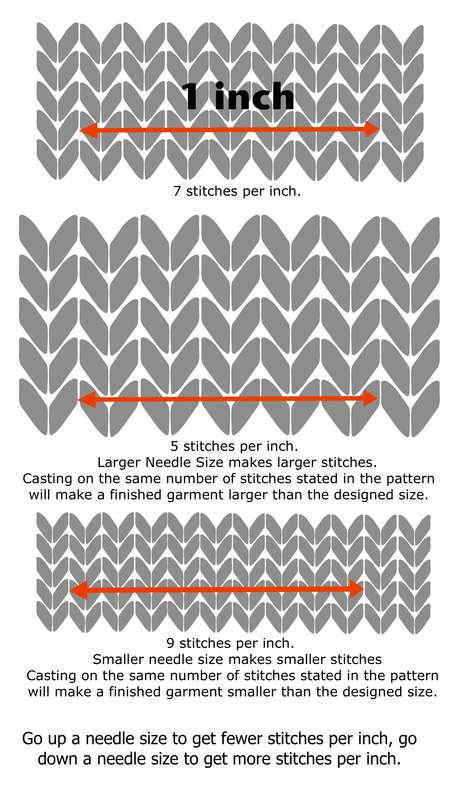
Once you’ve picked out a pattern you need to do a swatch. Really, honestly and truly. You will save yourself so much time, and will get something that fits. Find the needle size recommended in the pattern, cast on enough stitches to give yourself a piece of knitting 6 inch(15cm) wide, work a couple of inches. You should do this in the same style that you will be knitting the pattern, if it’s in the round, you need to do a swatch in the round. Take a look at the fabric, and see what it’s like. If the fabric is too open it won’t wear well, and will look shabby. Too dense and the fabric will stand up by itself and look odd. Different garments are designed with different fabric styles in mind. Some garments are meant to flow and drape, so you need a loose fabric. Compare your gauge with the one in the pattern. Using a tape measure or ruler count how many stitches you have per inch. If your number is larger than that tested in the pattern then your stitches are too small so you need to go up a needle size. If you have fewer stitches, then your stitches are too big so go down a needle size. I like to test out needle sizes now, on one swatch, and get it over with. I’ll knit a row of purl stitches to mark off my different needle sizes, and use purl bumps to remind me what needle I used for which section. For example three purl bumps in the stockinette section indicate 3mm needles. Then wash your swatch, as you already washed your yarn you shouldn’t see a great deal of change, but better to do it now, than to wash your garment and discover the whole thing grows 6 inches!
|
When it’s dry, check your gauge again. However, you are the master of your destiny! If you like the fabric better at a different gauge than that given by the pattern you can still make it work simply by going up or down a size with in the pattern. If your gauge is greater than that stated in the pattern, your stitches are slightly smaller, so you need to make a slightly larger size. A gauge of a lower number means your stitches are larger, so try a smaller size.
|
Pattern then Yarn
Sometimes you fall in love with a garment and can’t wait to make it in handspun. In this situation all the maths and technical stuff is front loaded. You need to make sure you match the yarn used in the pattern, otherwise you’re faced with large pattern re-writes to make everything work. It’s not really as scary or as unachievable as it sounds though.
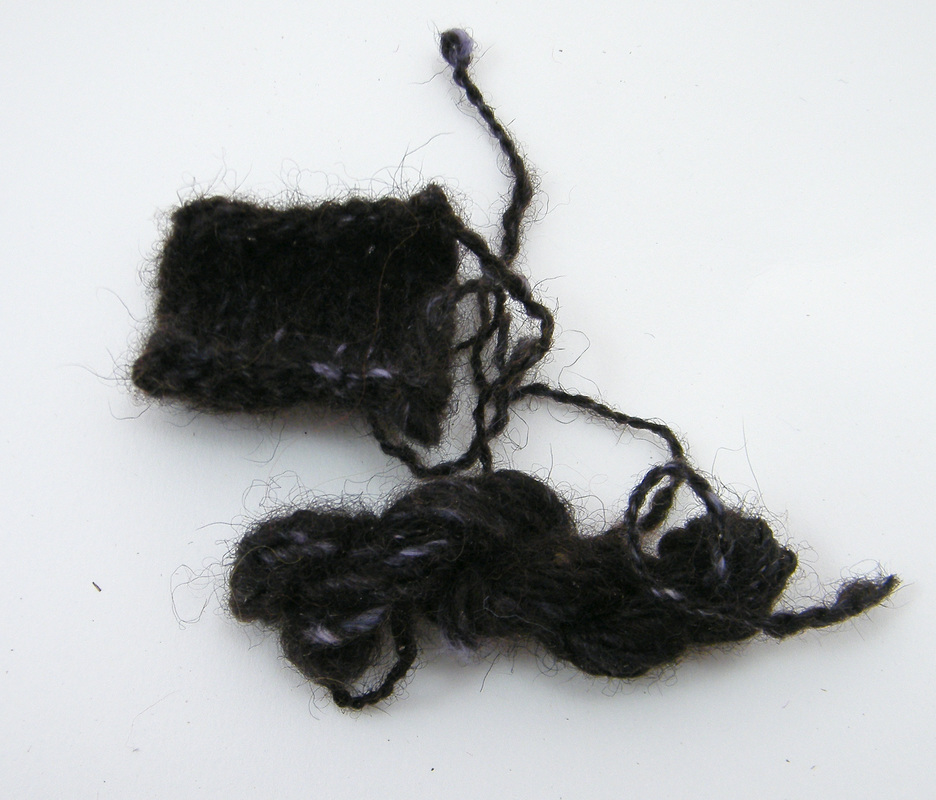
First of all I like to make a sample. This is particularly true if I’m blending fibres together. There’s no point carding kilos of wool and silk together and then discover you really don’t like the finished yarn. I usually create a quick blend, using approximate amounts on hand carders. After that I spindle spin 10 or 20 metres (use a wheel by all means, I’m just lazy about getting a wheel out for that small a quantity of yarn). Then comes a small swatch, I’ll wash it, and have a look at it. If I’m not sure about the scratchiness now’s the time I’ll wear it for a short while. Either pin it to the inside of a jumper or shove it down your bra… whatever works for you!
If the quick sample works, now it’s time for the proper sample. Using the same fibre preparation as you plan on using for the final yarn, spin yourself around 50m of singles. Then ply, however, don’t ply every last bit of your singles. You are going to keep some back to use as a reference while you spin. Wash your yarn, but keep a small amount of plyed yarn back to use as a reference while you ply. Now make a proper swatch, just like you would do if you were ready to make the garment, and didn’t still have all the spinning still to do. Check your gauge, see how it compares. This is the stage where you might need to go back and spin some thicker singles, or thinner singles. Try to get the right gauge now, it will save you work later on. Eventually you will create Goldilocks yarn, and will deservedly give yourself a pat on the back. Write down the needle size you used, even better put that needle, and your swatch together with the pattern. Don’t ask me how I worked this out…
Now you need to get spinning, hang your singles sample from your wheel, use it to check your spinning every so often. The yarn running from your hands to the bobbin is under tension so hold your sample under tension as well when doing the comparison. Otherwise your single will be too fat. Again, don’t ask me how I realised this…
Once you’ve plyed your yarn, and washed it you’re ready to get knitting. If you’re feeling brave, and believe your yarn is similar to your sample then don’t do another swatch. Though maybe check your work after doing a couple of inches, better to rip out your work now than the alternative. If you’re not feeling brave, or know your yarn looks a bit fatter or thinner, work another swatch. It will take you half an hour, and that’s nothing in the grand scheme of things!
Still feeling intimidated?
In the worst case scenario you’re in the situation of spinning the yarn then picking your pattern. It might not be for the garment of your dreams, but that pattern will still be there for next time, and you’ll love the new item just as much.
Starting Small
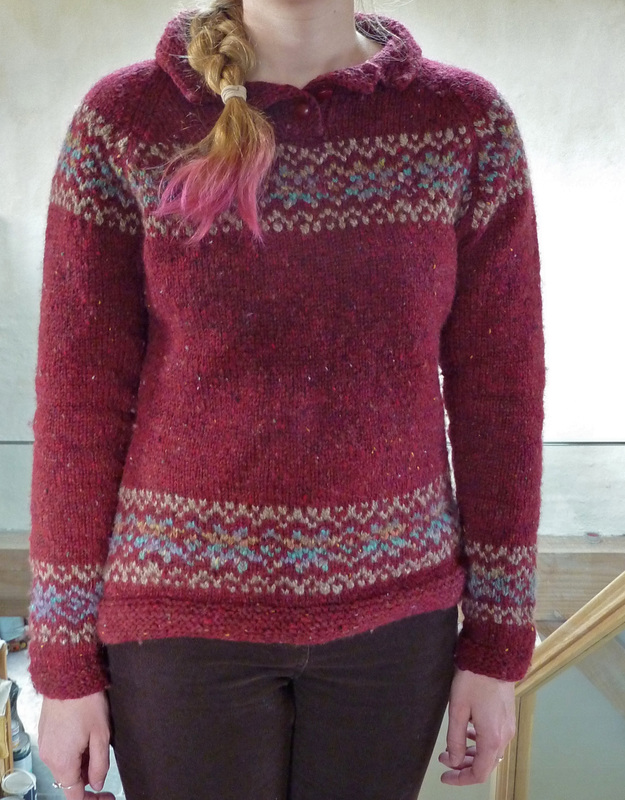
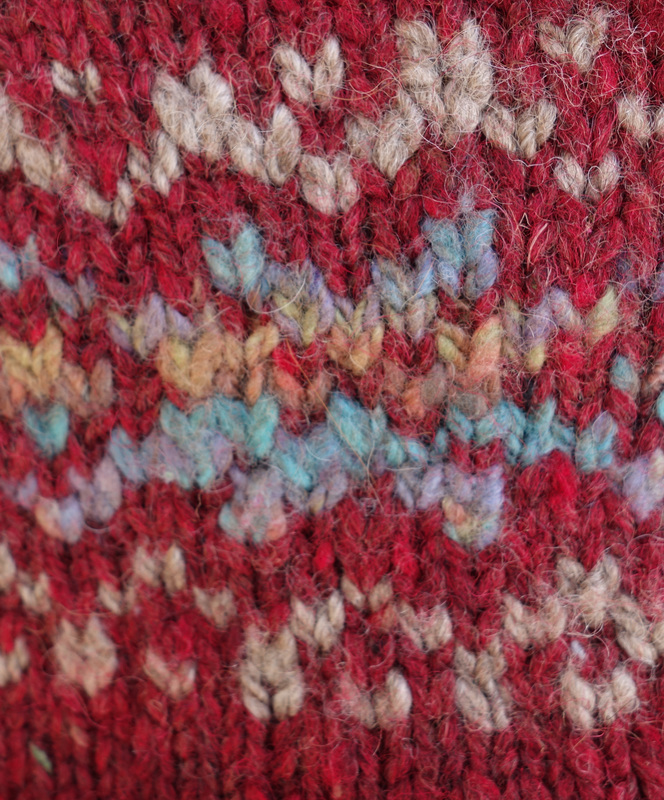
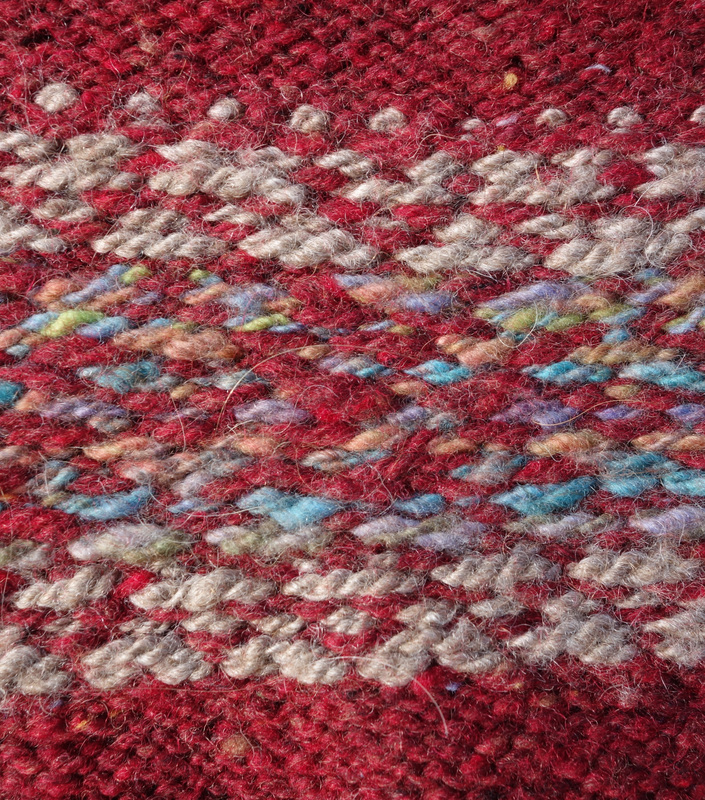
There’s nothing wrong with being overawed by such a vast project, it’s a lot of yarn to spin, and a lot of hours to invest. If you need to take a bit of a run up to your first fully handspun garment why not do a combination project. Pick out something with some colour work sections, use commercial yarn as your main colour, and handspun for the stranded sections. When you spin, try to match the thickness, and yarn construction of your commercial yarn, but don’t get too hung up on it. I Most of your garment will be in the even commercial yarn , it’s amazing how forgiving the fabric is of unevenness in yarn thickness
There’s nothing wrong with being overawed by such a vast project, it’s a lot of yarn to spin, and a lot of hours to invest. If you need to take a bit of a run up to your first fully handspun garment why not do a combination project. Pick out something with some colour work sections, use commercial yarn as your main colour, and handspun for the stranded sections. When you spin, try to match the thickness, and yarn construction of your commercial yarn, but don’t get too hung up on it. I Most of your garment will be in the even commercial yarn , it’s amazing how forgiving the fabric is of unevenness in yarn thickness
With all these scenarios don’t judge anything until you have washed and blocked your garment. Blocking isn’t just for lace, it’s also for ordinary knitting, it helps ease things in to the right shape, and evens out stitches. I’d even recommend blocking before doing any sewing up, sewing in a sleeve is much easier on blocked fabric. The biggest time investment you’ll spend on any handspun, knitted garment is the spinning and the knitting, not rushing the little steps is what makes your garment from being something nice, to something extraordinary.
Hilltop CloudHilltop Cloud- Spin Different
Beautiful fibre you'll love to work with. Established 2011 VAT Reg- 209 4066 19 Dugoed Bach, Mallwyd, Machynlleth,
Powys, SY20 9HR |

