|
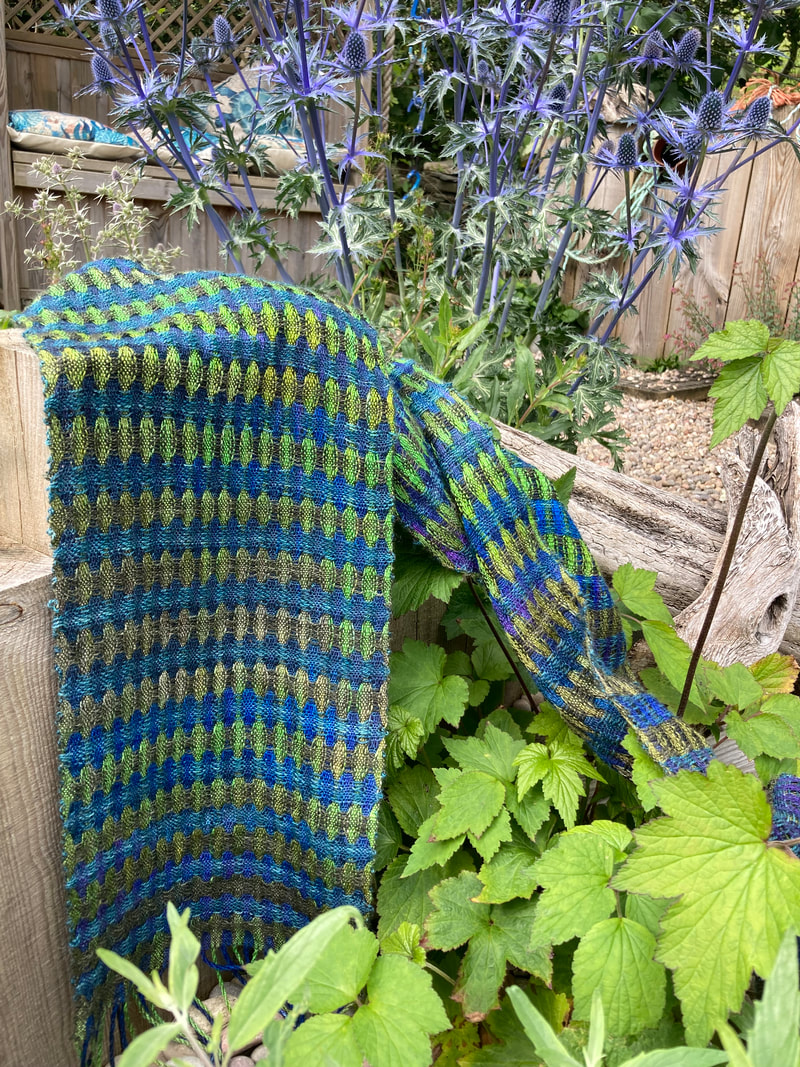
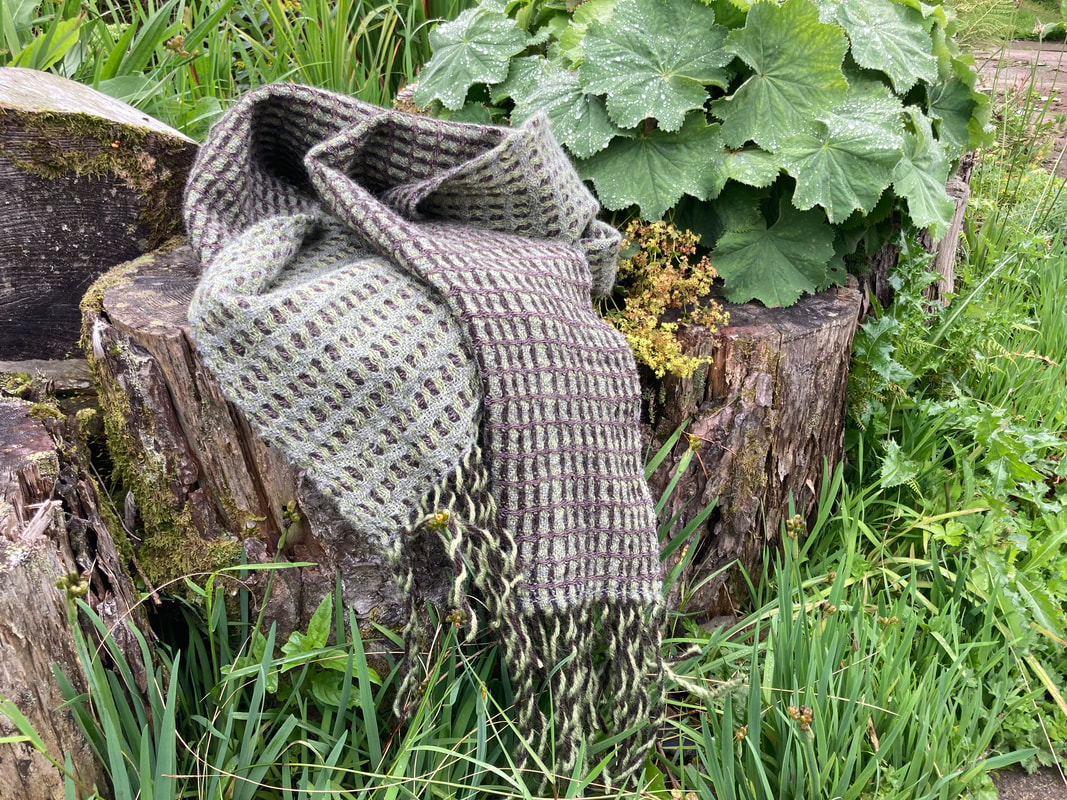
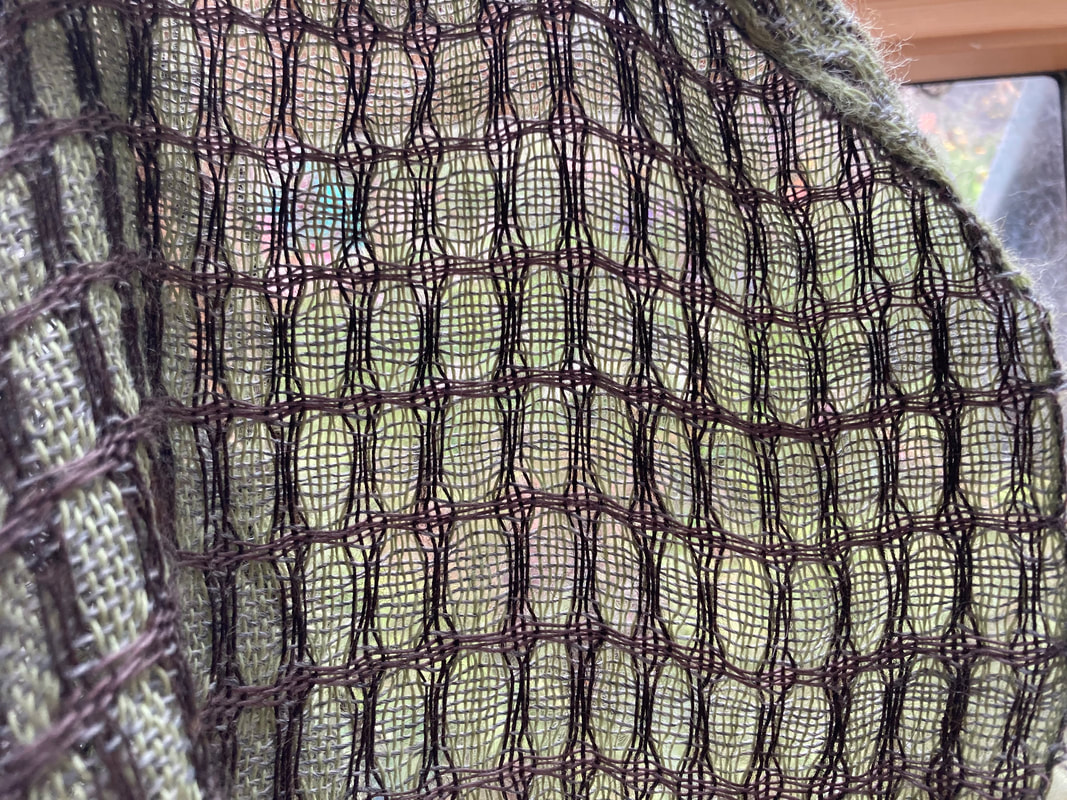
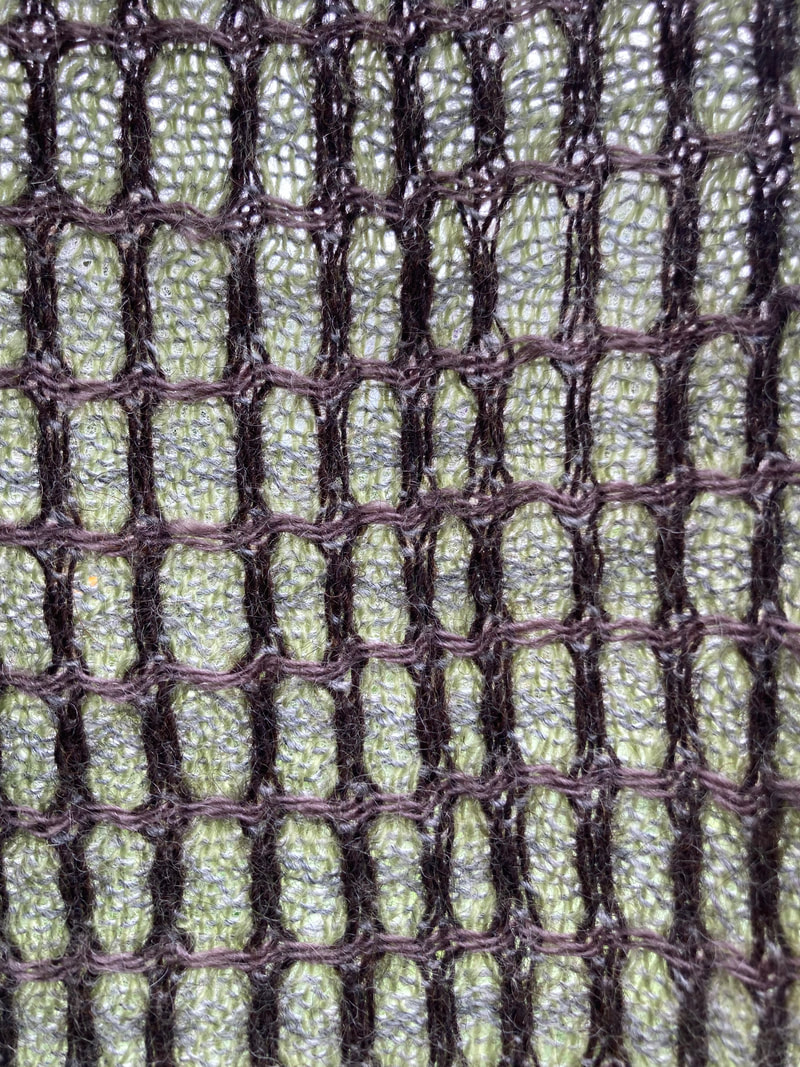
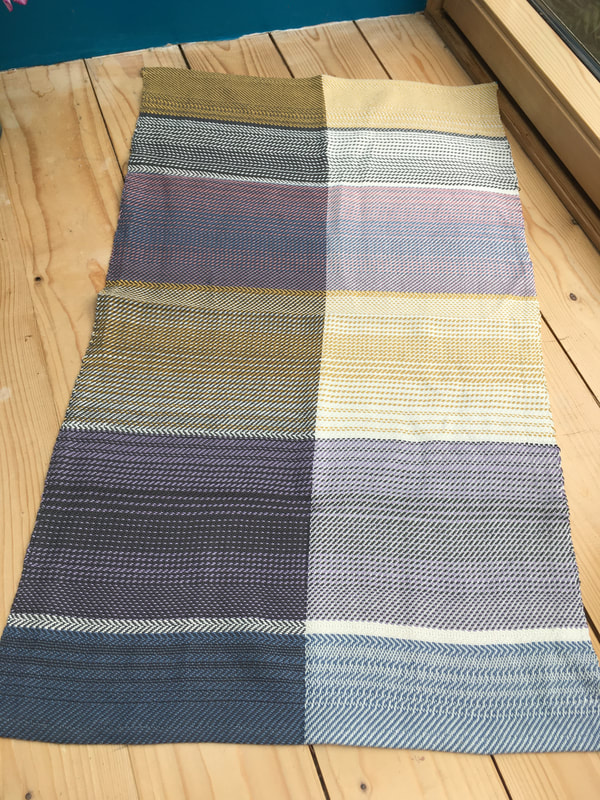
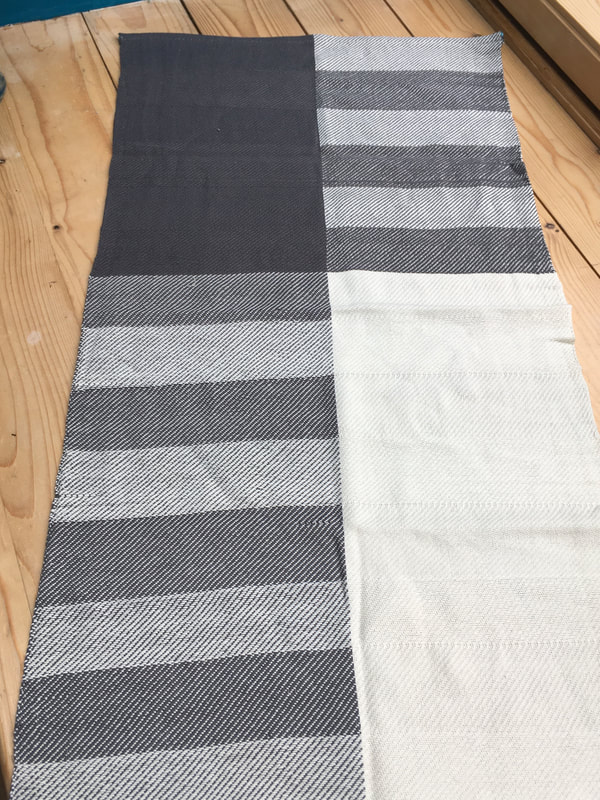
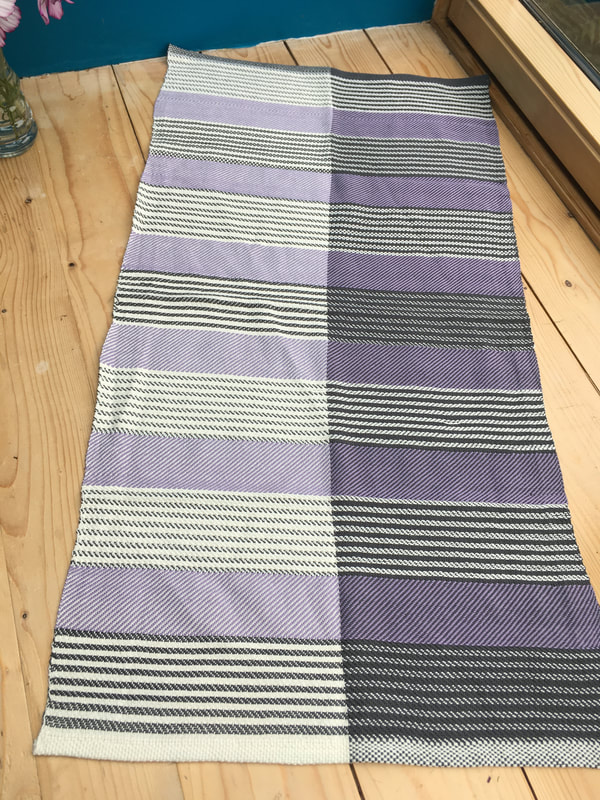
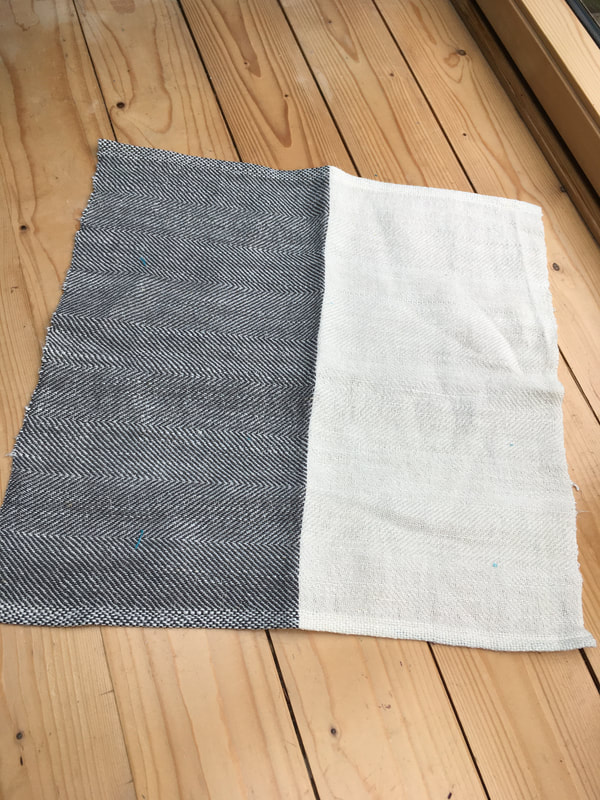
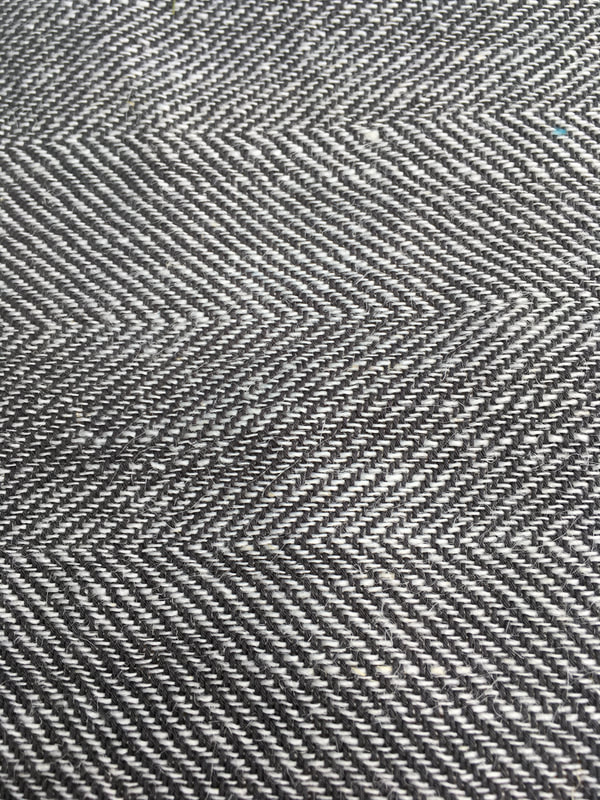
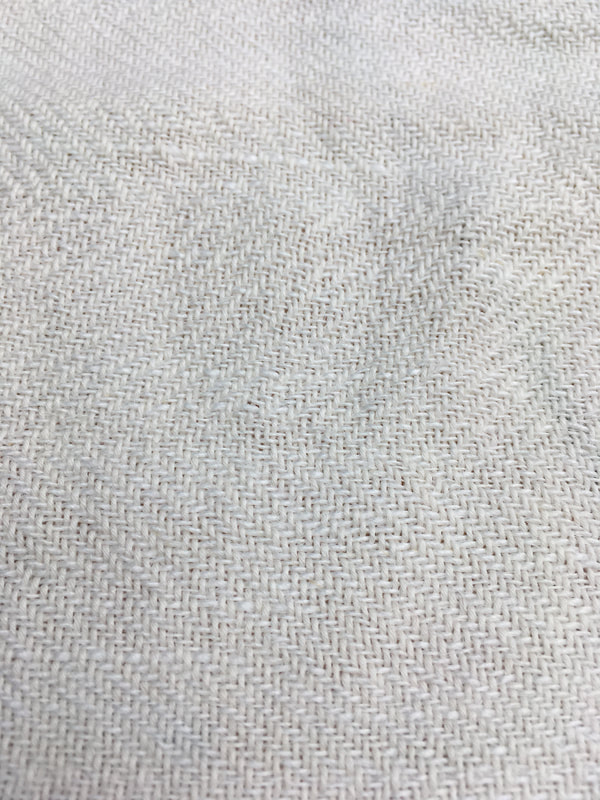
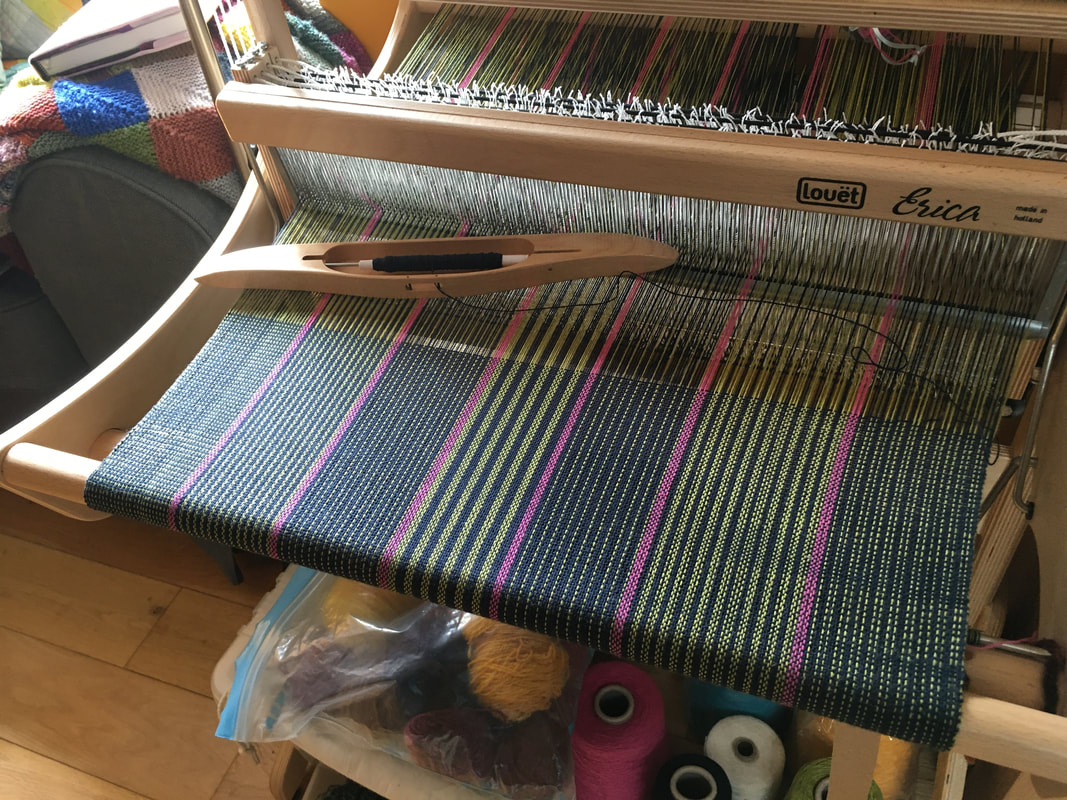
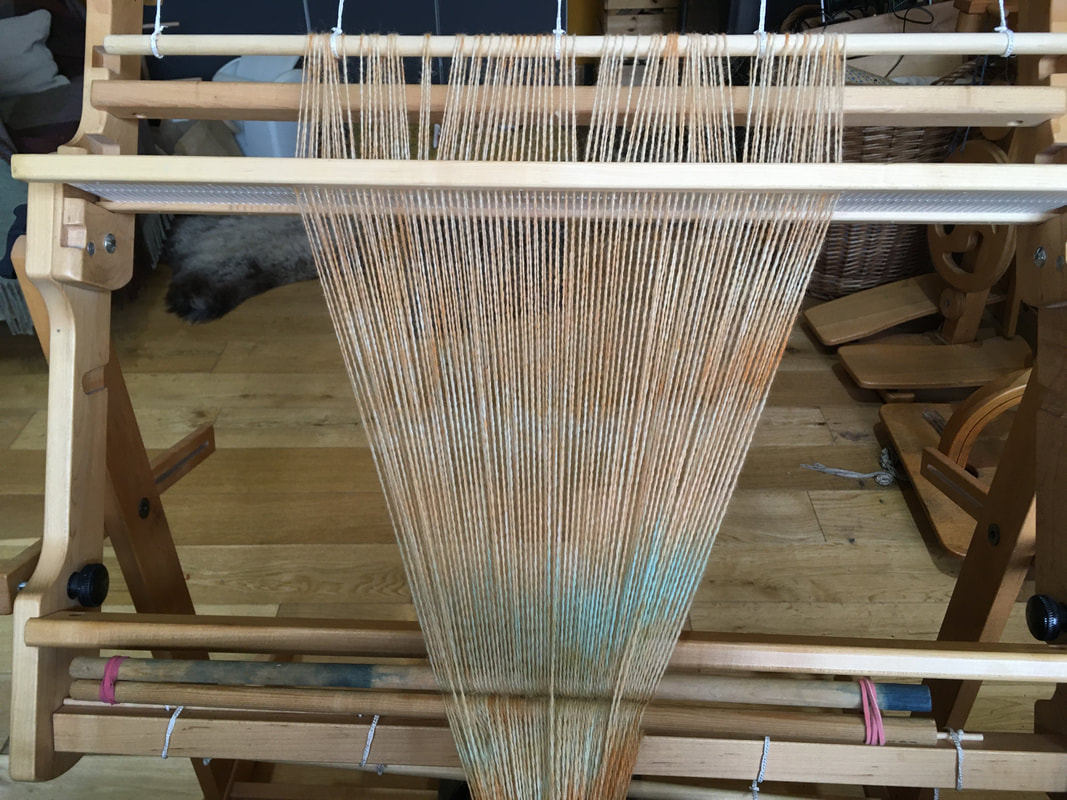
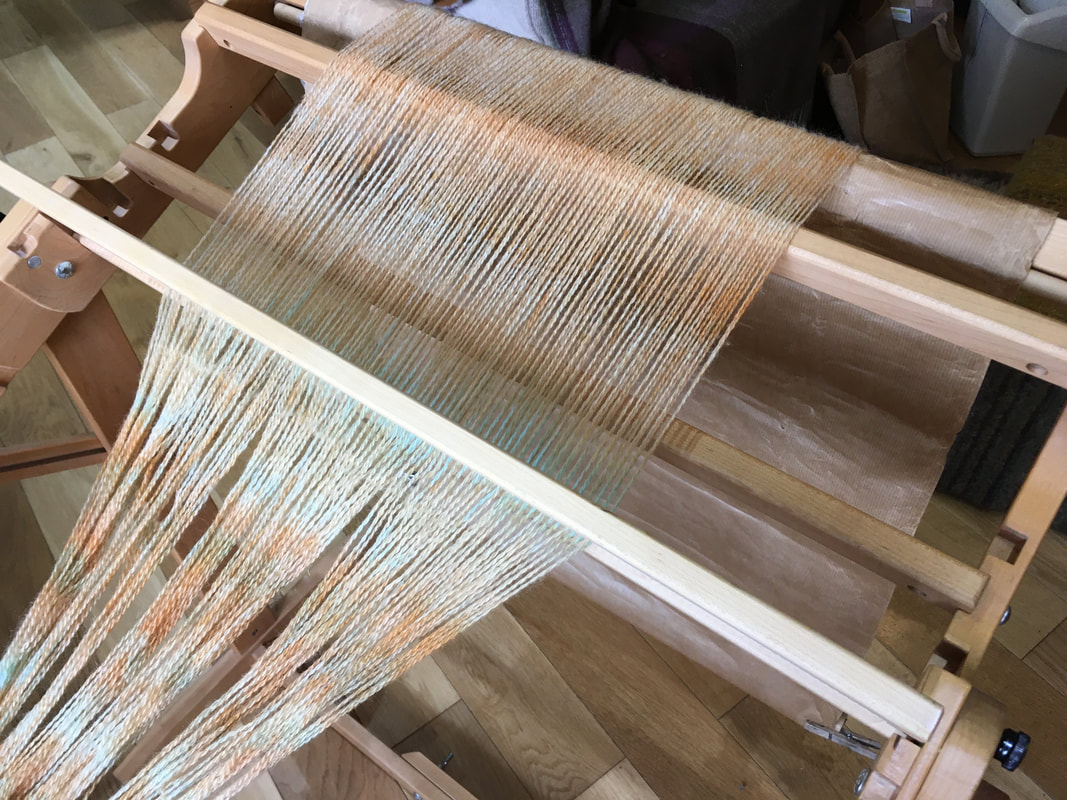
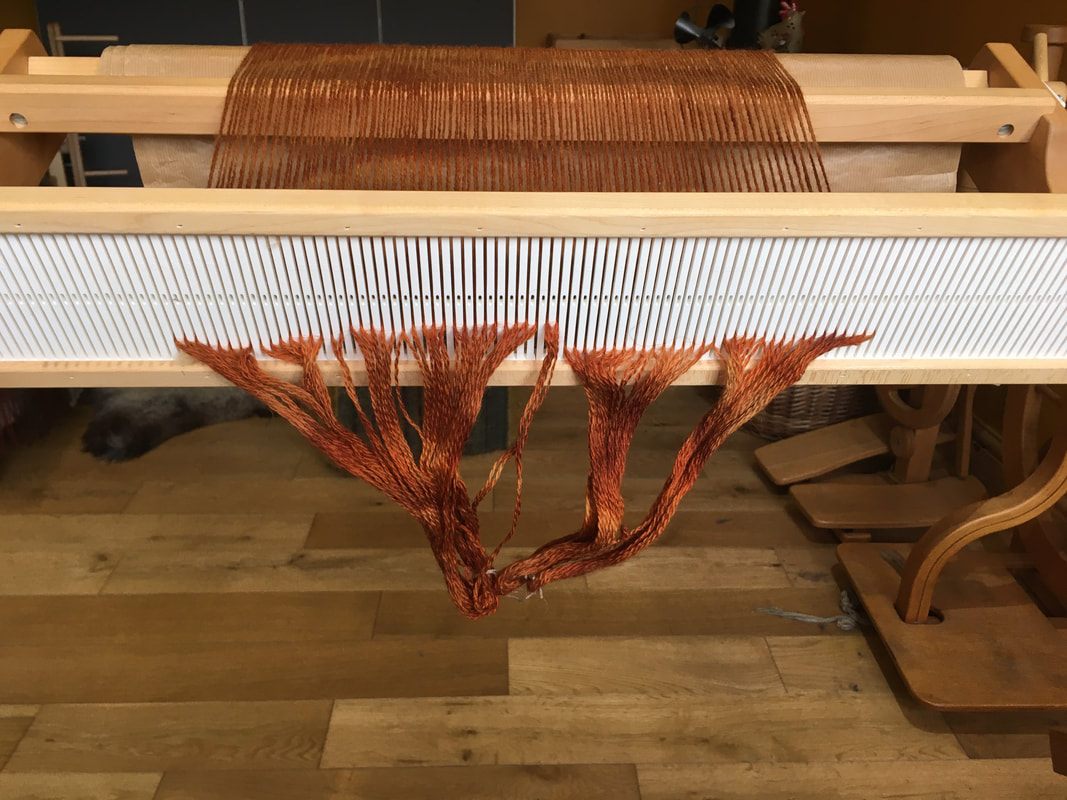
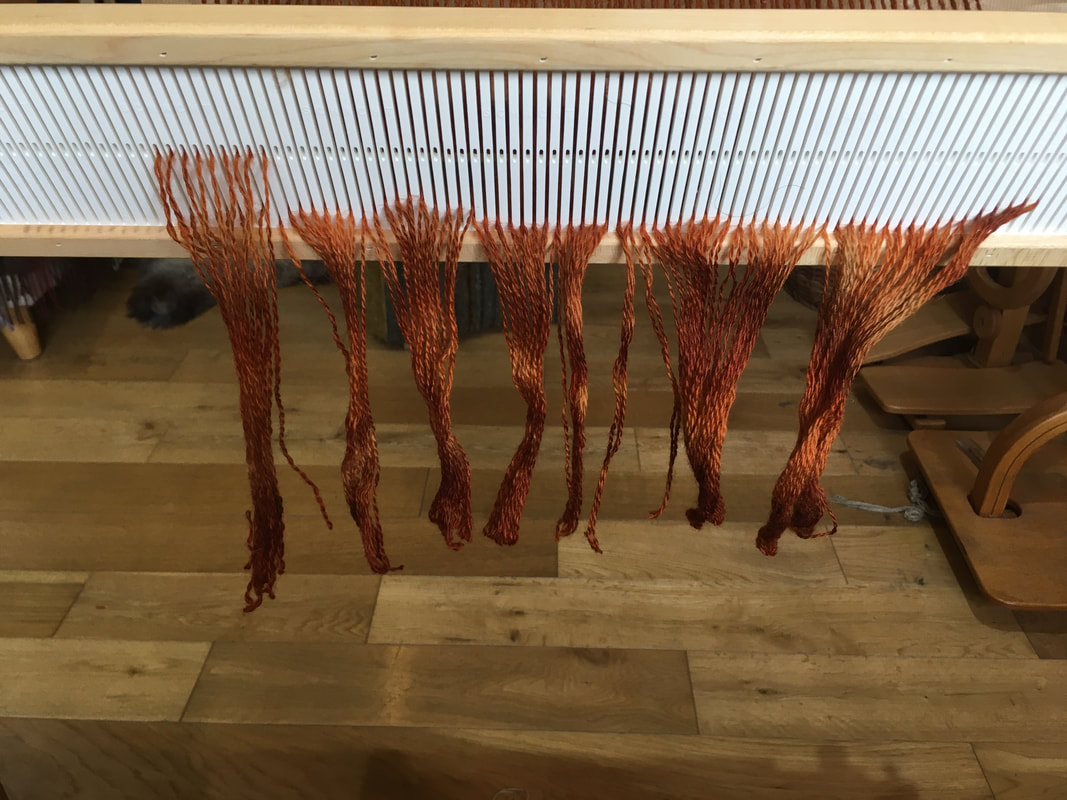
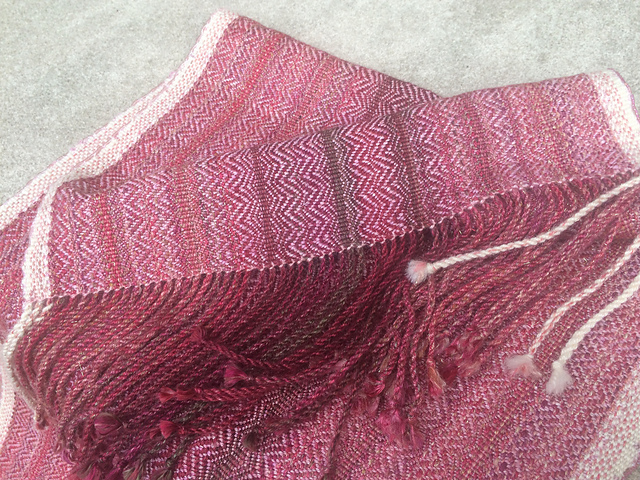
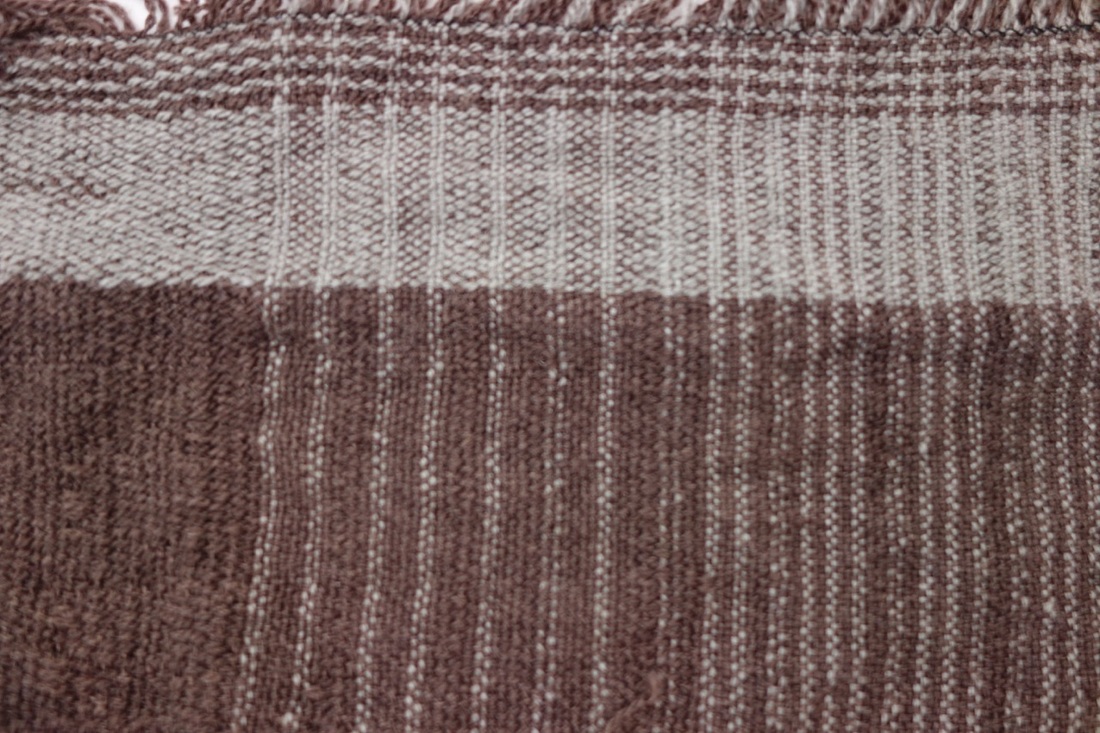
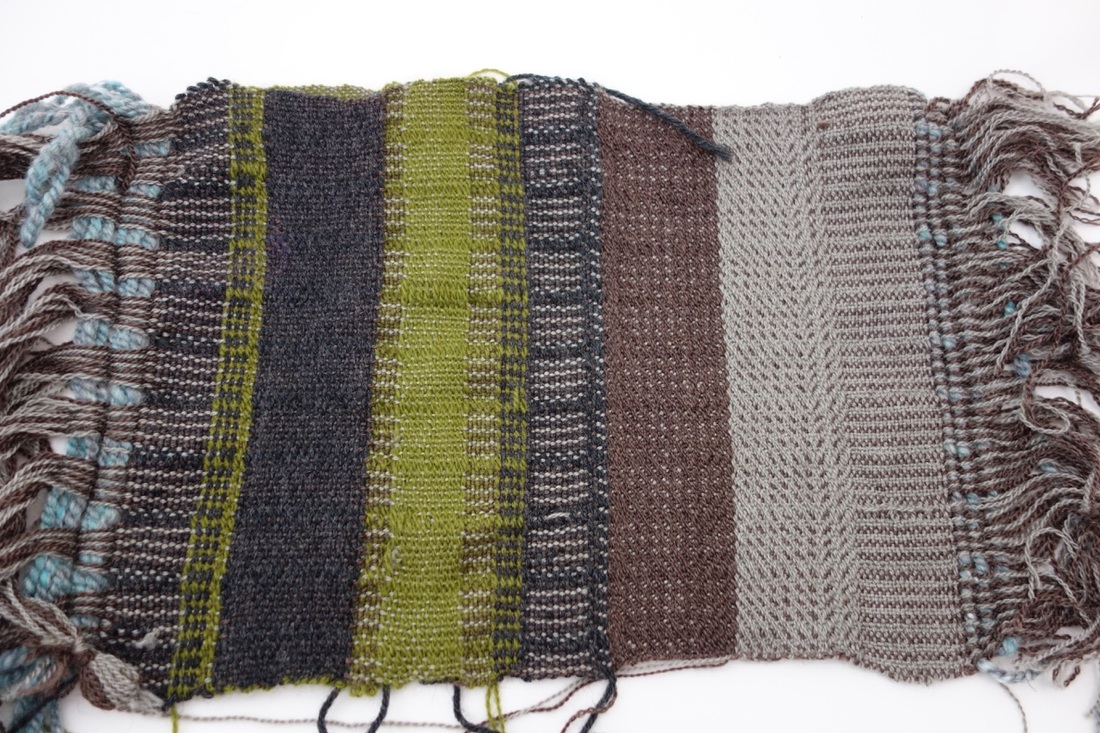
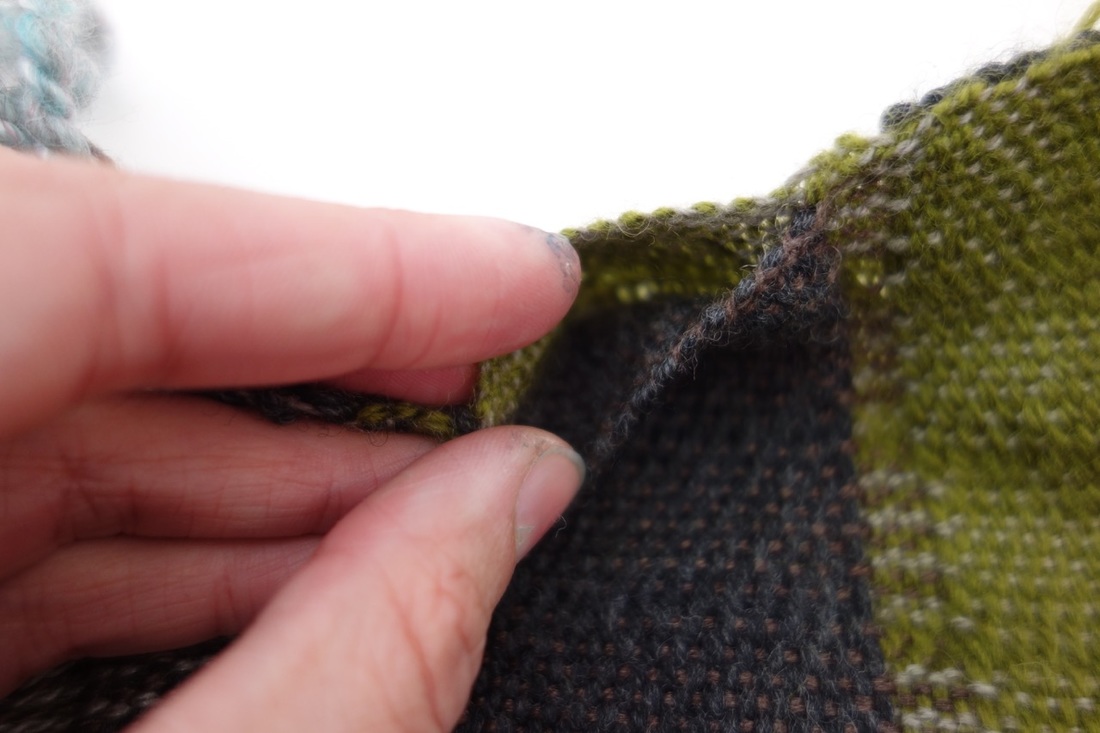
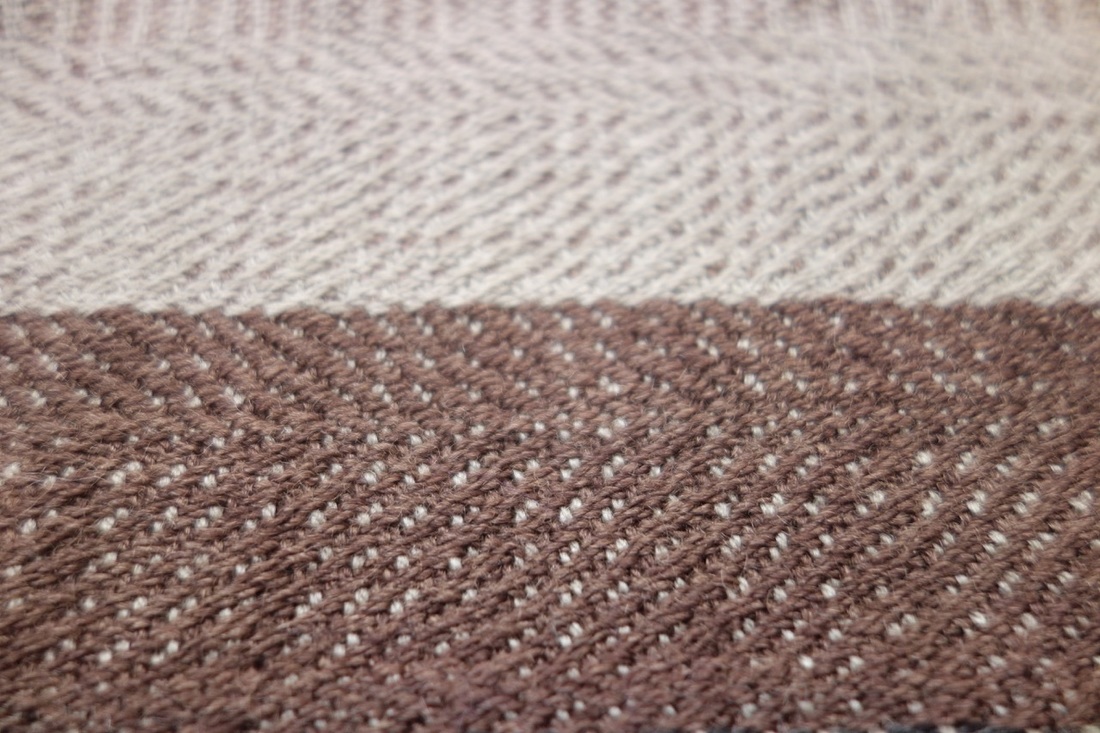
I have fallen down a weaving rabbit hole... in part because someone contacted me about custom drying some warps and sent me a link to the work of Natalie Drummond. Now I only have a 4 shaft loom so some of the more complicated patterns aren't possible, but it's still a weave structure that's possible, and I love the peep hole effect and the way it works with hand dyed warps. So in the spirit of jumping in at the deep end I grabbed some Tussah Silk I'd wound off to finish a cone of yarn, and chucked some dye on and set to work. The draft was one originally designed to be wool cushion covers from a back edition of Handwoven, but I did some maths and sett the 2/20 Tussah at 24epi. The weft was some hand dyed BFL, Camel and Silk in the same thickness that I dyed in a co-ordinating green and blue. The information in Handwoven suggested to use a very light beat, but as I wove off the warp I found that I like a firmer beat better, and it produced a better looking cloth. In essence it's plain weave with alternating floats that then spread out, so the plain weave sections do actually need to be pretty firm or the whole thing opens up far too much. Spurred on by that success I then used some of the Corriedale Singles from the shop and adapted this draft. I wanted to leave space for the yarn to close up during fulling so it was sett at 18epi. Below are before and after shots. The finished fabric is light and fluffy, drapes really nicely, but is still firmed up enough to feel like cloth.
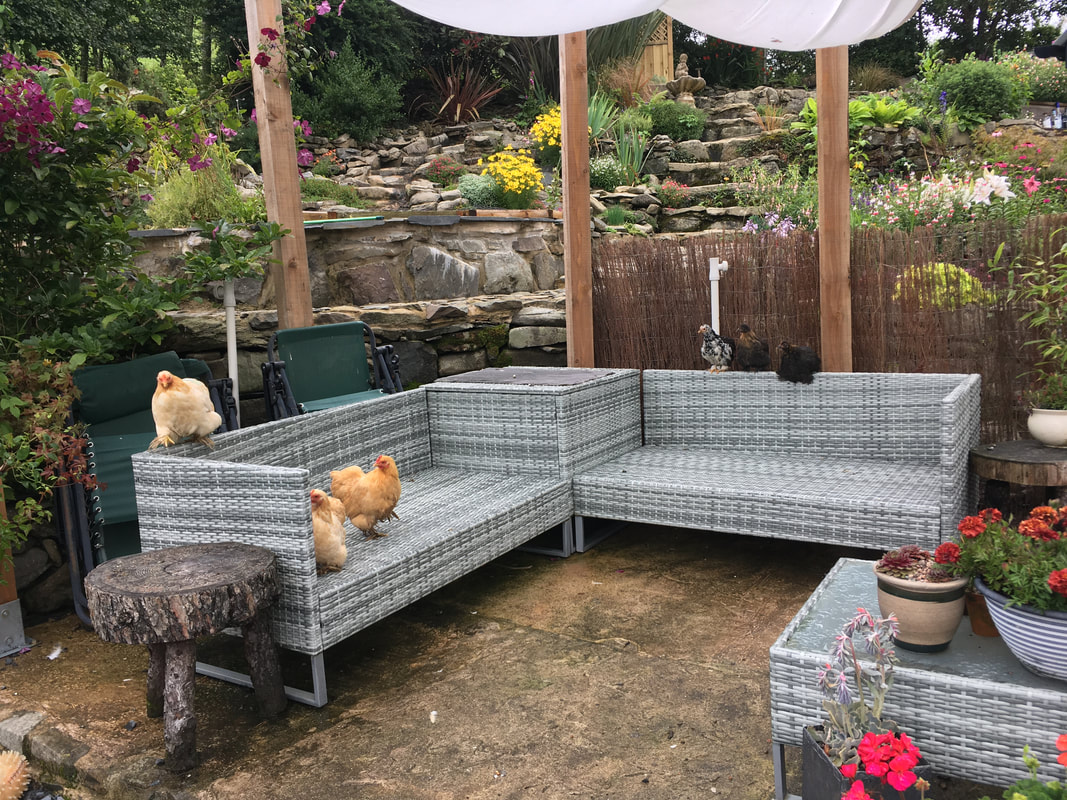
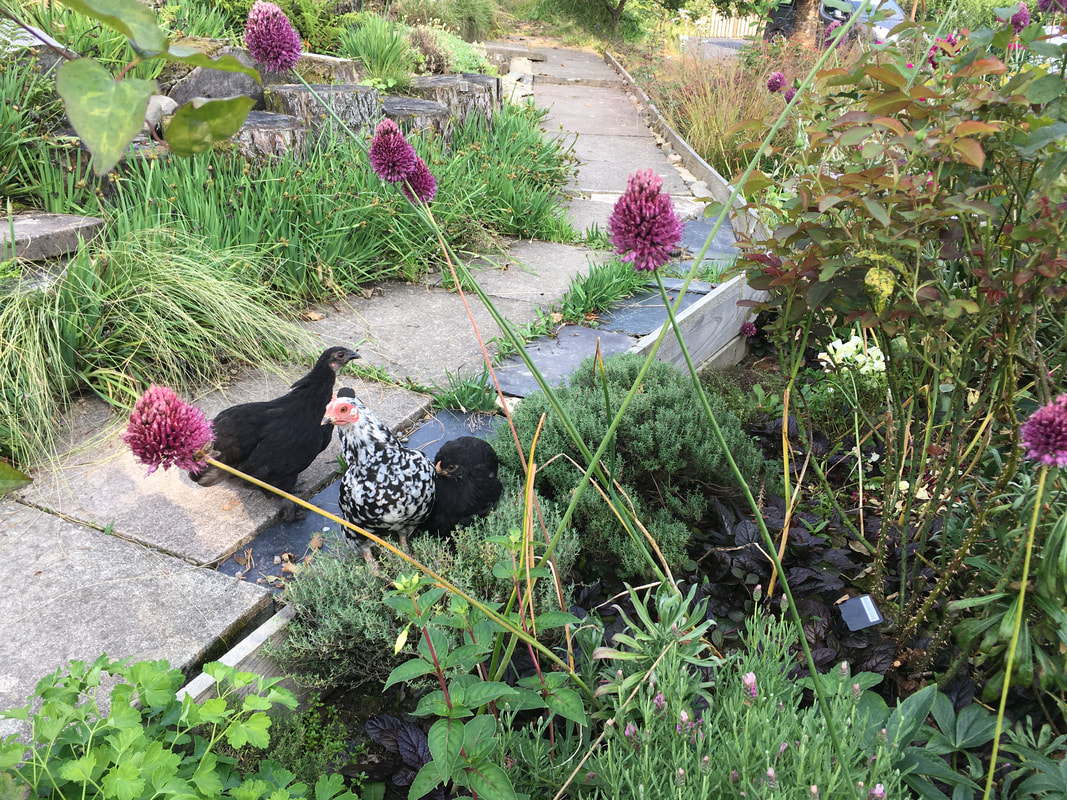
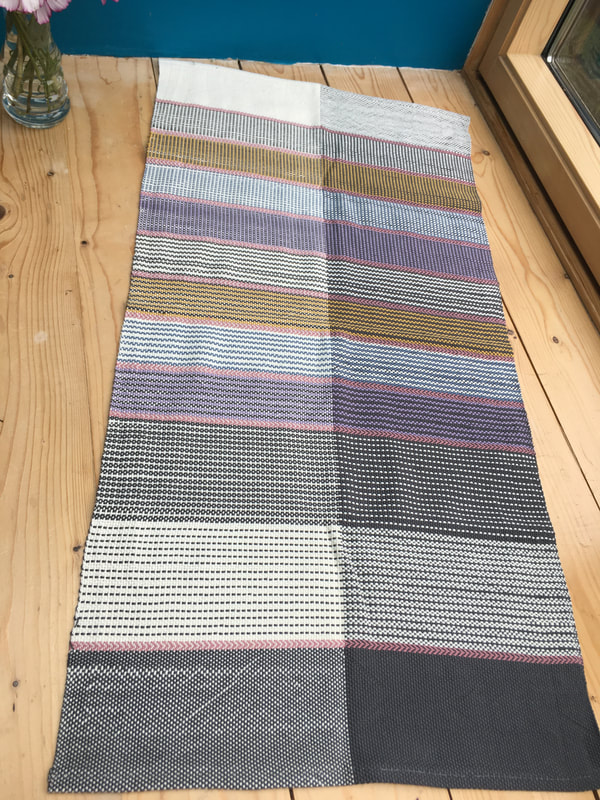
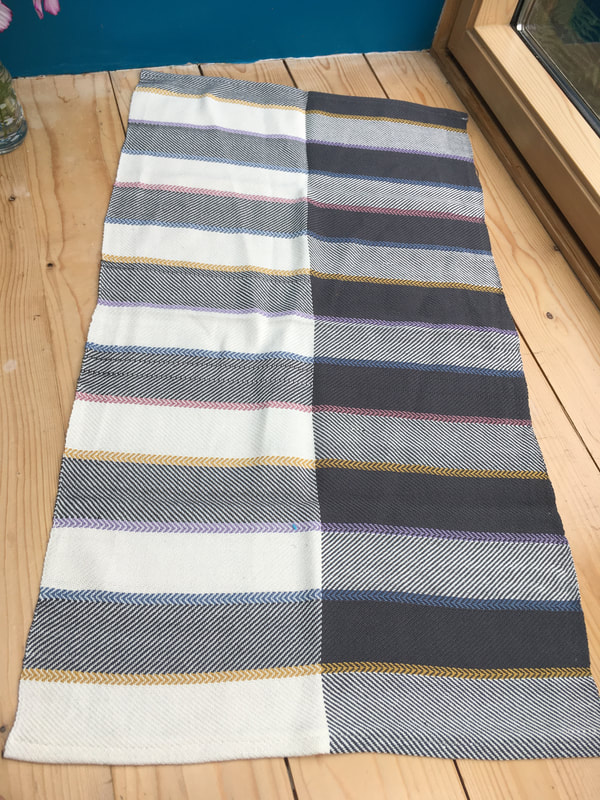
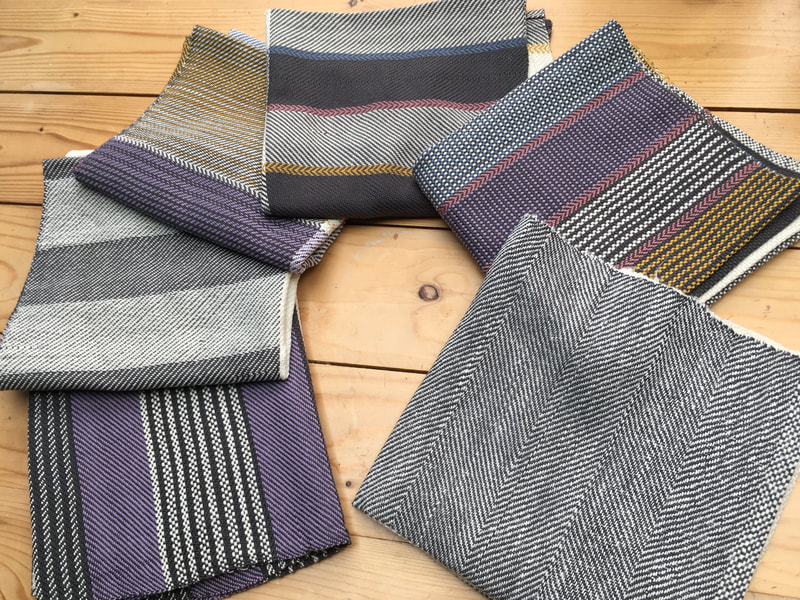
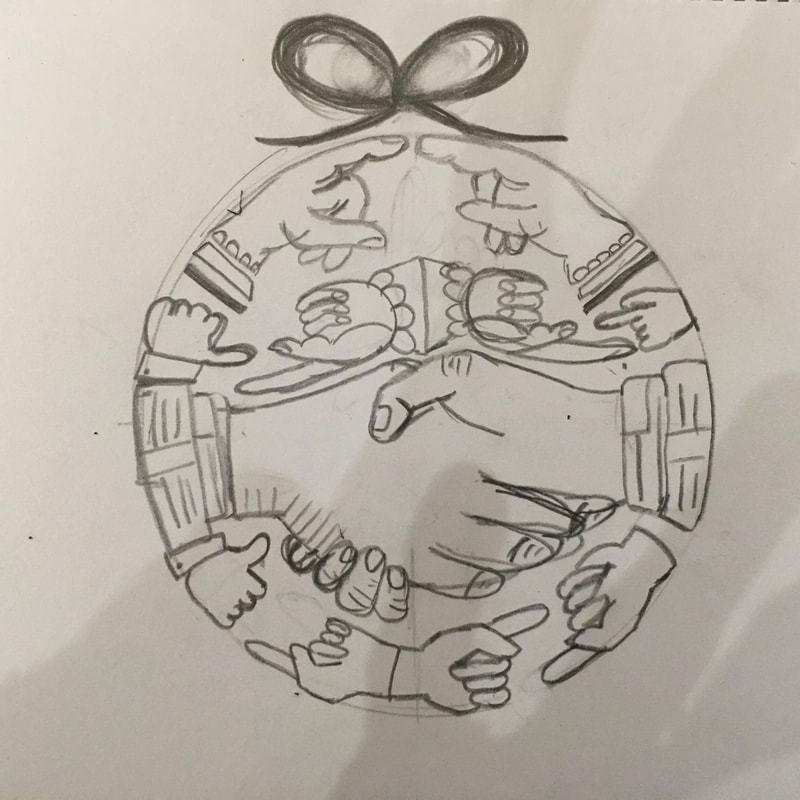
August went by with no monthly round up... For someone who is mostly staying at home it's amazing how busy life has been. We've had visits from family, who have been making the most of the opportunity to get out of the city and spend the time with us in the countryside. I'm not feeling very positive about our chances of not needing further restrictions as we go in to winter so we grasped the opportunity to see them and spend time with them. I was also really busy making sure all the things I needed to do for my Fiberworld booth were in place, and of course there's been the building of the new Mighty Networks Group. Speaking of the new group, it's also our new home for all things Tour de Fleece, which we are doing again for the second time as the riders race. Please come and join us, here's lots of beautiful spinning going on. In addition to Gin, Tonic and Not-A-Squirel we also have 3 new young females chicken which were purchased a few weeks ago. All 3 are complete characters, who escaped their isolation cage less than 12 hours after arriving, and have carried on their Dugoed life in much the same spirit of adventure! All 6 have formed one large gang, and have settled in really well, and have decided that the outdoor furniture was purchased purely for them to have somewhere comfortable to hang out. The new babies are still hanging around with Ebony, weeks after most female chickens usually give up on mothering their babies! She's slightly less protective of them, but will still find food for them, and they go everywhere together. We're reasonably confident that both are females, though it's hard to tell with the Polish genes that are still running through the flock, so have gone for Juniper for the baby with the quiff (that's the questionable female), and Myrtle for the other one. I'm still plugging away at a secret sewing project, so nothing to show off on that front, but I have woven another of the projects from Jane Stafford's Online Guild, this is the gamp from Episode 1, which is just a simple 2 colour stripe to experiment with 2/2, 3/1, 1/3 and basket weave. The original sample of just done in grey and white, but as ever I went off piste and introduced more colours to give me more options to play around with patterns. This set go perfectly with our kitchen, so they're already in use! The next warp is wound, I thought I'd be clever and use up the cone of blue I'd used as its of weft in these towels.... and then ran short with a quarter of the warp left to wind. So I had to order another... and then to make the most of the postage I added a few more colours. This weaving thing is leading to serious stash multiplication! Now all I need is a day with enough energy and brain power to get the warp on the loom and threaded. Hopefully this weekend. I have got a shop update of fibre in the drying shed that is waiting for photos. I'd hoped to do it today, but I'm not sure I'll be able to fit it in... keep an eye on your inboxes! I've also been planning ahead. Yes, the 12 Days of Christmas parcels will be back again. The fibre is ordered, and this is going to be the design on the hand printed bags. I'd done some sketching around, and not come up with anything satisfactory, and then a friend shared an instagram account with me and everything fell in to place. Wash your hands seems to have been the theme of this year, along with all the helping hands, and the pointing fingers highlighting governments not doing the right things.... As creative people our hands are our tools, I can make yarn on just about any piece of equipment because my hands are the most important thing in my tool box. Anyway, they've all been set in a festive bauble, my hand drawn version of printers manicules that will then be carved on a block of lino ready for hand printing. The contents of the parcels... well that's a surprise as ever, but there will only be one colour choice this year. The fibre is already ordered and once it's here I'll be able to make them available to purchase. It should be sometime in October. There will be 100g of hand dyed luxury fibre, and then 11 parcels of 20g of co-ordinating fibre. All parcelled up individually and in a hand printed cotton drawstring bag. They're going to cost £37.50 (ex VAT), £40 (inc VAT), and will be posted to you in good time to arrive before December 25th when you are scheduled to open your first parcel, and you then get a parcel every day after that until January 5th. I've been writing away about doing things to make you a better spinner for a few years now, and recently filmed an hour long lecture for Fiberworld, that may be available in the near future for people who weren't at the event, either through Fiberworld, or if they choose not to take up the first refusal rights in my contract (or I decide that I'd like to go in my own direction). Meanwhile, because as always I have more things I'd like to do than I have hours in the day, I've written an article for Ply Magazine about using a control card. The Basics issue is out now, and is filled with things that will make everyone a better spinner, no matter your level of experience. Digital copes are available direct from Ply, as are printed copies and subscriptions, or they have distributors in most parts of the world. Happy Spinning everyone, look after yourselves. Wash your hands, wear a mask properly, stay 2m apart from people outside your household, and if you're in the USA go and vote!
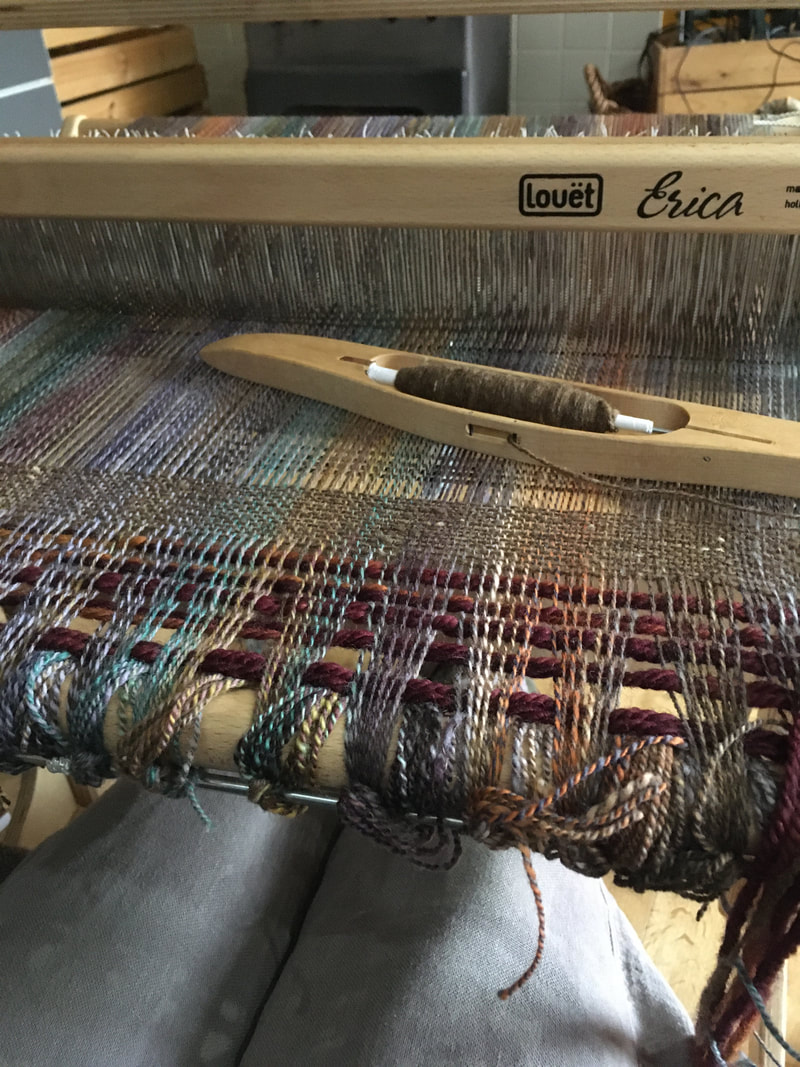
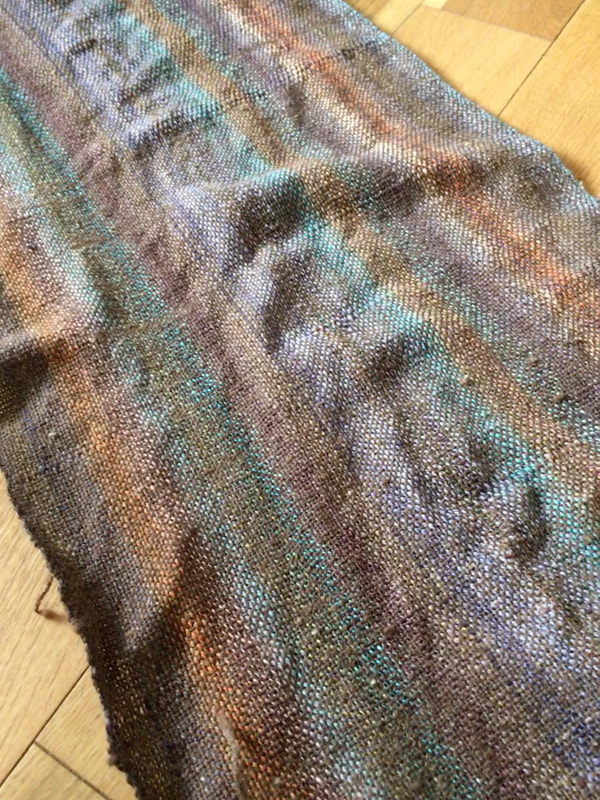
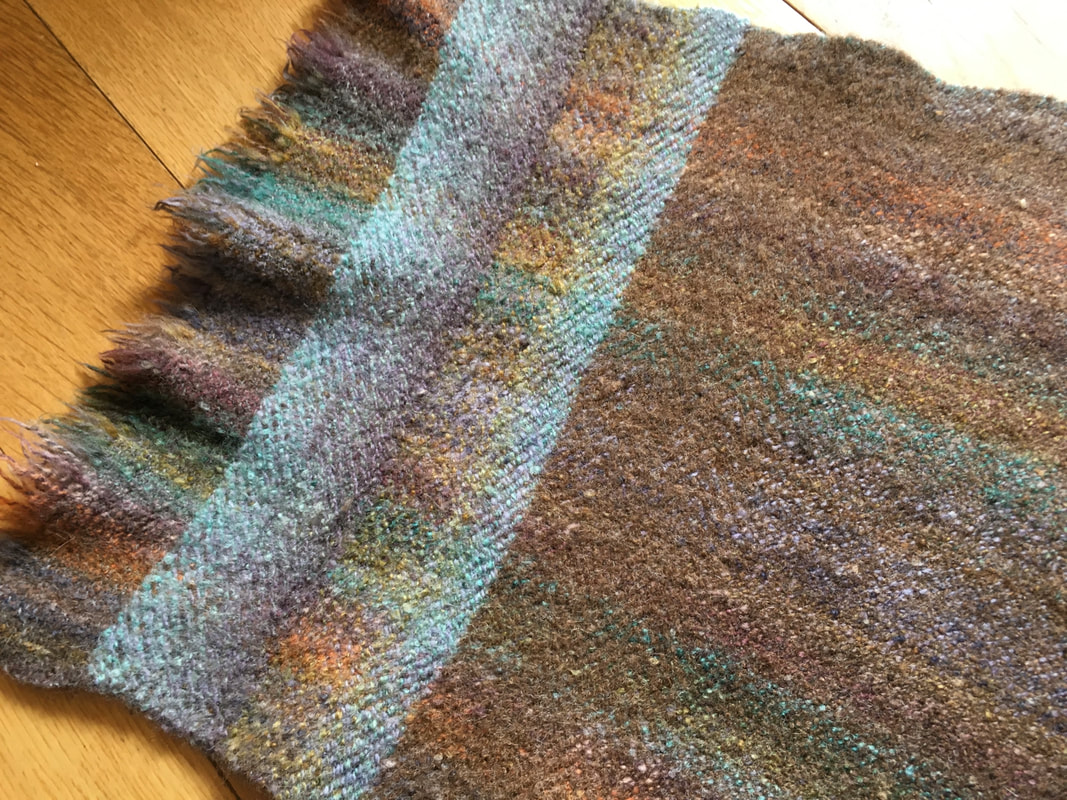
Life at the moment seems to fall in to 2 categories, those with too much time to fill, and those with no enough time. It could be argued that those with too much time to fill need to find themselves an all absorbing hobby (I could gently suggest they try spinning!). At present I am firmly in the category not enough time to fill. I am fortunate in that I can carry on with my business pretty much as normal, a few potential issues got side-stepped by some forward planning I did at the beginning of March when I could see the storm clouds building. The good weather has also dragged me out in to the garden more than usual, with the feeling that I should appreciate the sun on my back and soil that isn't like a quagmire. But at the end of March I ordered myself a new loom. I've woven on a rigid heddle loom for years now, and have always been very content with what I could produce. But with the dyeing of warps came the discovering a whole new skill, and a thought of "I'll take a look at some 4-shaft table looms at Wonderwool" turned in to a clicking of a button, and a new Erica 50cm 4 shaft loom was now mine. I put the first warp on last Friday, rading the stash for something I had in a sensible quantity, and that I had no fixed plan for. Despite winding the warps for the shop for a few months now I made a right mess of winding this one! The usual case of "it's only for me, and it doesn't have to be perfect" combined with more haste, less speed. Yes, winding it from skein to ball would have been a very sensible idea, and maybe picking a bouncy merino wasn't my best plan either. By the end of the warp the inconsistencies in tension were causing real difficulties, and thank heavens it was only a 2m warp to mess around with. This was fresh off the loom... and it is a very dodgy looking piece of cloth! Thankfully fulling is a great leveller... though also revealed another newbie mistake as the sett was far too dense for this thickness of yarn, despite what it looked like on the loom under tension. However, it's still usable, and will be chopped up to make a project bag. At the very end I let myself mess around with the thing that I'm really looking forward to exploring most on the new loom.... twill! I didn't bother changing the sett (density of the warp threads) for this, so it's not very technically correct, but I just wanted to experiment with how the process works so that I can do it better when I tie on a warp for this technique properly. I used some hand-spun skeins of Shetland for the weft, which pulled in dramatically when fulled the cloth (it's also possibly overfulled because I still need to get to know our new washing machine), that really hid a lot of the twill pattern. Inspired by the feeling that I was flailing around in the dark to a certain extent I bought myself a subscription to the Jane Stafford online guild, which I can't remcomned highly enough. I now have a lighted candle to at least let me see where the door is, even though I am definitely not capable of walking through it!
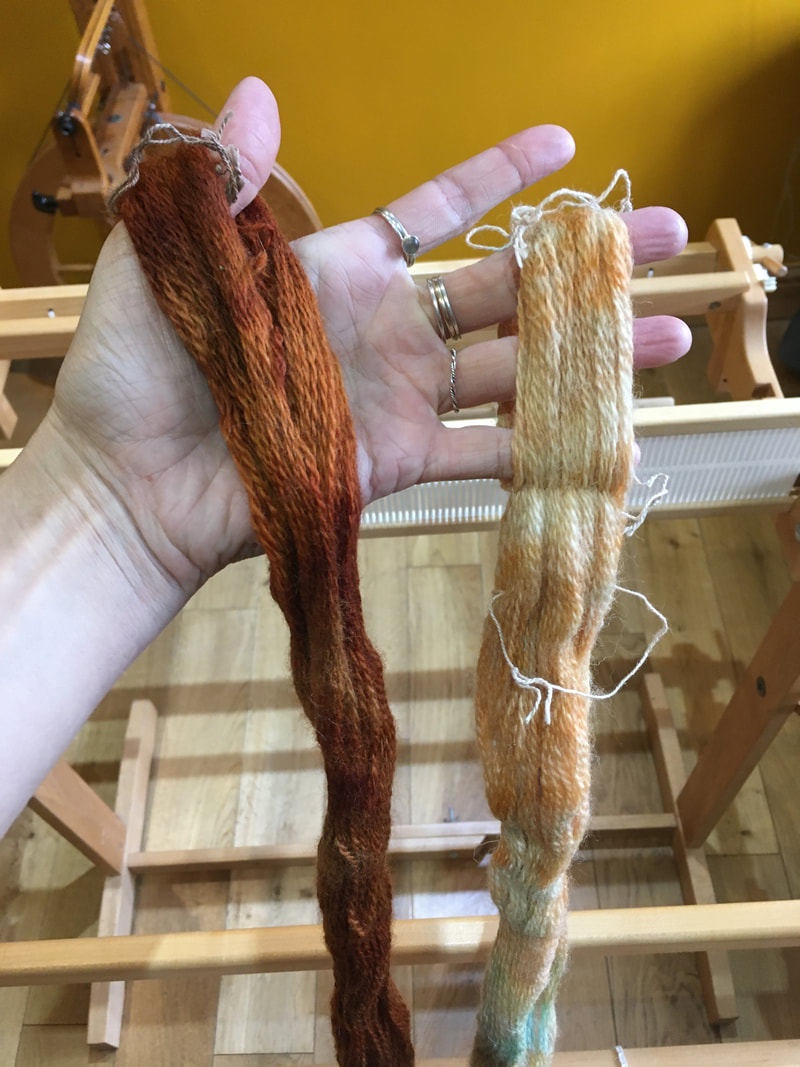
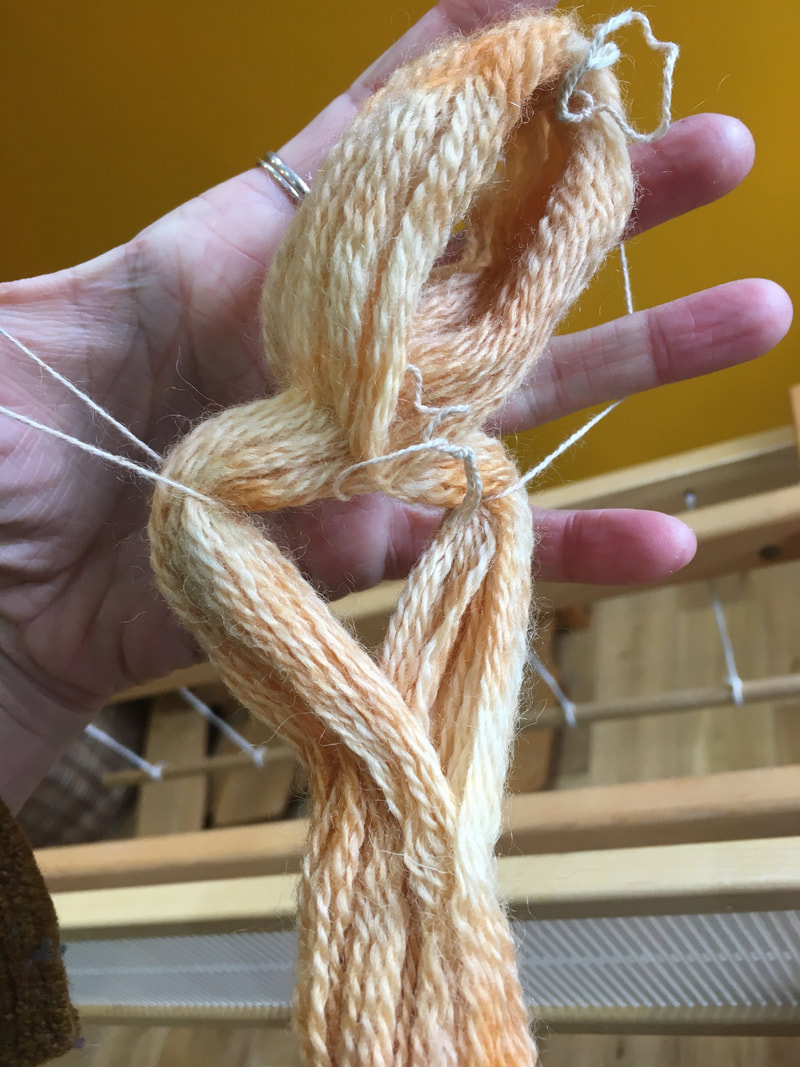
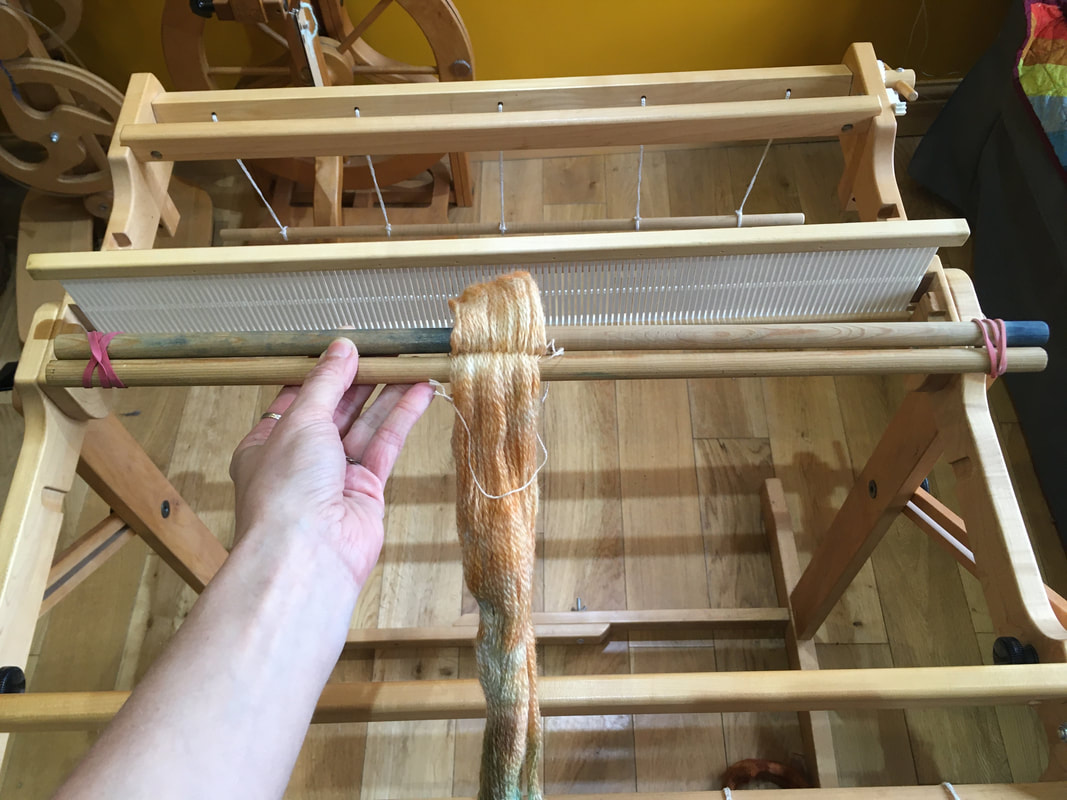
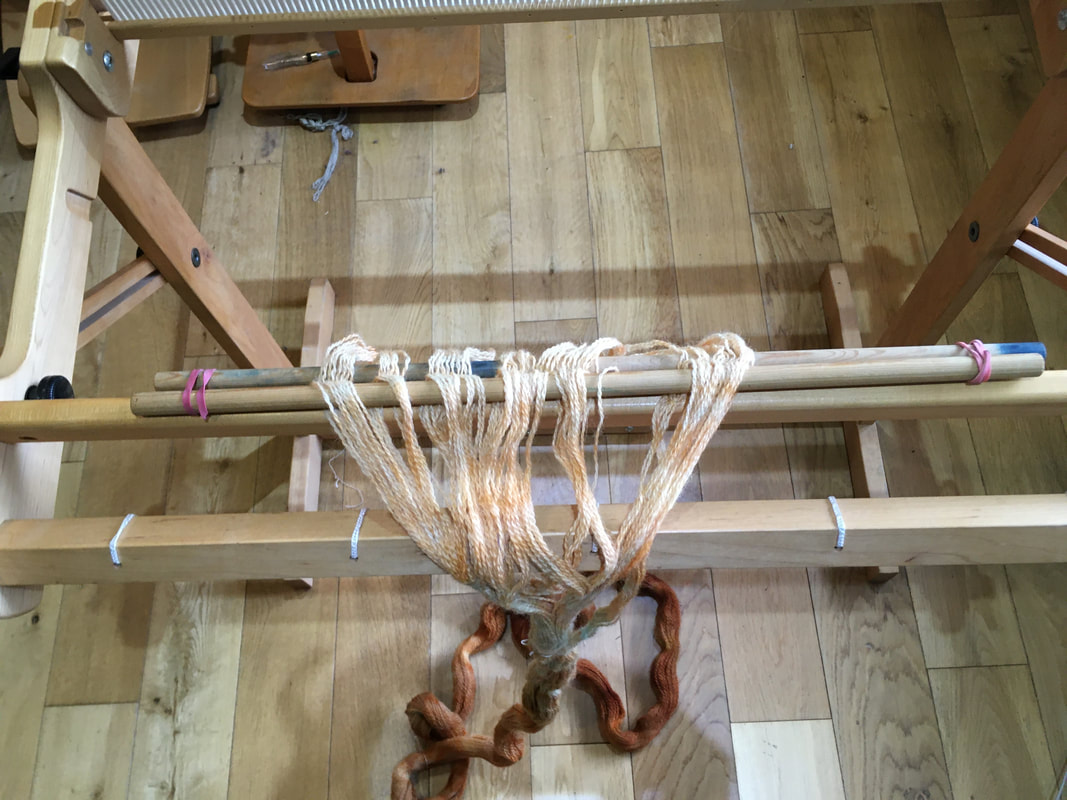
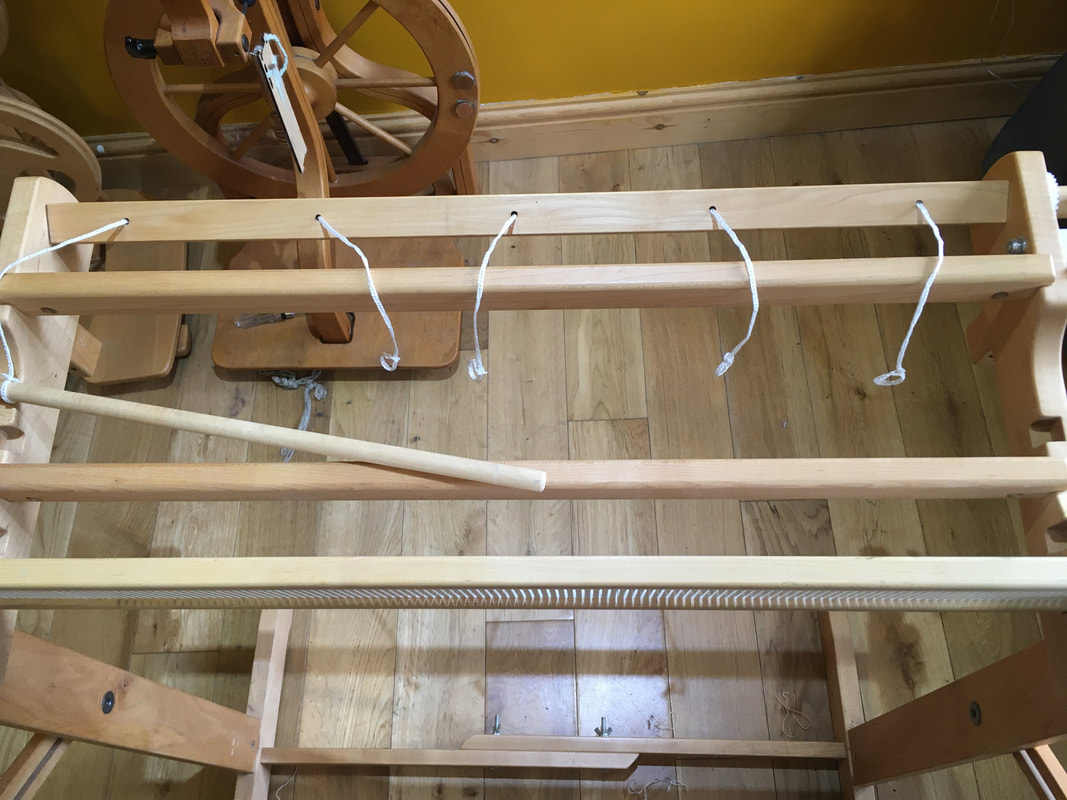
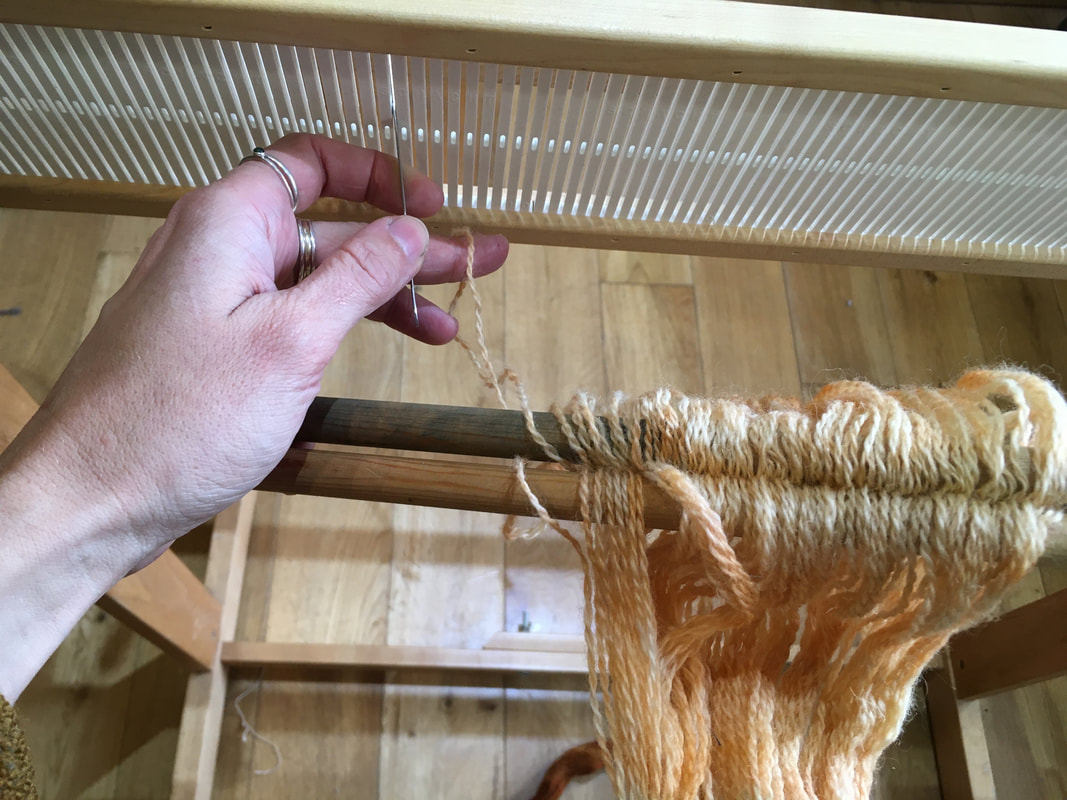
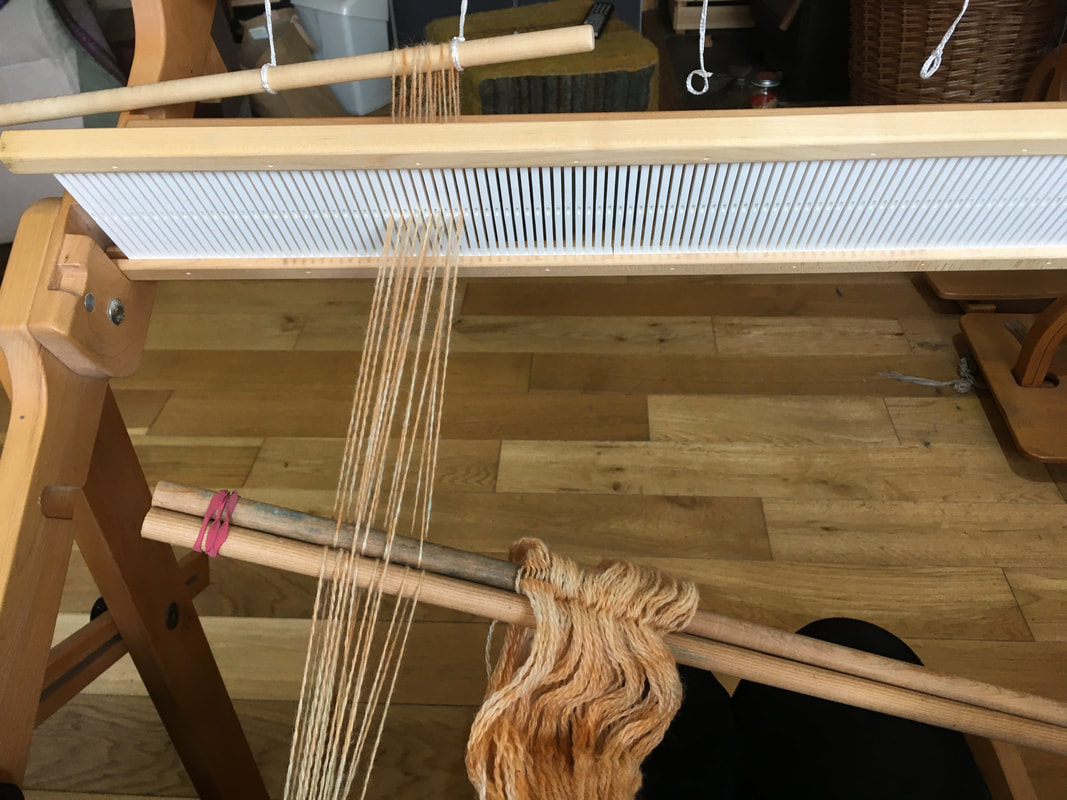
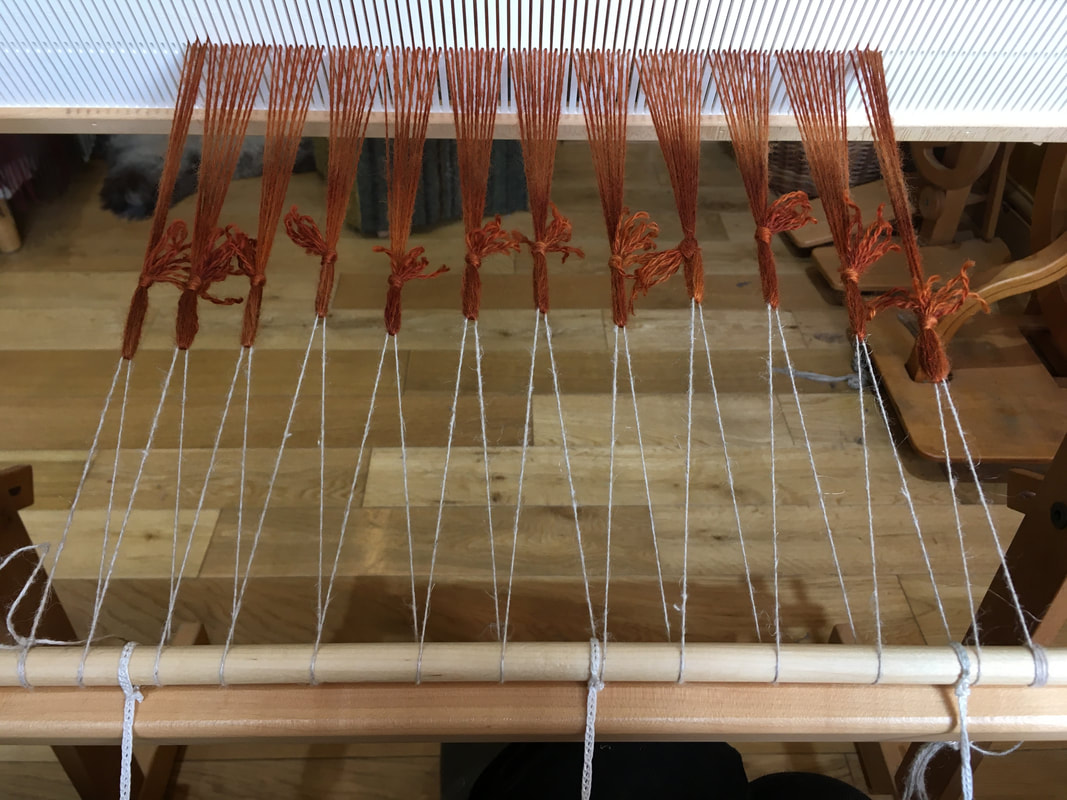
After much video watching I've put on a colour and weave warp in 2/8 cotton to weave some tea towels. My warp still went a bit squiffy towards the end (more haste, less speed, think before rushing to a fix for a problem...), but is so much better, andproved that counting isn't my strong point. The warps I wind to dye are all in one colour, and set up in a way that are quick to count and check ( 3 cones of yarn, 150 ends, I count in groups of 30!). This warp has lots of changing groups of colours, and each section contains a different number of ends. So no, it's not an optical illusion, the 2nd group from the right is bigger than the others. I was already doing some fudging maths because my reed doesn't quite allow me to get the 18epi sett called for in the pattern instructions, and is only just wide enough, so that extra number of ends sent things really awry as I was threading the reed. However, I improvised, and the middle stripe, and the one to the left is threaded at 20epi, and it's only for tea towels, so all will be fine! I'm doing this first towel just using 1 colour because never having woven on cotton as well it seemed to be a bit ambitious to immediately launch in to a true colour and weave of getting the weft to match the warp pattern. However, that will come next! All of this rambling is just to say, take pleasure in getting things wrong, the mistakes teach you what not to do the next time. And then the satisfaction of getting it right is all the sweeter. There have been a lot of pre-wound warps going to new homes over the past few days, and lots of people will shortly be trying to put a pre-wound warp on to their rigid heddle loom for the first time. Most of us who started out with rigid heddle looms have probably only ever used the direct method of warping, but it's just as simple to put a pre-wound warp on your loom. There are lots of resources on the internet, a few You Tube videos, but not very much by way of step-by-step photo tutorials, which is my favourite way to learn because it makes it very easy to follow the instructions as you work, without trying to pause a video, or wish it would get to the point, or go a bit more slowly. This is my method, it's largely the same as the one in Inventive Weaving on a Little Loom (UK Book Depository link, they're a great alternative to Amazon for books, or see if your local independent bookshop can get you a copy). First un-chain your warp. You need to identify which end has "the cross". This is a criss-cross pattern put in as the warps are wound which hold the threads the correct order and stops them getting tangled. In the photo above it's on the right hand side, the end also has more ties, including one around the cross itself, and one in the loop above the cross. Do not cut any ties until you have assembled all your equipment. I recommend using lease sticks. These are sticks that you are going to insert either side of that cross to hold your threads. If you are only doing a narrow warp with bulky yarn you can get away with just using your hands (but you are then attached to your loom until you have completed the warping process. You need 2 smooth sticks of some sort. I have some dowel, but you can use bamboo canes or flat pieces of wood (the slats from blinds work well). The first step is to identify the 2 loops either side of your cross. Pull each of the ties in that loop in opposite directions and it should open up. (This is easier when you can do it with 2 hands and don't need one hand to hold the camera!) Once you've opened up your loops slide in a stick, one on each side of the cross. Then attach your sticks together in some way. You can drill a hole through your sticks/dowel and thread through some string, but a loosely wrapped elastic band also works, though you do need to leave enough space between the sticks for the yarn to slide. Only once you have done this can you remove the ties. Be careful... you only want to cut through the ties and not the strands on your warp. Start to spread your warp out on your lease sticks, and work out where you need to start threading your heddle in order to wind your warp on in the centre of your loom. To do this check how many ends your warp has, and divide it by 4, we'll call this number X. Fid the centre of your heddle, and count along X slots. This is where you will start threading your warp through the heddle. The exact method of the next step will now depend on the type of loom you own. If your loom has a removable apron rod (the piece of dowel held in place with texslov cord that you warp your yarn around when direct warping) the next step is simple. If you have a loom with a fixed apron rod (eg Ashford looms), you can either modify your loom to make it removable, or will have to cut the loops open and tie your warp in place on the back beam just as you would normally do on the front beam. This last method will increase your loom waste, and will require care if you want to keep your colours in your warp aligned. To modify your loom you'll need to remove the plastic rods holding the rod in place, and replace them with texsolv cord, this seems to be nigh on impossible to find online in the UK at the moment, but have a search, you may have more luck than me! Slide your back apron rod out of the loops on the texsolv cord. If you can, leave the loops open, it will make it easier to slide the rod back in place once your warp is looped on. You're now going to thread each loop through a slot in your heddle, and slide it on to the back apron rod. The cross will keep the threads in the right order, just make sure you are not pulling a loop from the next group pf threads as you work. If your warp is wool and has got slightly fuzzy as it's been dyed and rinse you may need to give the threads a good wiggle to work them free. This is fiddly to start off with, the process is easier if your lease sticks are wide enough to rest on the frame of your loom, or you can come up with a way to tie them in place. Once you can slide your apron rod in to a second loop of texslov the whole process become much more stable. Keep going across the whole loom, threading loops in order, making sure not to miss out any slots. Once you're done your loom should now look like it does when you use a direct method of warping. Loops of yarn around your back apron rod, and 2 strands of yarn through every slot, and the remainder of the warp dangling off the loom. You are now safe to remove your lease sticks (the eager eyes will spot something odd going on with my sticks and that some threads aren't wrapped around them properly.... safe to say warping is a job that requires 2 hands and not 1 hand for your loom and the other for the camera. Bad things happened that required a little bit of resolving, fingers crossed it won't cause issues as the warp is wound on, make sure your lease sticks are attached together firmly!) Using one hand to add tension to the warp, and the other to turn the back ratchet, slowly wind your warp on to the loom. Add packing paper or cardboard strips to stop the warp threads overlapping one another and causing uneven winding. Cut the figure of eight ties as you wind. Eventually you'll have wound all your warp on to the back beam and be left with the loops that are attached together at the other end of the warp. Cut the ties holding these loops, and cut the loops themselves open. Now take one of the pair of ends that is going through each slot and transfer it to the next hole. You're now ready to attach your warp on to the front apron rod. You can do this by tying directly on to it, but I prefer to lash it on, as that creates less loom waste, and I find it easier to adjust to get an even tension. To do this take a small bundle of warp yarn, fold the end back, then tie an overhand knot creating a loop. Repeat across all of the warp, then take a length of strong smooth, non-elastic thick thread or string (linen or crochet cotton is ideal) and pass it through the first loop of warp yarn, then take your lashing thread and pass it round the front apron rod, pass the thread through the next loop of warp yarn, and then back around the apron rod. Repeat until all the warp is attached, you'll need to keep pulling the yarn through the loops as you work.
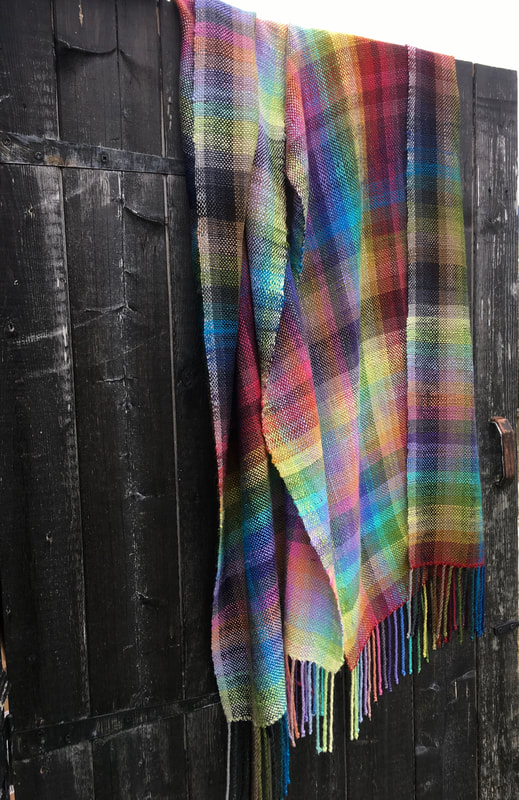
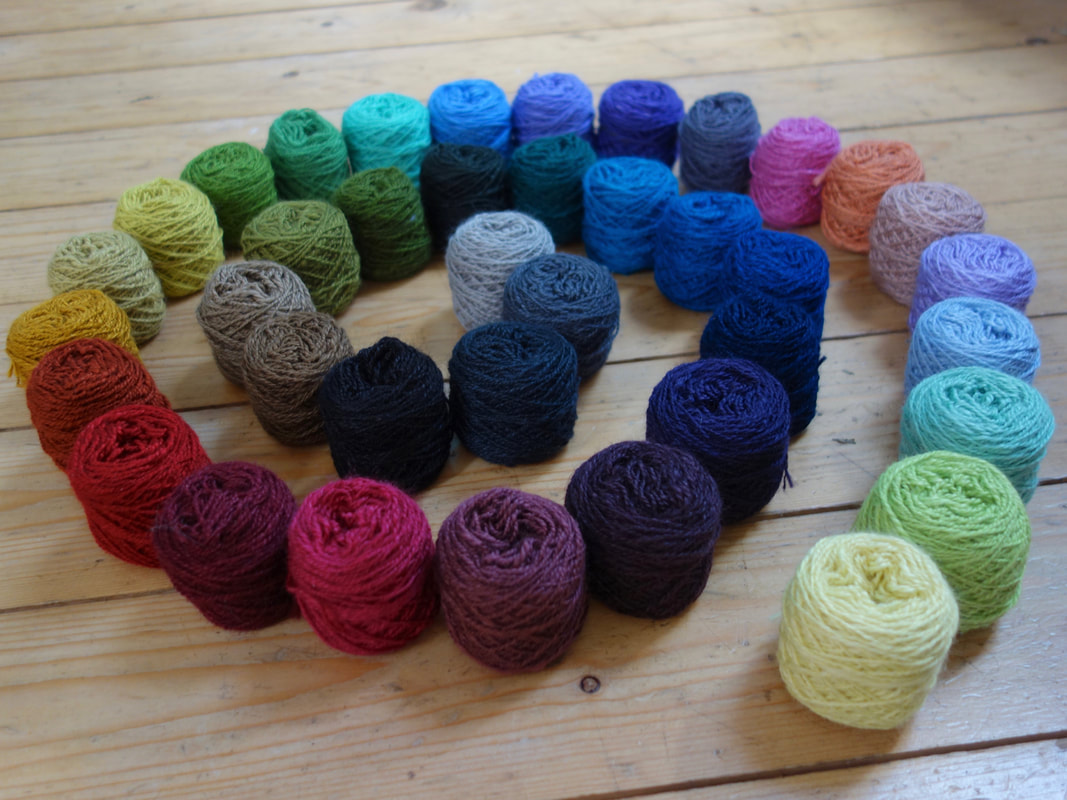
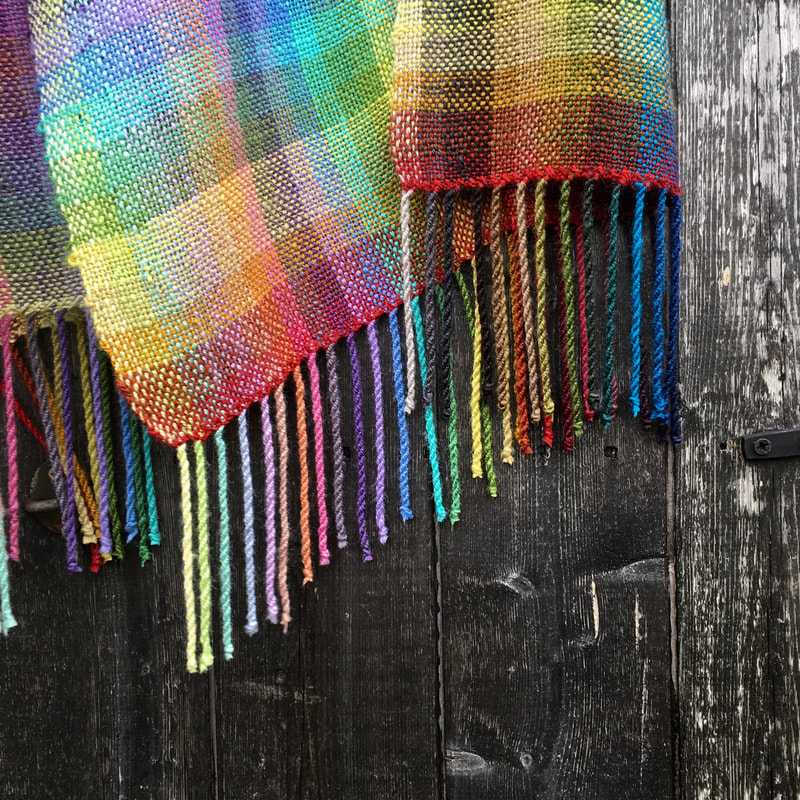
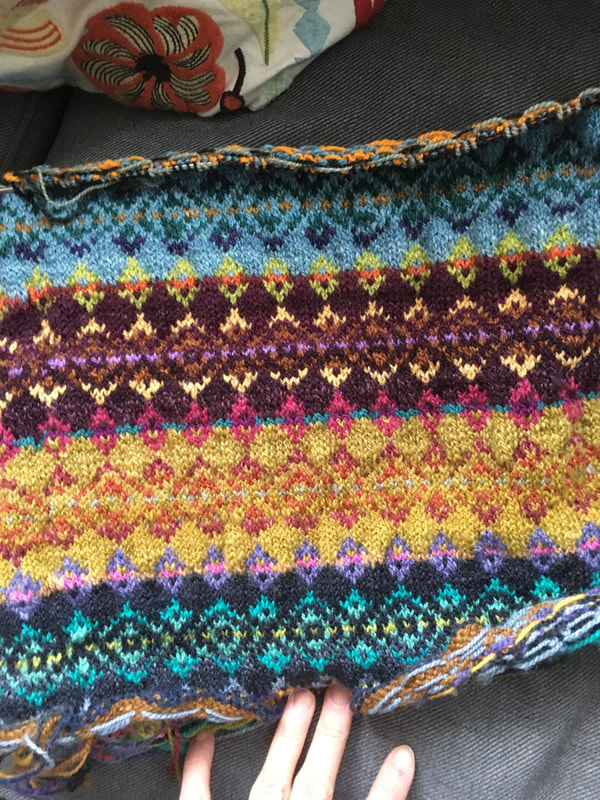
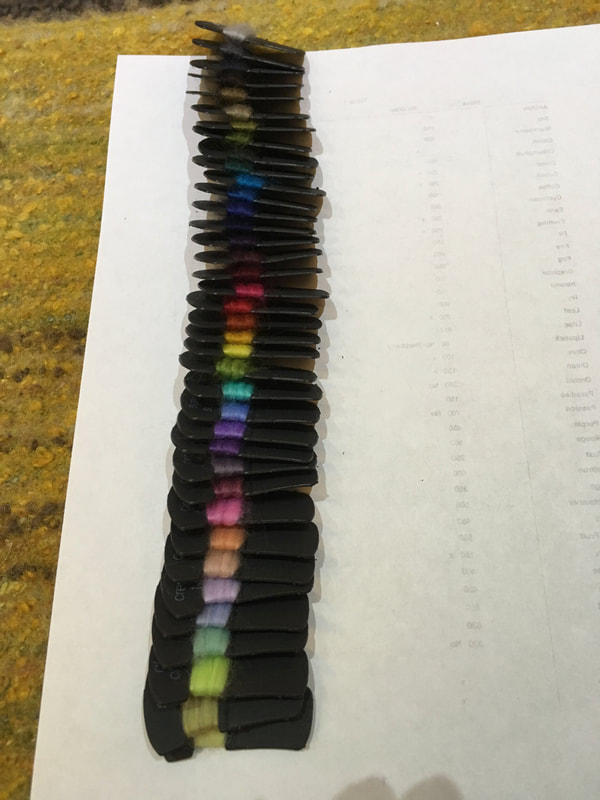
Now ease the lashing thread through all the loops until you have a similar tension, and tie off both ends around your apron rod. Tighten the tension slightly and ease the lashing thread until all your loops feel like they have an even tension. You're now ready to start weaving! Just before Christmas I started stocking a really huge range of dyed Tussah Silk. I love dyeing silk, but in all honesty dyeing it in plain colours is really hard work for something that seems like it should be so simple. By getting the solid colours commercially dyed I can concentrate on hand dyeing the fun colourways, but still stock a beautiful range of colours. Solid colours are really helpful in things like silk for a whole variety of reasons. Often you want to spin for lace, and a variegated colour way can work against the pattern. If you're going to use the silk for blending then solid colours are all you need. When I was doing a lot of carding I was often frustrated by the really limited palette of colours I could buy . This silk is dyed in Italy to Okeo-Tex Standard 100 so you can be confident it's been dyed with environmental responsibility. The colours themselves are stunning, and so varied. I've got 39 that I will be stocking regularly (picking 40 would have been over-kill!) So I wanted a sample to show them all off... I took 10g of each colour, and then spun them in to a light fingering 2-ply yarn (approx 18wpi). From each colour I ended up with approximately 45m of yarn. I direct warped my rigid heddle loom using 6 ends per colour with a 12dpi heddle. So during warping I filled 3 slots with a double end of each shade. I have a 25 inch Schact Flip, and this warp didn't fill the whole loom, but there's not quite enough space for 8 ends per colour. If you have a narrower loom you'll need to do the maths and check this warp will fit. You can always reduce the number of ends per colour and make it narrower, or if you have a larger loom you could do more ends per colour, you should have enough yarn spare if you spin it finely enough. I used a soft-of spectrum to decide on the colour order... though with this many colours deciding on a "perfect order" is probably impossible! It's the same order as shown on the Tussah Silk page. Warp length was approximately 2.8m to give a generous sized wrap once finished. I wove in blocks of 8 picks per colour to give me rectangles rather than squares of colour. The edges were hem stitched on the loom, and then I twisted each colour separately to form the fringe. Off the loom it had that stiff, new cloth feeling, but after a wash ( I didn't wash the yarn before weaving) it's softened up and the drape is lovely. You have to feel to really appreciate it... but maybe this will help! If you want to, you can make one of your very own! The sample set contains all the fibre you'll need (and some to spare that you can use in other projects). It feels like the greyest time of year, but in a perverse sort of way I always look forward to January. While the weather is usually pretty dreadful, it''s the time when I get back to work after a break. It's the time of year when I finish off the plans for the year, all my show applications for 2018 are now submitted, the last workshop slots are filled. It's also when I start making fibre plans. I come back to work with new ideas for different bases, and other new ideas to put in place. It's also when I re-boot my knitting and spinning. I've usually spent the back end of the year making gifts for others, so often get the luxury of starting new projects. During the holidays I balled up all the small skeins of Superfine Shetland I've spun over the past few years. These were leftover bits and pieces from Bach Packs, which have been discontinued, so it was time to turn them in to something! Over the holidays I messed around with some stitch dictionaries, and did some swatching... and am now turning those balls in to a slightly bonkers colourwork jumper. It's not been done with any great amount of planning. I worked out the gauge from my swatch, measured from a jumper, and did the maths to get a stitch count. Some of the colour combinations are more successful than others, but I want this to be a fun, no worrying project, so I've decided to just embrace them. I did a provisional cat on, because I can't even decide how I want to do the edgings. They might be ribbing, or I might do some sort of turned hem... I normally work top down, but I'm going bottom up with this, delaying the decision about how to work the sleeves for as long as possible! I could go very traditional and work steeks, or I could stop at the armholes, work the sleeves, then put them all on one needle and work raglan decreases. At the moment I'm leaning towards the steek option, because I've never used that construction method before.... I may even go completely freestyle and not make the sleeves matching! It's also the time of year when I look at the business samples. I like to work with my fibres, it means I can tell you about them with an informed viewpoint. I also like to have samples on display at shows (Did you know that there's a whole page devoted to the samples I make?) The next big sampling task is the Tussah Silk... I'm lacking in woven samples at the moment, and weaving is a great project to show off the whole palette of colours. So I spent last night playing around with the sample cards, and constructed a huge gradient from the 38 colours that will be the permanent palette.. Not a very good photo, given it was taken at 9.30pm, but I hope it's going to look stunning. It's going to be a huge colour and weave project requiring some maths! There will be 6 ends of each colour running the length of the warp, and then I'm going to be weaving the weft in the same colour pattern.... Not sure how wide the weft stripes will be yet, maybe wider than the weft stripes. I probably won't know until I start weaving.
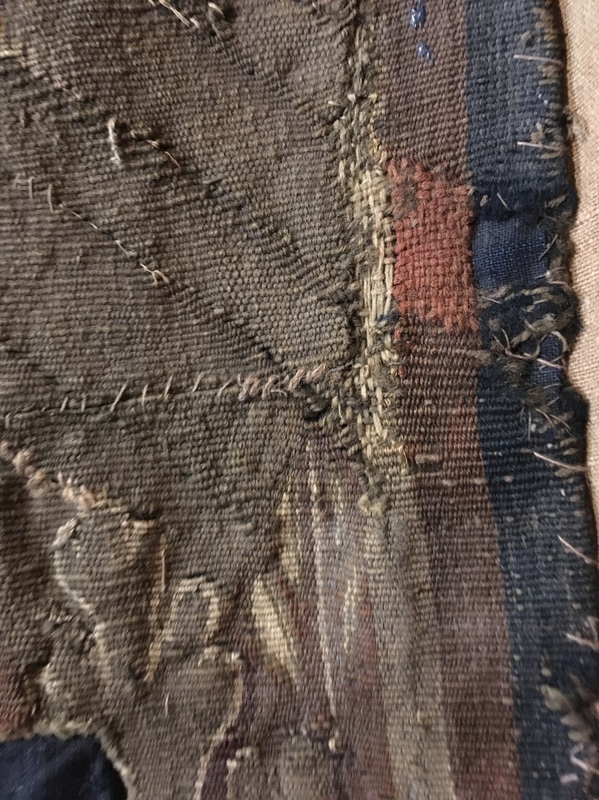
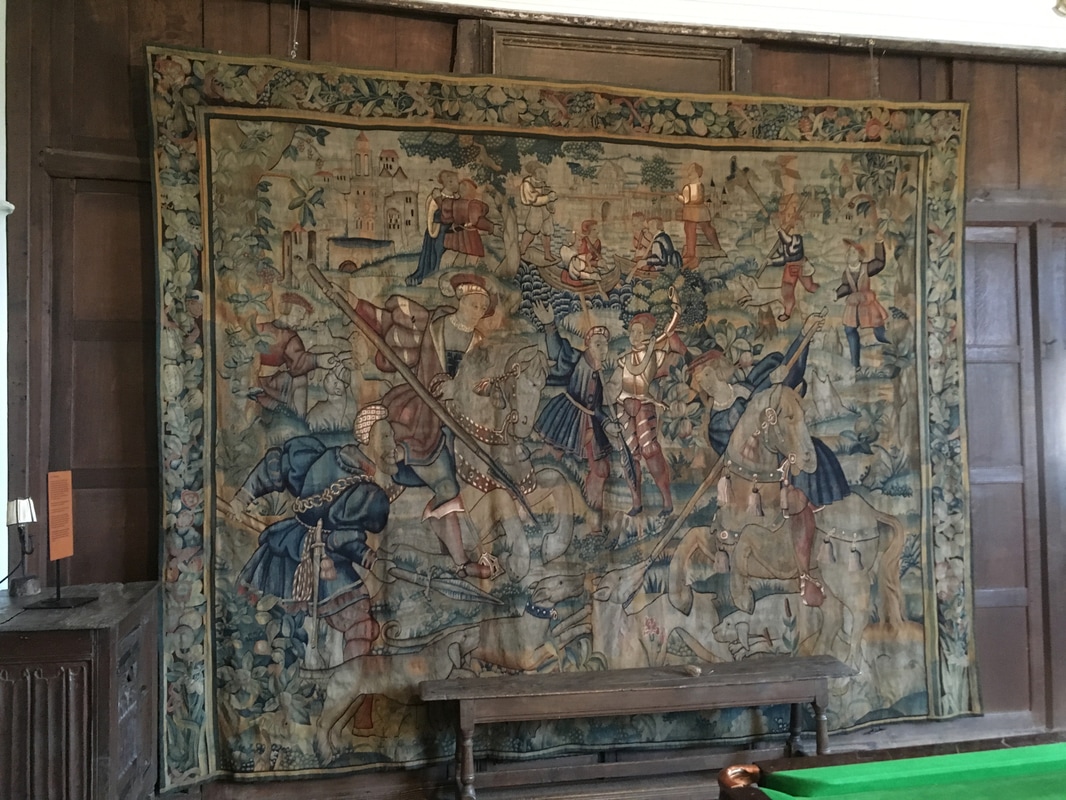
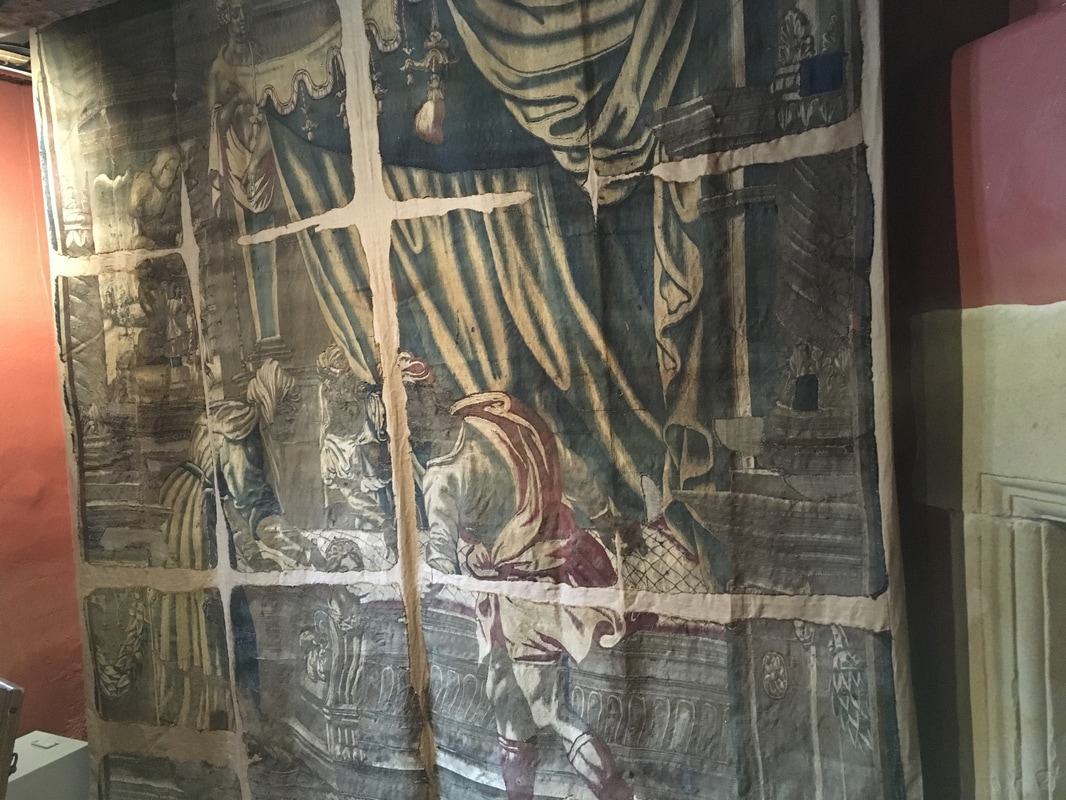
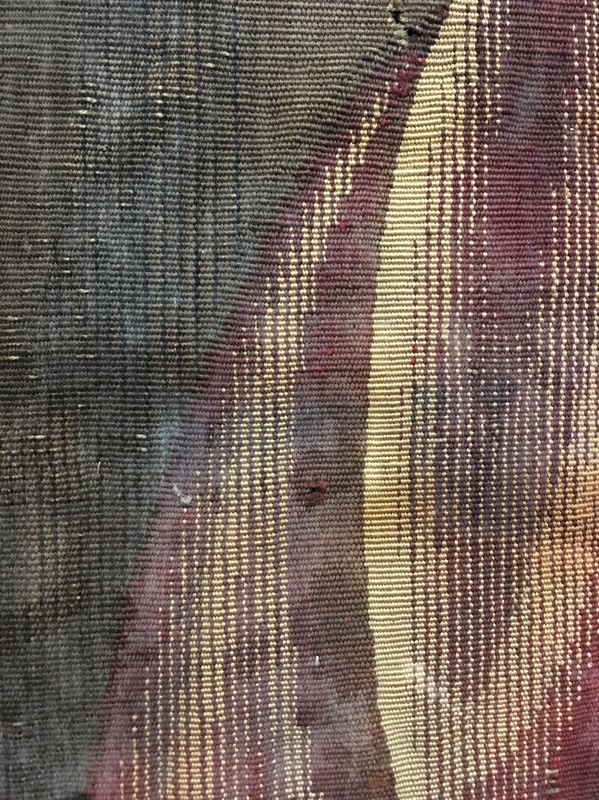
Best get spinning! We're now at nearly 500 posts in the Big-Stuff SAL in the Ravelry group, and have had quite a few finished objects, and people starting on their second project. I've finished my jumper... but haven't managed to take a photo. Must do better! I think I need one made completely from my own fibre, so the next batch of Cambrian Wool Sweater Packs I dye... one is going to be mine! I think that little lot should keep me busy for a while, particularly as there are some behind the scenes projects that I need to think about more before I can share them with you! Before Woolfest Mum and I took a trip back over to the Peak District. We lived on the edge of the National Park for 25 years, but we've now been away for long enough that it's like being a visitor, and you notice all the things you take for granted. We stayed with my Aunty who still lives on the edge of the Park, we'd gone over to visit the new RHS Chatsworth garden show (which was a big disappointment), but the day before we went to Haddon Hall. My highlight of the hall was a small room with some tapestry hangings. The wonderful thing is that you could get up close and personal to them. They're not behind glass, so you can really see the detail of how they were made. I only had my phone with me, and the light levels were low to preserve them, so the quality isn't great... but you can see how certain areas were woven using silk to catch the light and act as highlights. You could also see where repairs had been carried out at various stages, such as the red darn on the right. The colours have lost their vibrancy, the yellow in particular has faded, hence the number of blue leaves... They would have been green by using a blue dye like woad, that was then over-dyed with a yellow dye plant such as Weld. And here's the real tragedy. These tapestries survived because they were forgotten about. Haddon Hall wasn't lived in for nearly 200 years. In the early 1700's the family abandoned it, choosing to live in a more comfortable, modern property. They were bundled up, and put in to a tower for storage, and there they stayed until the 1920's when the then Duke started restoring the hall. They were put in to a stable block for storage, before being taken to be restored, and made ready for rehanging. But tragically one evening fire broke out. Many tapestries were nearly complete destroyed. Thos that survived were now in pieces, they all have burn patterns along the fold lines. Some were salvaged, and stitched on to backing cloths, and are now on display again. On the top photo the finer threads are from the more modern restoration. I'm not a textile historian, but I did love trying to work out how these were made. To my eyes it look like they were woven sideways, with warp thread running across the fabric when they're hung for display. They're a very weft faced structure, with the warp being completely hidden.
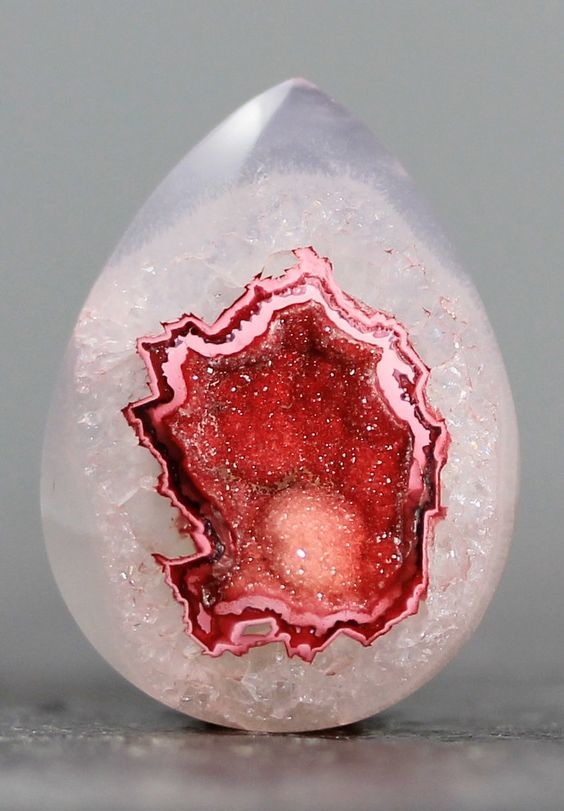
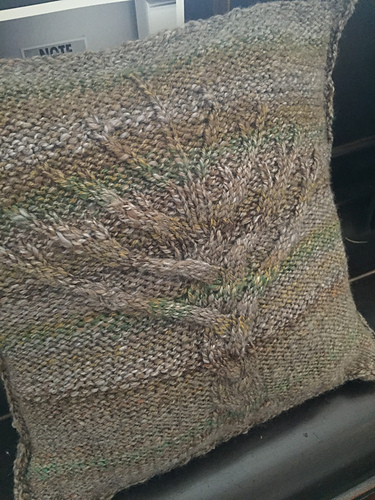
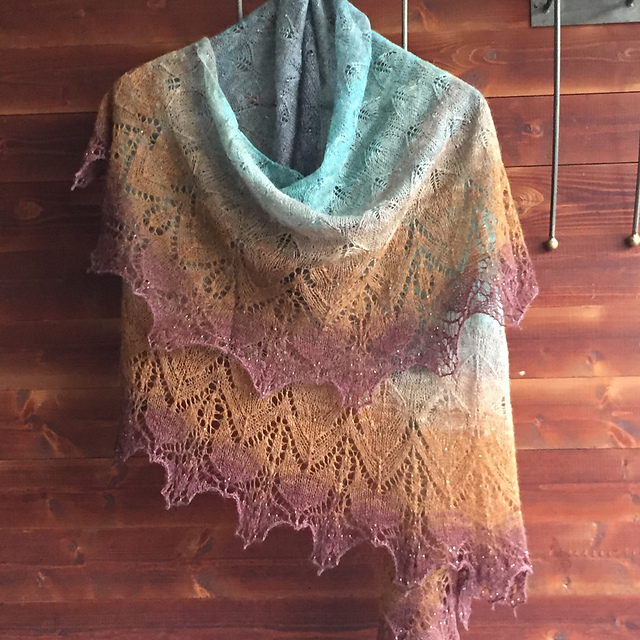
They were made by expert craftsmen, a drawing would be produced, and taken round for the nobility to choose from. So in the case of some of the Haddon Hall tapestries other examples are in royal collections in other European countries like Sweden. Back in March I set the members of the Hilltop Cloud Ravelry group a challenge. I called it In5pire. The group has always been focused on sharing what we make, so I wanted to do something to celebrate the 5th anniversary of Hilltop Cloud that was all about sharing, making, and was something that anyone could join in with. The challenge was to take one of the images I put together on a special Pinterest Board, and to use one of them as the start of a design process. They could create whatever they wanted, but they had to document their progress! 58 people took part, and an amazing 21 got their projects finished by the June deadline. There were art yarns, gradients, lace weight, cabled yarns. Some designed their own patterns, others ventured in to free form knitting and weaving, other used classic pattern drafts. The one common thread were the set of inspiration images, na that they were all using Hilltop Cloud fibre. If you have some spare time then it's worth browsing through the thread, or if you just want the shortened version this link just shows posts containing photos. It's well worth looking through. After a short delay, while I travelled up and down the country teaching, I finally managed to sit down with Jill Shephered aka. wriggglefingers (who rather handily is also a spinning tutor, and used to teach Design in schools). There were prizes on offer, not for the most technically difficult project, but for the one we felt showed the most evolution, the most problem solving skills, and the most thorough testing and documentation. It was really tough as so many of the entries had done an amazing job. In the end our winner was this shawl. It was designed by Anne-Lise. She had already spun her yarn before the challenge started, but the motifs used in the shawl went through a huge number of changes while she settled on the right combination. From her project notes- My inspiration is this one, which inspires me because it is both nature and culture, new and ancient, it is still here and at the same time lost to us. I will try to incorporate those thoughts into the design. April 20, 2016Have been swatching. Barbara Abbey tells us in her book “Knitting Lace” that she has collected old, as in 1850’es old, knitted lace patterns for a long time, and in this book presents the ones she likes the best. She says many are very old, but she never once mentions her sources. I have found a very nice edge pattern in the book, which is presumably from a very old source. I have no way of finding out. It might be from Weldon’s Practical knitter, or from Miss Lambert’s “Knitting Book”, or it might not. I found a similar, but also quite different edge in Barbara Walker’s treasuries, where it’s called a Portuguese edging. I swatched both edgings to see if the yarn liked them. They are both garter stitch, and I tried that, and then I tried st st, and the pattern definitely wants to be garter stitch. None of the patterns were really completely as I wanted them (odd holes and weird beginnings), so I have been spending the day trying to cook up my own version. I found a nice way that fit the number of rows I needed, but I want to let it rest over night to see if I really like it… May 10, 2016Swatching the body stitches, I was thinking about other historical evidence in Wales, going further back. Romans, certainly. Roads and forts. I swatched the “Roman stripe” pattern from Barbara Walker, the yarn liked that a lot. I also swatched two other patterns that looked promising, a brioche stitch and something I thought might look like stone walls, but they didn’t work at all. Vikings, certainly. Raids and stories… We could let some cablework symbolise the Vikings, and as they would have been using arrows to defend themselves, it fits well with an arrow-and-cable combination. I swatched and found that it would be nicer with a 3-braid than a 2-braid, and I will probably add some purled sts on either side of it to make it stand out better. But the yarn liked it a lot. So, there we have all the elements, now I can begin knitting! Of course, things never go smoothly, and it was lovely to see how the design evolved. The finished shawl just spoke to me of Wales, in a way that I can't really put in to words. I know Anne-Lise is currently working on writing up the design, and I think I will need a version of my own. I knew it was going to be hard to pick just one winner, so also said that there would be a runner-up prize. This Rose Quartz inspired a lot of people, but Carrie's interpretation in to weaving was stunning. Her pattern draft, the manipulation of the silk & kid mohair skeins she spun to match the colouring, the use of a sparkly fibre at the edges, it all makes for a beautiful project. A few other projects also caught our eye...
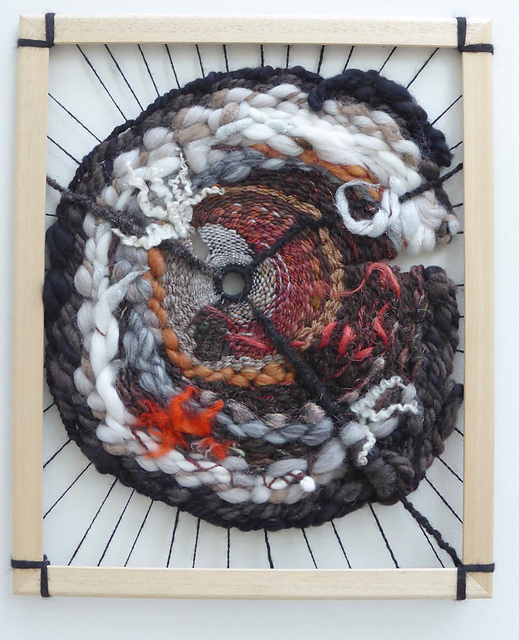
There was also a random prize, and it was won by Kate. Her free-form weaving was a really strong contender in the judging, and has definitely inspired me to actually do something with those old pictures frames I'd been saving for just this purpose! I can't think of a better way to bring the end of my 5th anniversary celebrations to a close. I love what I get to do on a daily basis because I love seeing how my fibres get transformed. Fibre can be beautiful to look at, but until you turn it in to yarn, and then turn that yarn in to stunning, useful objects it's not reached its full potential.
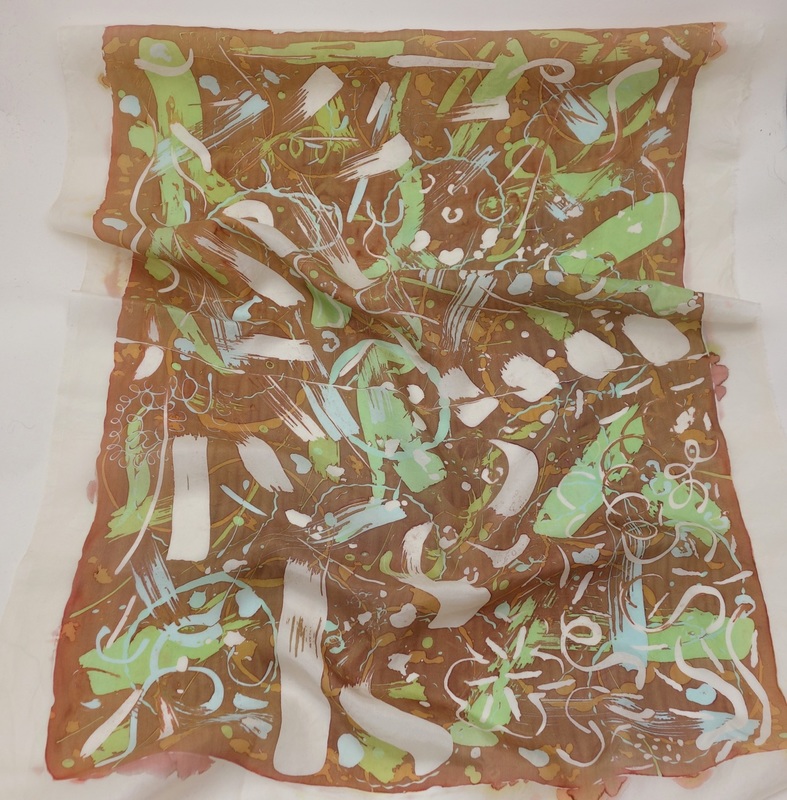
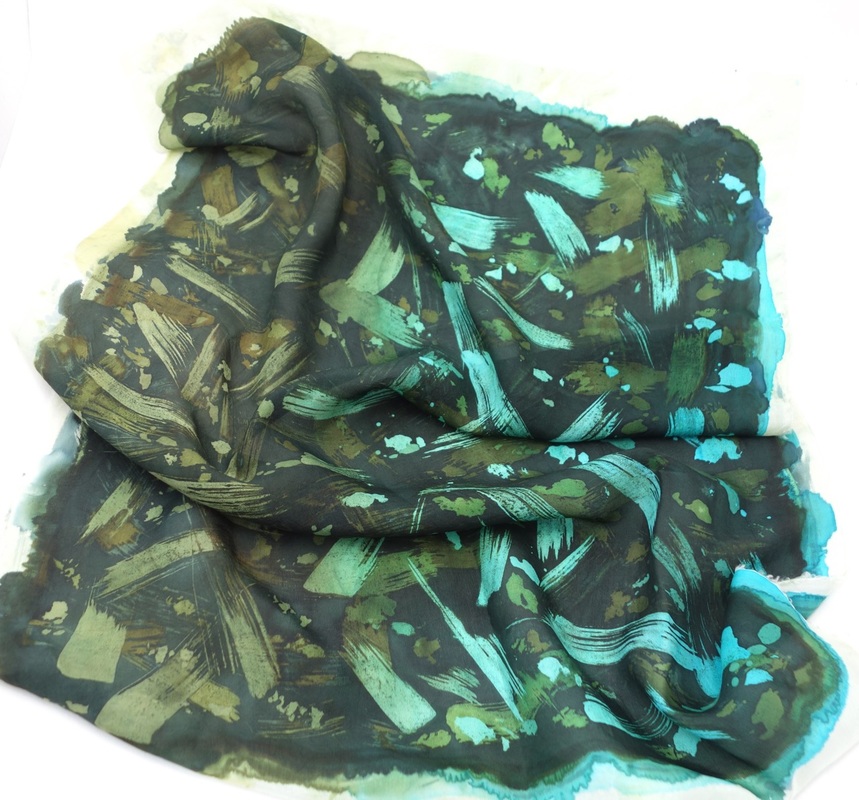
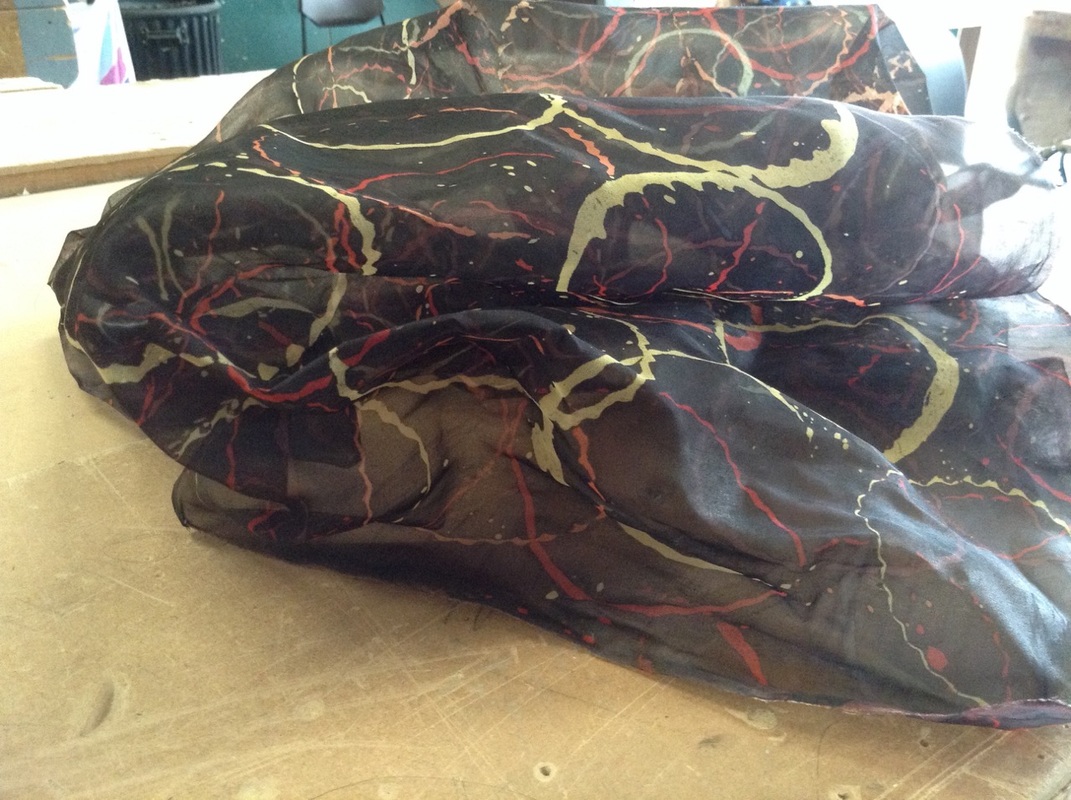
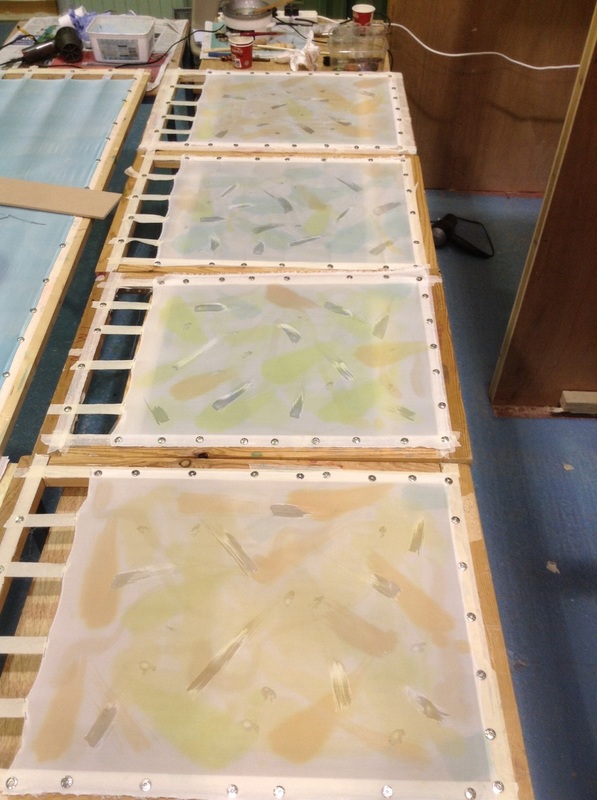
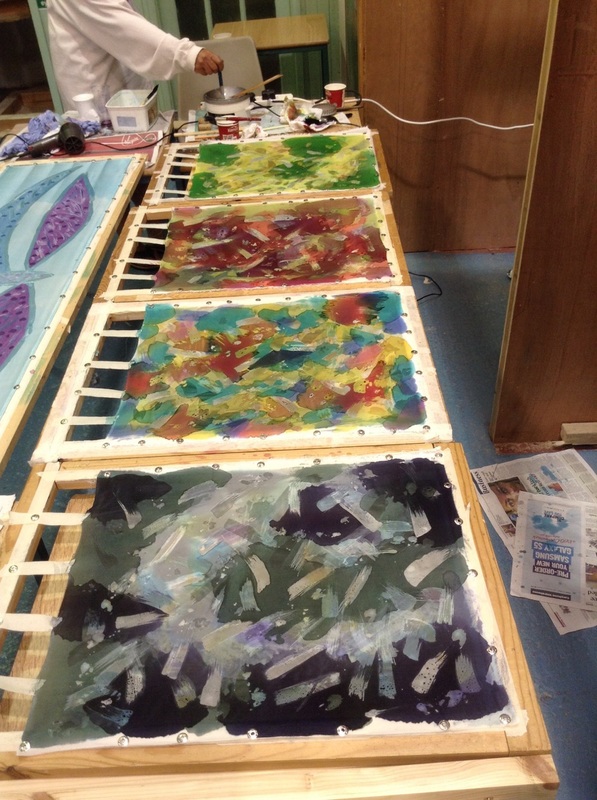
If you joined in the challenge, thank you so much. Even if you didn't finish, thank you for sharing your knowledge. If you didn't join in, do go and read the thread, click through to the project pages, favourite the ones you like, and leave some comments. Oh, and watch this space... apparently they'd like to do it again in a little while! While the last post was an overview of everything Summer School related, this one is a bit more about me and what I did during the week. I was lucky enough to spend the first part of the week on the Wax Resist on Silk Course with Isabella Whitworth. Theoretically this is well within my comfort zone, I spend all day applying colour to fibres, and do have a reasonable eye for line and pattern. The course was so much more than I had ever hoped for though. Just far enough outside my comfort zone to stretch me creatively, but close enough to my existing skills to make it relaxing. The biggest learning curve was undoubtably the wax element of the course. In essence it's a form of batik, which is definitely something I'd never done before. Our first test piece was all about learning how the wax behaves with the variety of different tools. Isabella has a fabulous collection of brushes, traditional cantings, and other found objects all of which can be dipped in to the wax pot and used to make a mark. It quickly became obvious that learning to draw recognisable shapes in 2 days was not going to be my forte, so instead I focused on the more abstract mark making and went with what I know, which is colour! In my second piece I focused on 2 brushes whose mark I liked from the test piece, and instead got to know how I could build up layers of colour. This piece is actually made up of a series of gradients washed on to the silk in layers. In this technique you alternate making wax marks with applying a wash of colour, then add more wax to preserve the colour of the previous layer, then add another wash of colour. Repeat until there's no more space! The error with this piece was to start off too dark with my first colour wash, it left me nowhere to go as there's only so much dye the silk can soak up. I then moved on to a scarf... I've only got this photo of it as it's now living with wriggefingers. Same principal, different shape this time, lots of overlapping wriggly circles made using a pastry cutter. This time I started off light, so there are a huge number of colours in this project progressing from pale yellow, to orange to deep red, then a final unifying layer of chocolate brown. For my final piece of work in the class I didn't want to do a scarf like everyone else. I am not a silk scarf wearer, and instead I fancied having something I could use as art. So 4 individual panels were stretched out... lacking in creative juices that afternoon I decided to go for a classic spring, summer, autumn, winter theme. Each panel started out with a very pale layer of colour, each one unique, but I made sure to share some of the colours with other panels so they all tied together. I carried on adding wax and colour until the silk was full. Then came the scary moment; covering up all that colour with a layer of dark browny/grey. I caused a few panic moments amongst my class mates, some of whom thought I should stop at the colourful stage, but I think I made the right decision! What I loved about this course was the speed at which your could develop an idea, with every piece you could see how it linked to the last one. It's not something I get to do very often in my other creative outlooks, they're all much more slow speed crafts, you don't get the same ability to test and change ideas. In the second half of the week I took part in a rigid heddle class with Dawn Willey. This class was far more technical, and was focused on setting up a rigid heddle loom to use 2 heddles. That means you can weave a cloth that is much finer, but also means you can some more complex weave patterns such as double cloth, twill and many more, particularly if you add in pick up sticks and a heddle rod. The first sample was strips on the same warp at standard, 1.5 and double density. I was using a 8 dpi heddle, with a 10dpi heddle as my second heddle, that's why there are the vertical lines, I had to miss out every 5th slot and hole in that heddle as the dpi's need to match. A second 10dpi heddle is now ordered and on it's way to me. So in this sample from left to right we have 8epi, 12epi and 16epi In the next sample we explored more of the complex weave structures, starting with double cloth. In this technique you effectively work 2 layers on the same loom independently. The top colour is worked on one set of warp threads, the bottom colour on another set, and you end up with two layers of cloth. These can either be completely separated, or bound together at the edges depending on how you twist your shuttles at the end of each pick (line of weft). I also got to have a go at doing twill, this weave pattern creates diagonal lines running across the cloth, and revealed a complete lack of ability to count to 4... I still have the remains of the test warp on my loom, and a few more techniques I didn't manage to do whilst at Summer School. Now all I need is a time machine so I can sit down at my loom and try them out.
I've not been at home much in August... here's what I was getting up to. It's a long post, but I crammed a lot in to 10 days away from home.
|
Archives
January 2024
Categories
All
|
Hilltop CloudHilltop Cloud- Spin Different
Beautiful fibre you'll love to work with. Established 2011 VAT Reg- 209 4066 19 Dugoed Bach, Mallwyd, Machynlleth,
Powys, SY20 9HR |



 RSS Feed


