|
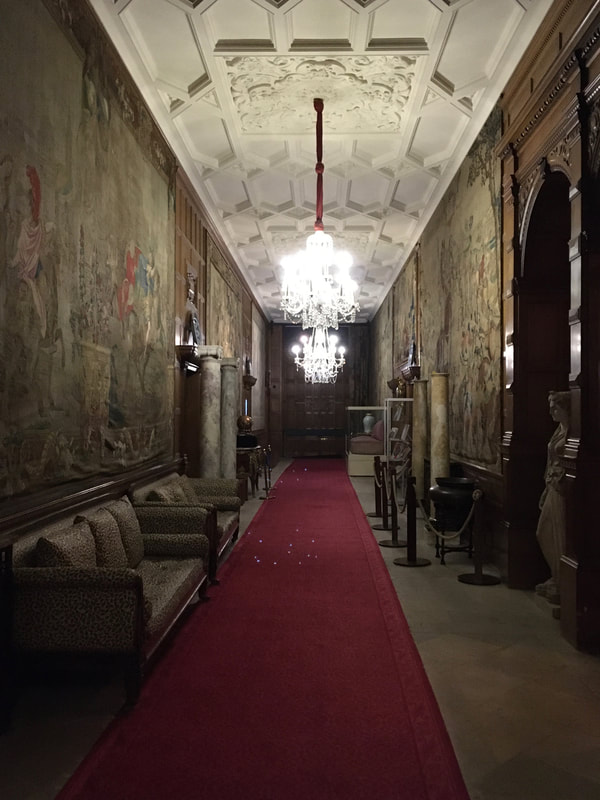
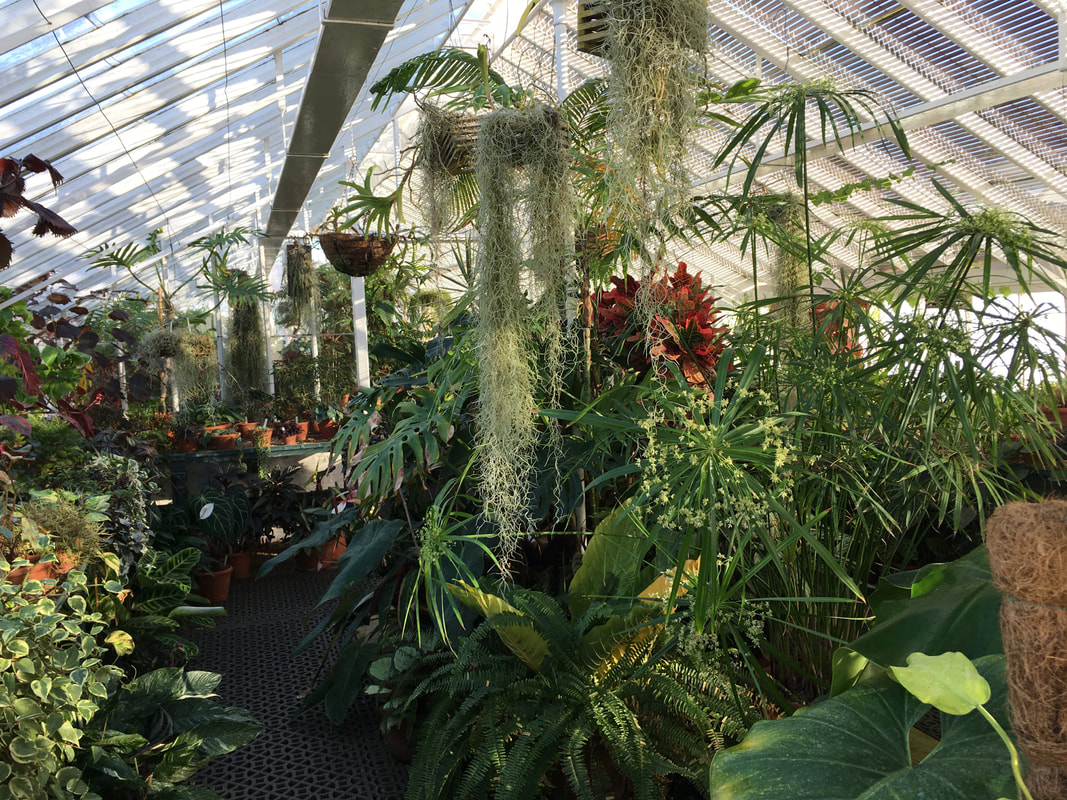
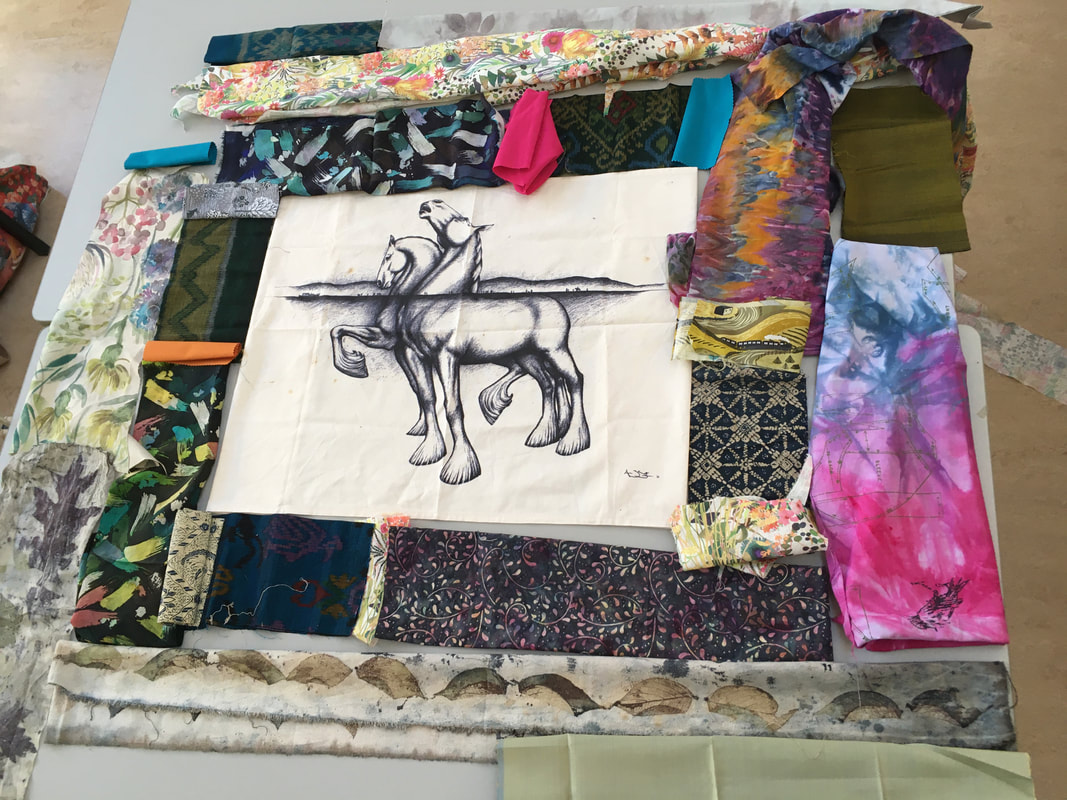
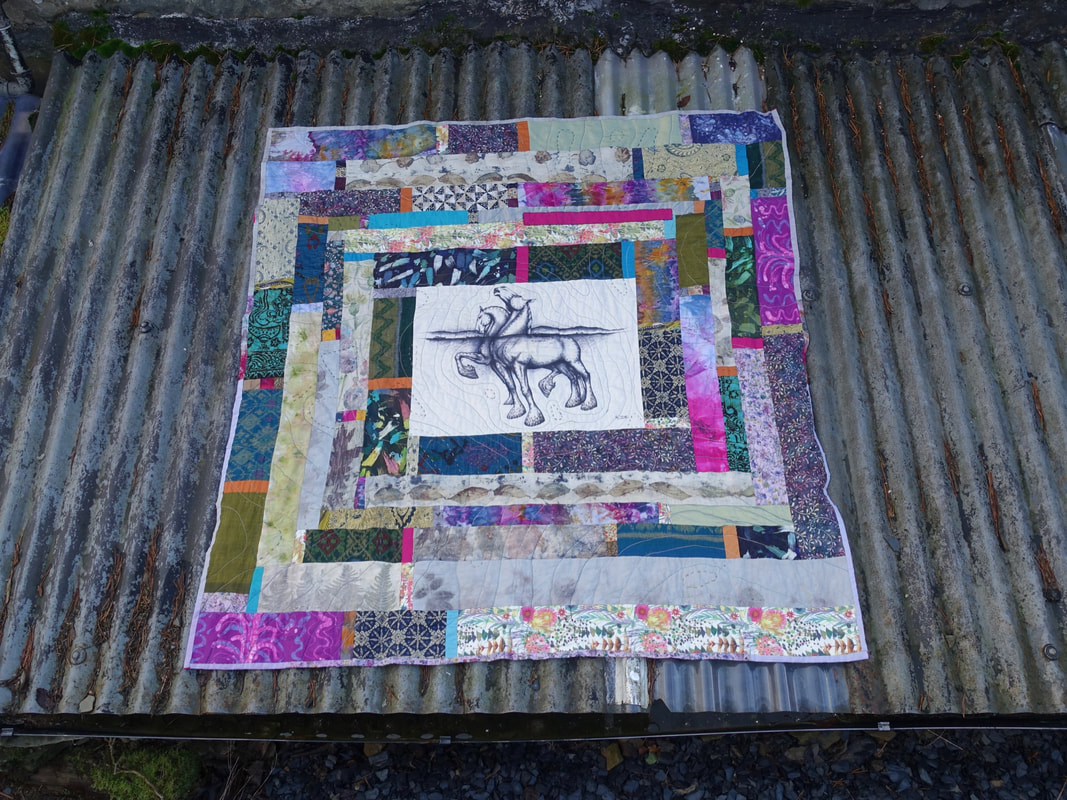
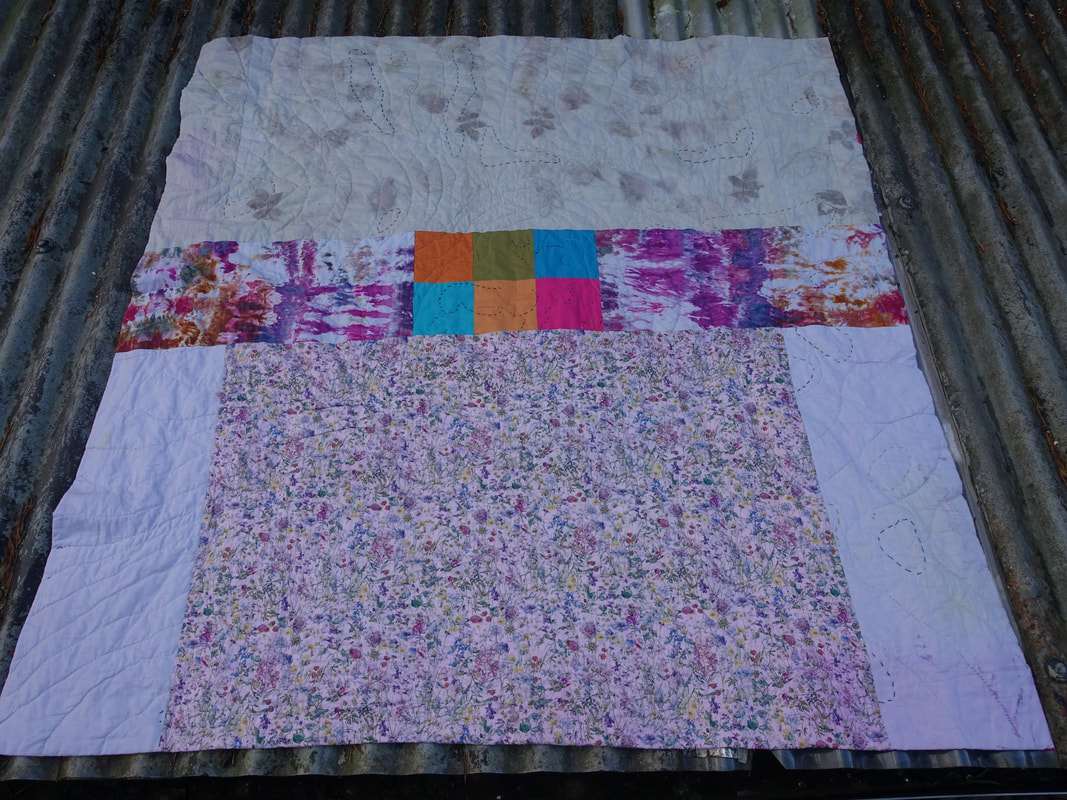
This year I didn't get to take a course at the Association Summer School because I was of course teaching... in the past I've used the week to really get immersed in something brand new, and enjoy creating something with none of the pressures and distractions of being at home. So I decided that I was going to treat myself, and used my teaching fee to go and learn how to do something new. I'd heard great things about West Dean College so I browsed their list of Short Courses, and found myself a course on contemporary quilt making at the start of December. I know my way round a sewing machine, and have helped a friend make a couple of quilts, but it's something I wanted to learn more about, and I fancied the more freeform approach, because I am very much of the "what's the worst that can happen" frame of mind when it comes to making creative decisions. I tend to feel my way through a creative project making decisions as I go rather than do a great deal of planning. In day to day life I will plan everything down to the last second (you should see my Christmas holiday menu planner), but somehow when it comes to making things I am happy to just have a go and see if I can make things work. I had the best time. If it wasn't for the horrible train journeys (fingers crossed medical stuff gets sorted out so that I can go back to driving early in 2019) it would have been the perfect holiday. This was the corridor to my bedroom.... there were tapestries from the 1700's on the wall, a marble staircase... I could go on. It felt like I was staying in a country house.... because I was staying in a country house! The food was absolutely wonderful, the biggest problem was that I wanted to eat all of it! To the point of sitting looking wistfully at the pudding display and being genuinely sad about only being able to find room for one of the selection. During lunch breaks you can walk the grounds and gardens. It being December they weren't at their best, but walking in to this greenhouse was like entering in to a tropical jungle! The course was taught by Abigail Booth from Forest + Found, and was truly excellent. Abigail introduced us to the principles of the style of quilt making we were using, but then was quite content to let us go our own creative ways. Of the 6 of us on the course we all produced very varied quilts by the end of the 4 days. Three were very unstated affairs in blue and white 2 using Japanese style fabrics, one using old clothing. One was closer to a more traditional quilt, but still took the sew it together and don't be afraid to fiddle around to make it work principle, and one really embraced the idea of using a quilt to make a piece of art and used the fabric in a collage style to create an abstract landscape. As ever, I wandered my own path, and turned my mountain of colourful fabrics in to something of a trip down memory lane. The centre is a tea towel I bought on a trip to Scotland when I was going to teach a workshop at Grampian Guild (that workshop became the start of my book, so is one I always remember very fondly). From there I did something that bears a passing resemblance to log cabin, but without worrying about the length of the bits of fabric. The quilt uses some of the wax resist pieces of silk I made at Summer School 2015 with Isabella Whitworth, I also used pieces of the naturally dyed eco printed silk from Summer School 2017, and some of the scraps of a large piece of fabric I screen printed and then messed around on using some Procion dyes. It also uses some of the cotton I ice dyed and turned in to pyjama bottoms earlier this year, and some of the cotton I eco-dyed that also became pyjama bottoms. From Summer School in 2019 I bought some little bundles of fabric from Textile Traders adding in some more batik fabrics and some Ikat. There are a few pieces that I dyed with Montgomeryshire Guild earlier this summer when I shared some of the eco dyeing skills I'd picked up in 2017. I also used the scraps from various sewing projects, some Liberty lawn, and some Liberty linen, along with raiding the scraps bin from Mum's bags and needle cases. I even managed to use up some of the silk I bought back from my gap year trip to Thailand in 2002. The only fabric I bought specially were a few charm packs with small amounts of lots of colour. The end result.... It is definitely not to everyone's taste, and I think a few of my course mates were utterly horrified at my freeform approach to colour and pattern. The quilting is a little erratic in places, going by train meant I had to borrow a sewing machine, and we had many disagreements as I battled with a large quilt on a small machine. Abigail hand quilts all her work, but I am a realist and know that my speed of stitching would have left me going home with work still to do, and I was keen to avoid that, so the majority is machine quilted, with areas that are hand stitched using hand dyed silk threads. The back uses up the larger pieces I had leftover, and revealed that Liberty lawn hoovers up loose dye. One of the staff at Westhope kindly bought along some bits of Batik she'd dyed and never used. I knew all my fabric had been washed, and wasn't going cause any problems, and therefore never even thought about any dye run off as I used the donated pieces. Luckily it pretty much only ended up sucking in to the cotton lawn, every other bit of fabric is exactly the same colour!
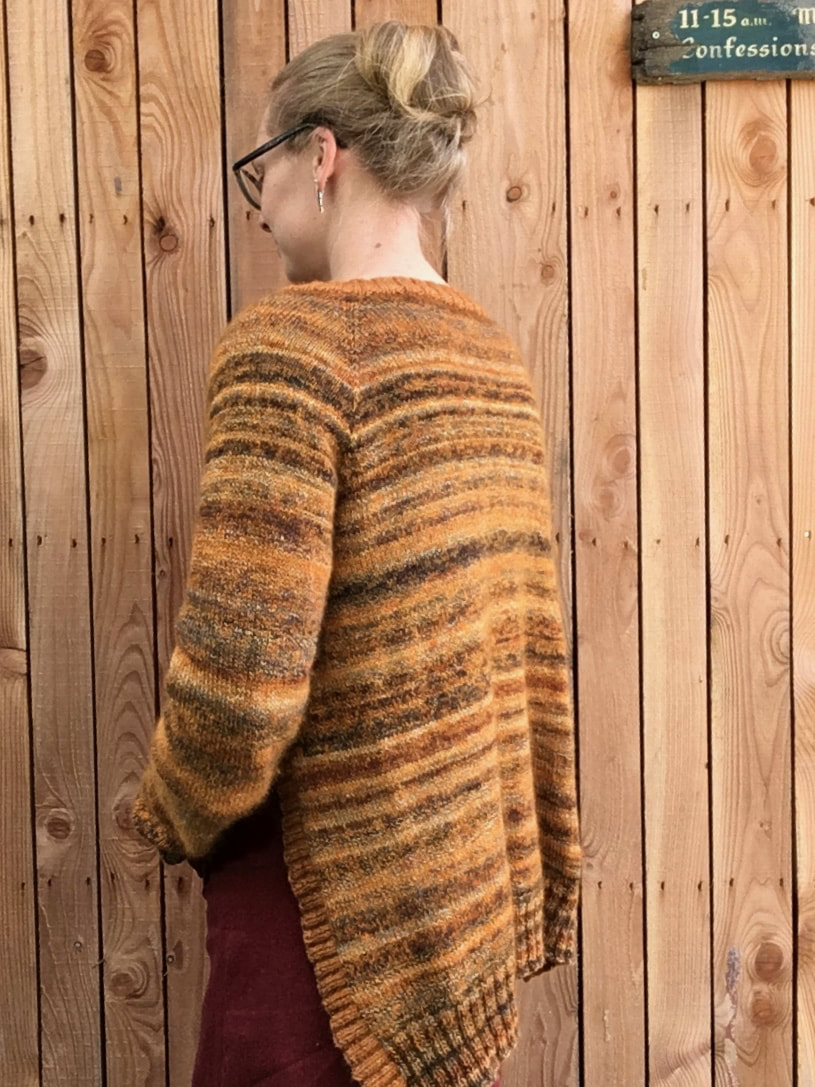
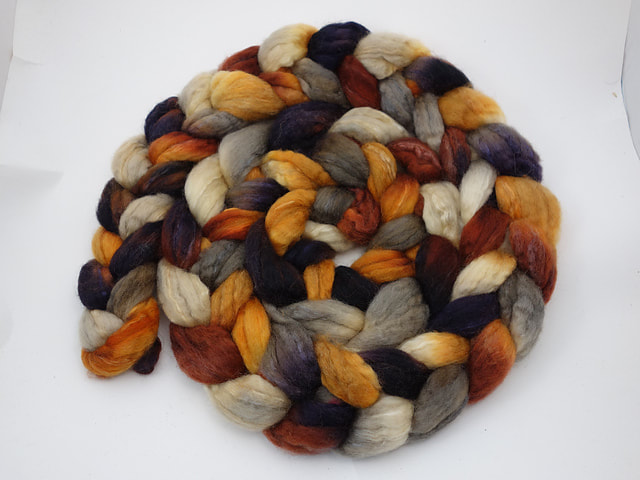
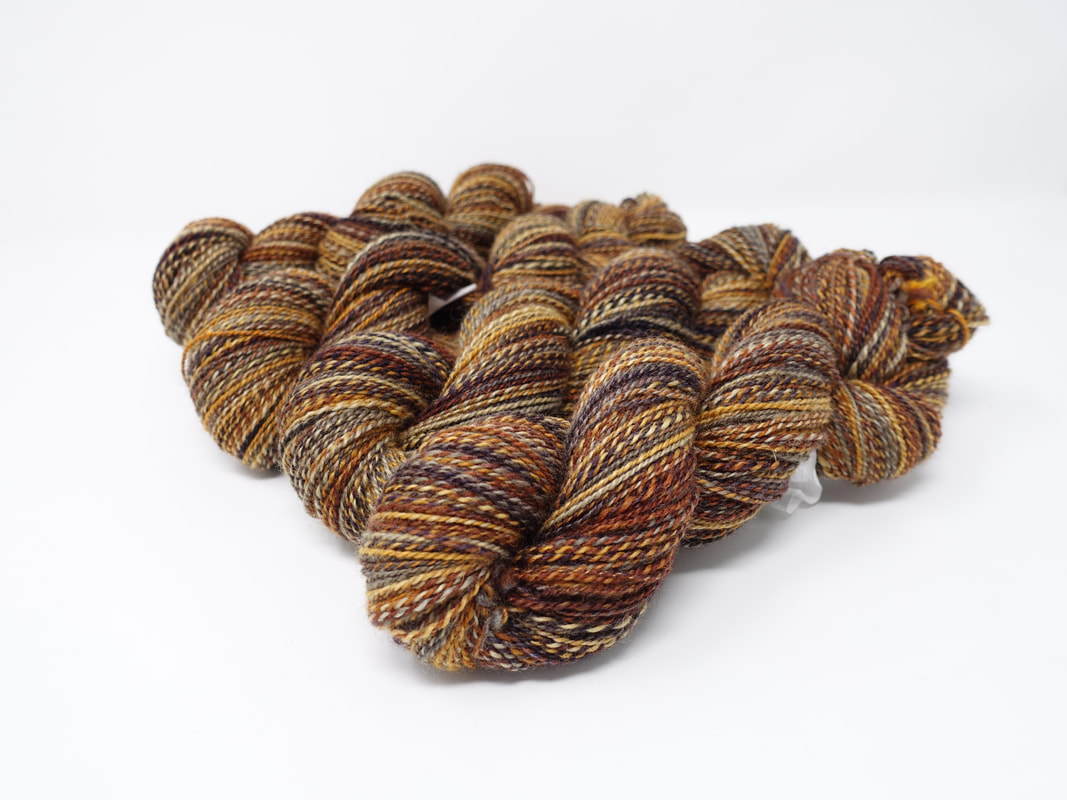
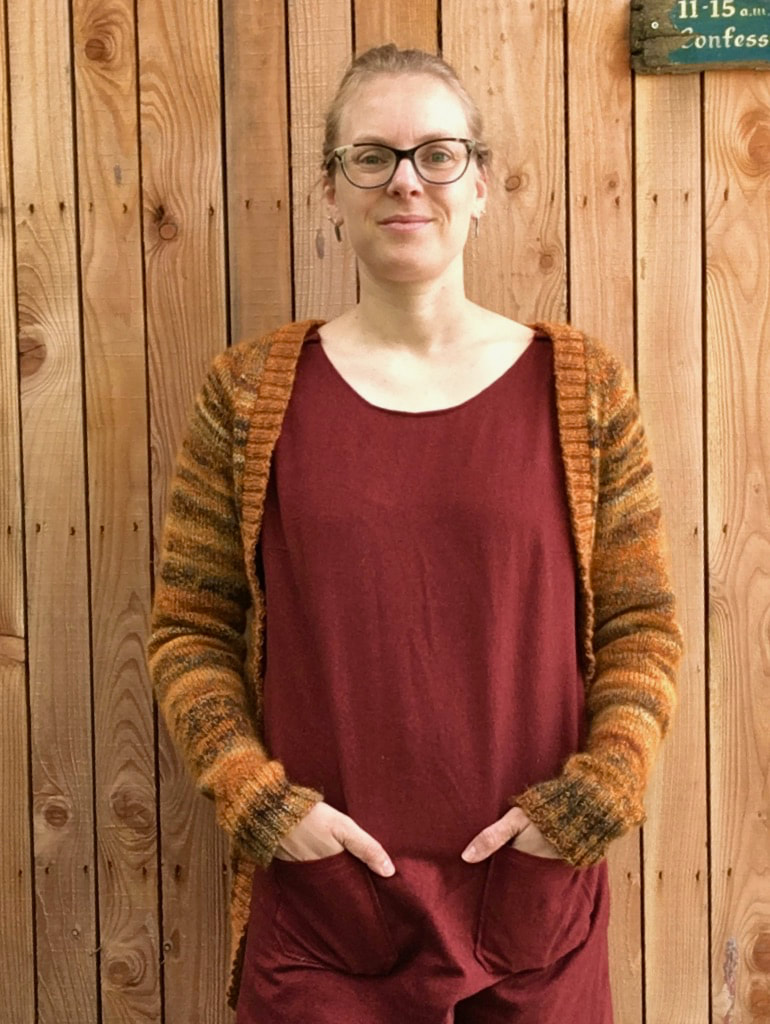
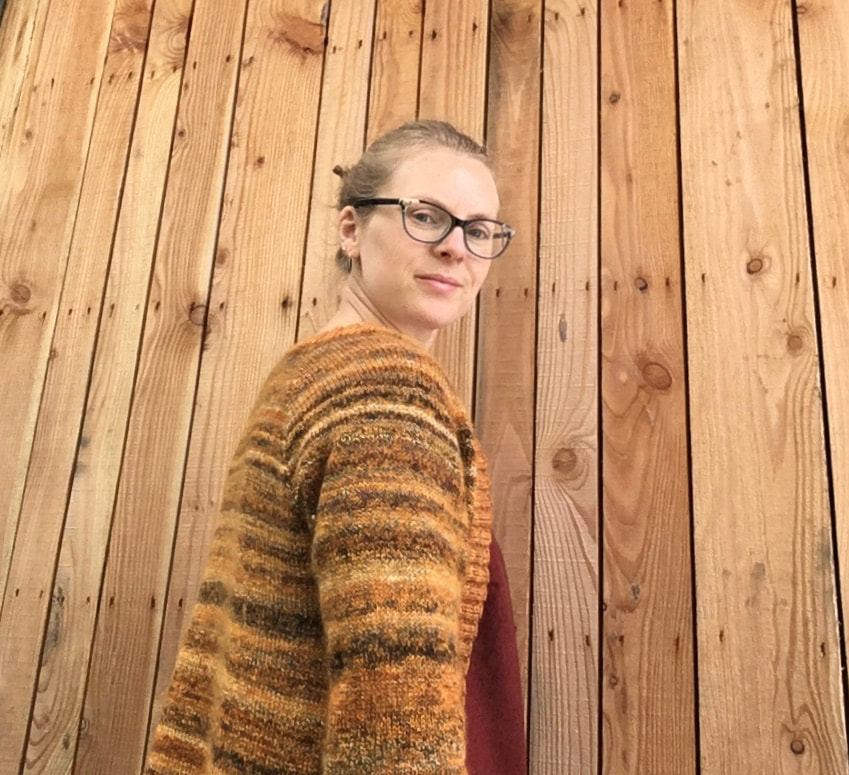
The quilt has been on my bed every since I get back, and I still can't believe that I made it. It contains so many happy memories and fabric that reminds me of places and people. Writing this is my last job for 2019, after I hot publish I'm off to cook tea for my group of local spinning friends, and then have a couple of weeks with no work planned... there may well be sewing. I finished this cardigan a couple of weeks ago and it's already got so much wear. The combination of an open front, but still with a Mohair fuzz has proved to be perfect in the Welsh spring. I spun the yarn from some hand dyed BFL & Silk I bought from Mandacrafts a couple of years ago. It's dyed in what I refer to as a repeating style, so the blocks of colour repeat at a regular interval. Fine if you want stripes, but I knew I wanted to use this in a garment, and didn't want broad stripes that I would want to match up on the arms and the body. So I stripped it in to thinner pieces of varying thicknesses, and broke those up in to chunks of varying lengths. That gave me 1100m of heavy fingering/sport weight yarn.... I also had some Mohair singles that I'd intended to use as a carry-along yarn in a project, and thought it would work well with this BFL & Silk to allow e to work the yarn at a looser gauge and to knit something larger. I swatched the 2 together to check I liked the fabric, and then dyed a small sample to bring out the orange shade in the BFL & Silk. I really fancied an open fronted longer length cardigan, and found Mama Vertebrae, which is excellent for handspun because it gives you instructions that cover 4 different yarn weights (fingering, DK, light Worsted and Aran). The open front makes it very size flexible, and the top down construction means you can put the sleeve stitches on holders, knit until the body is long enough, and then go back o use up every last scrap on the sleeves.
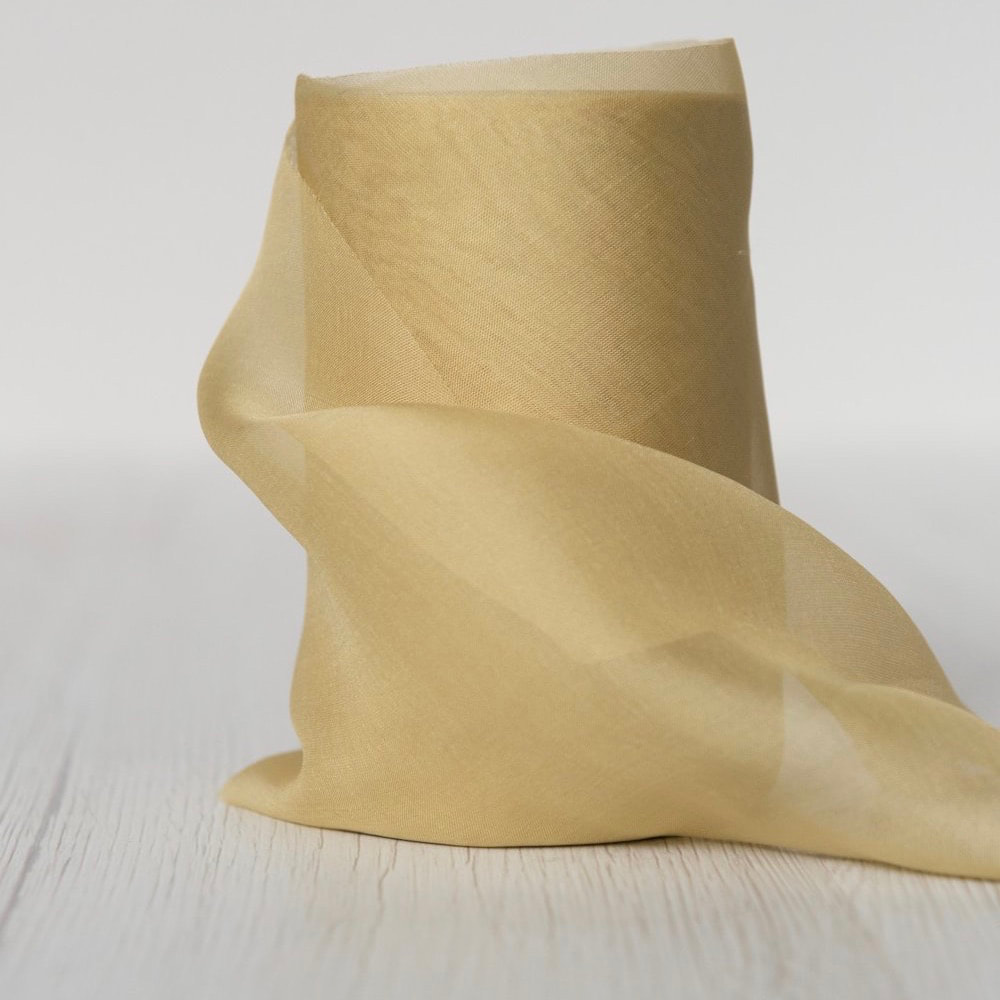
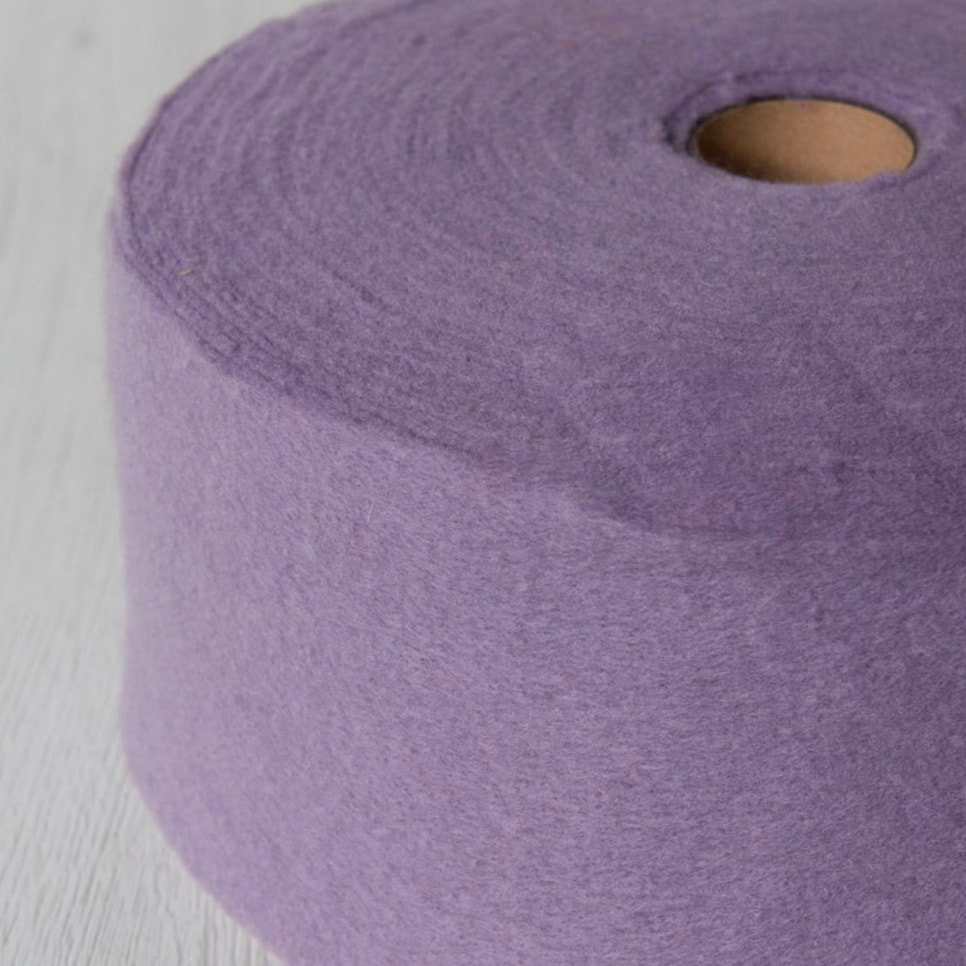
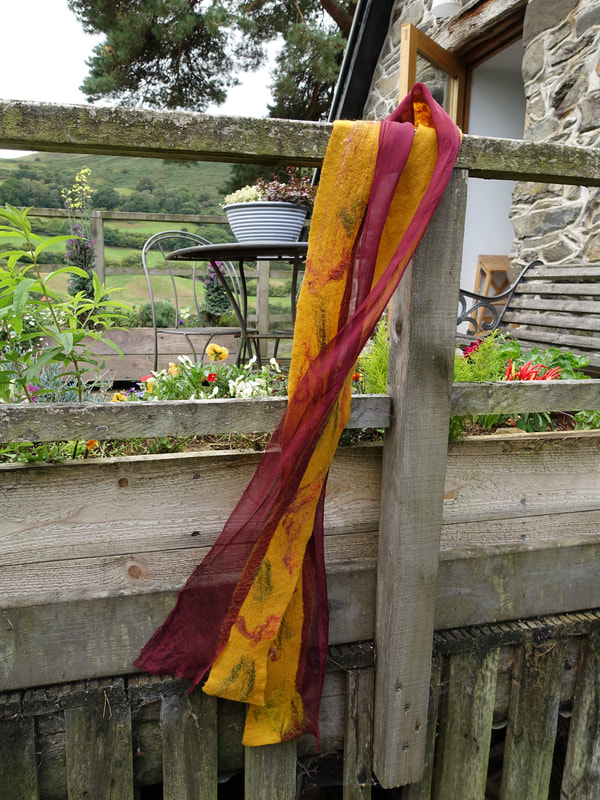
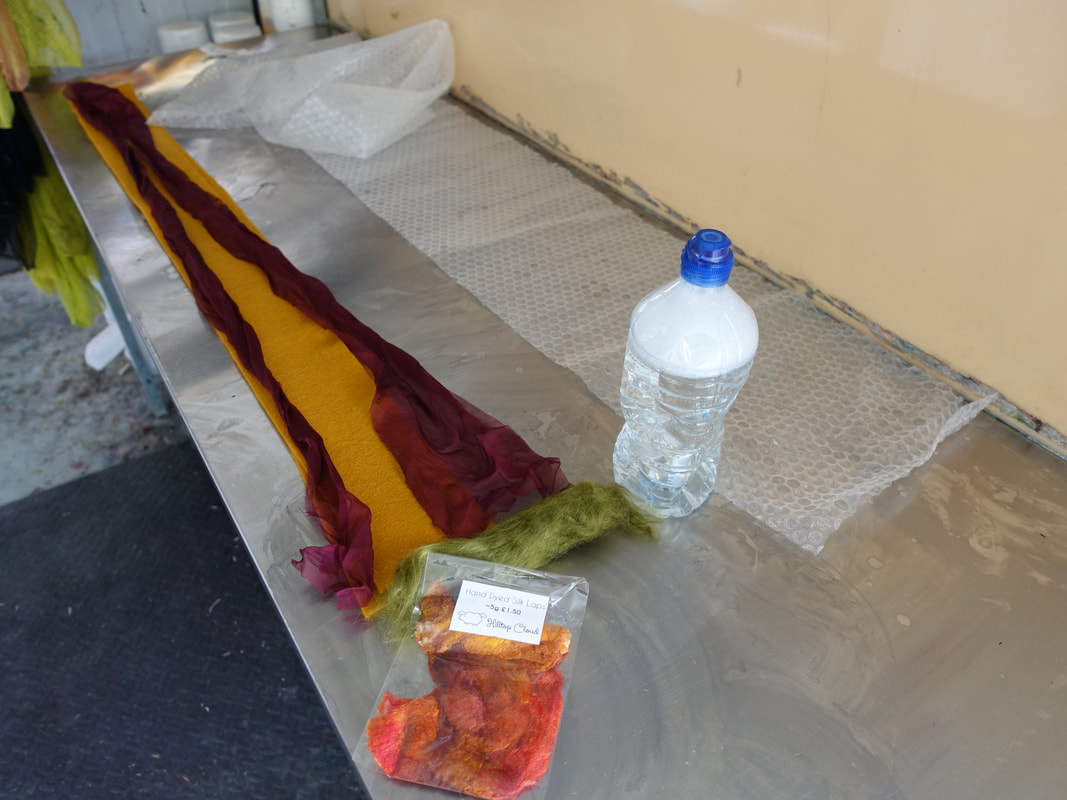
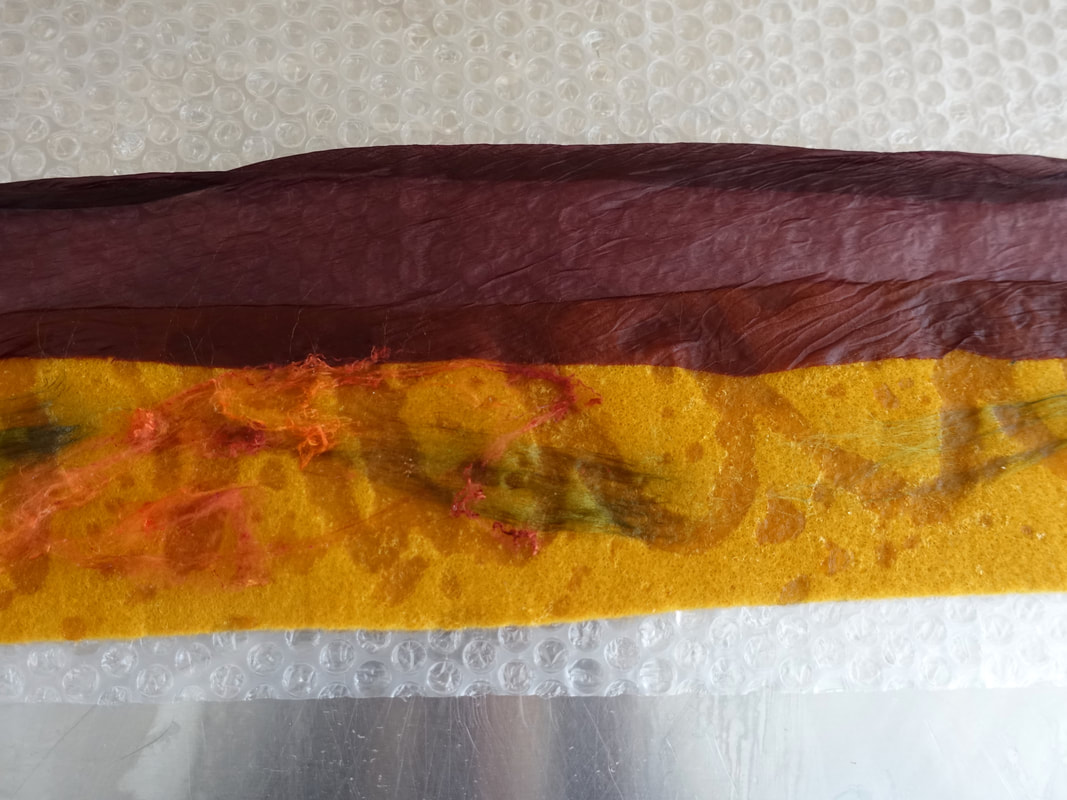
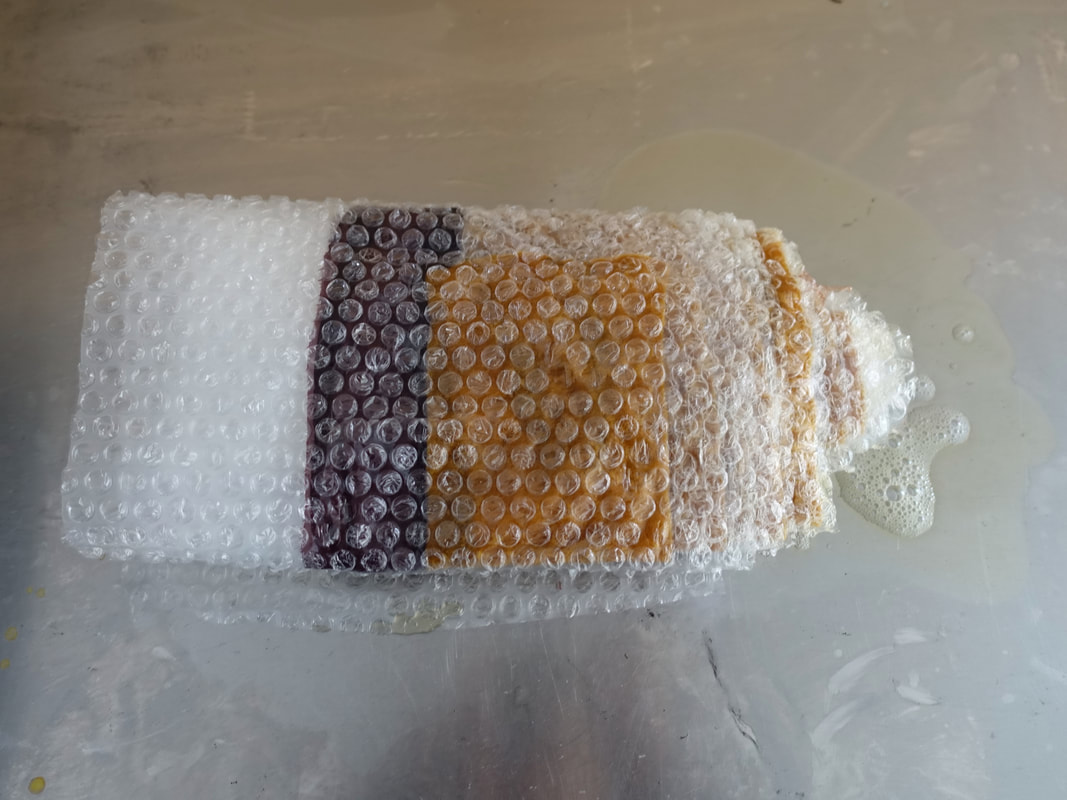
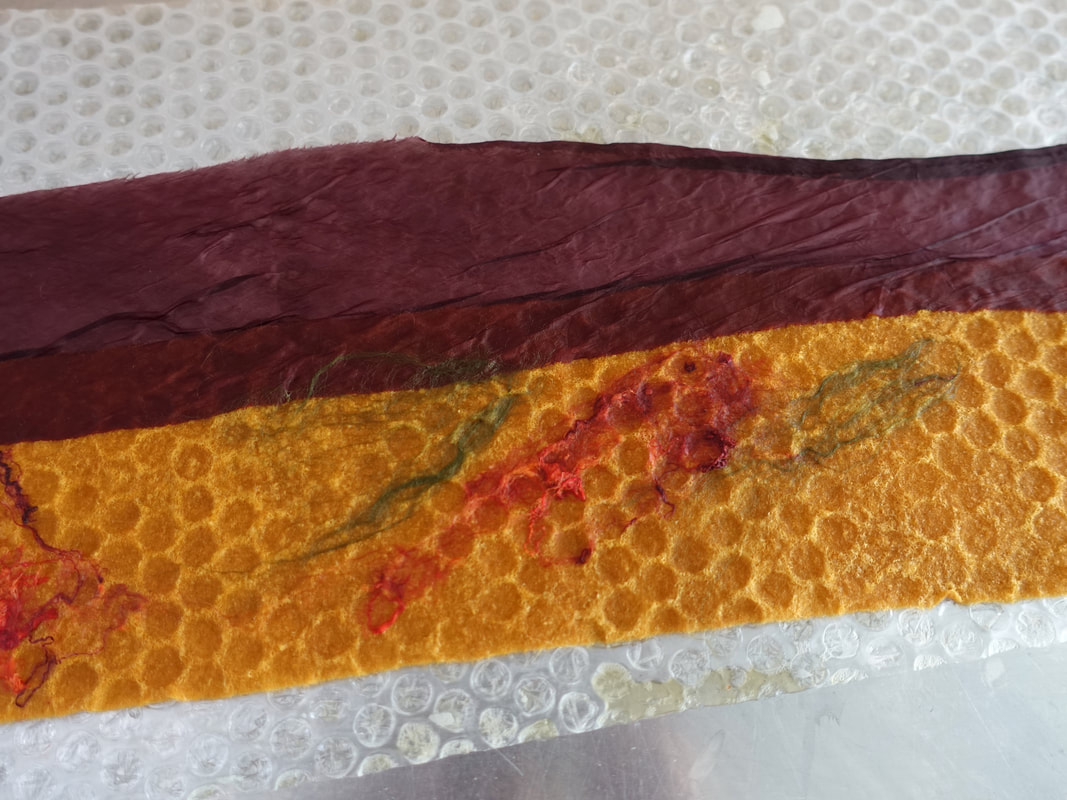
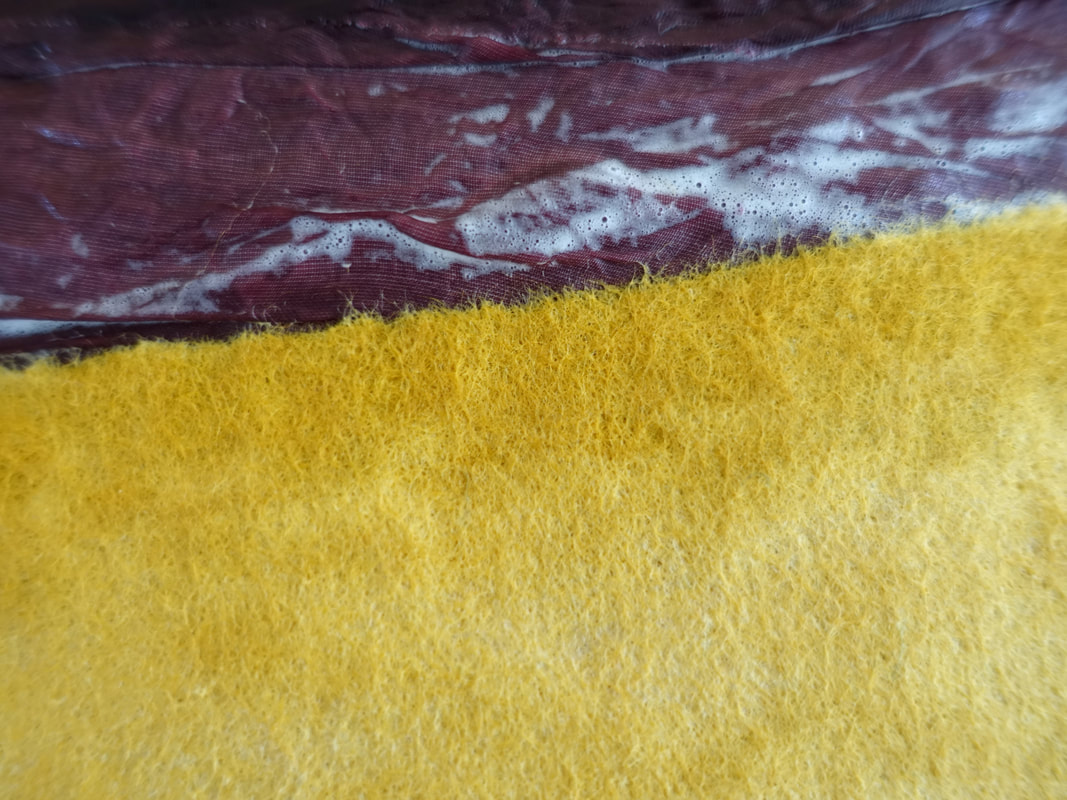
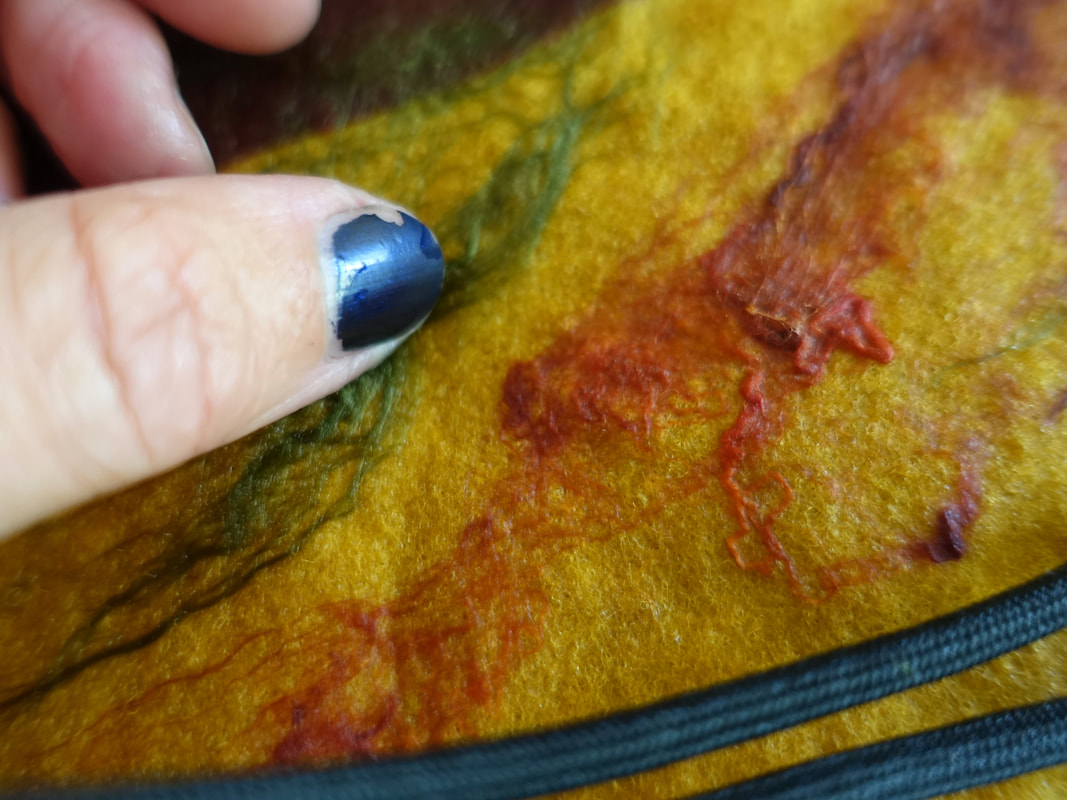
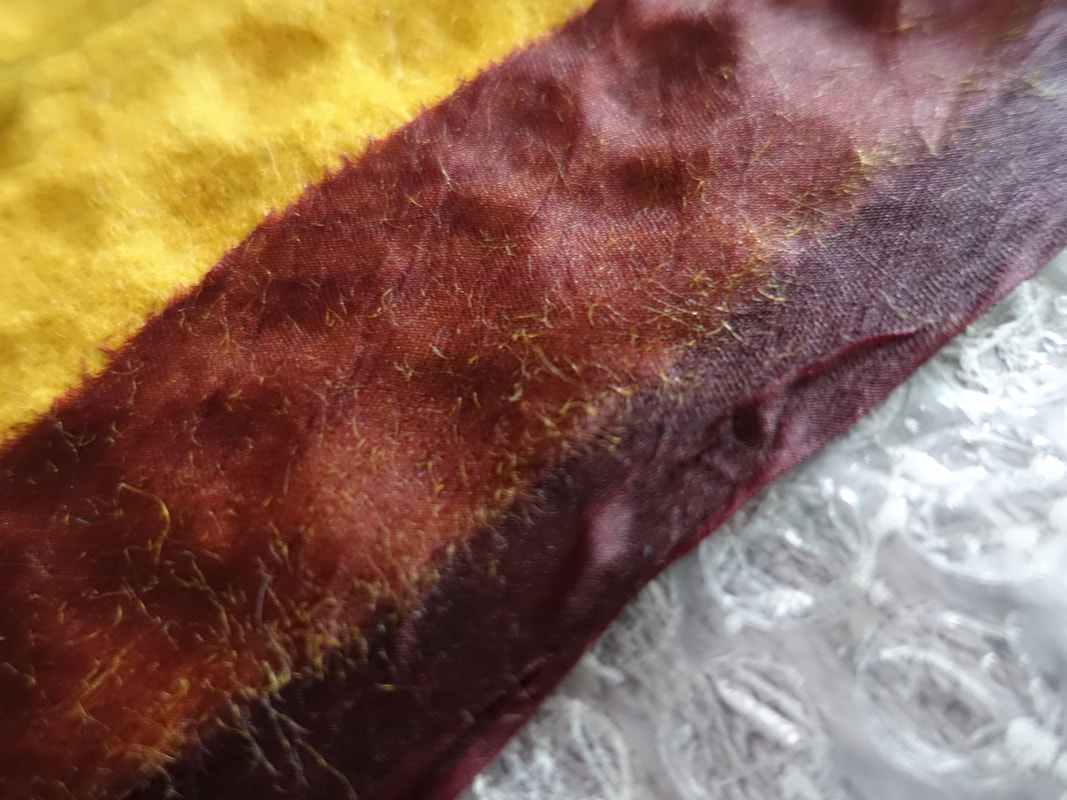
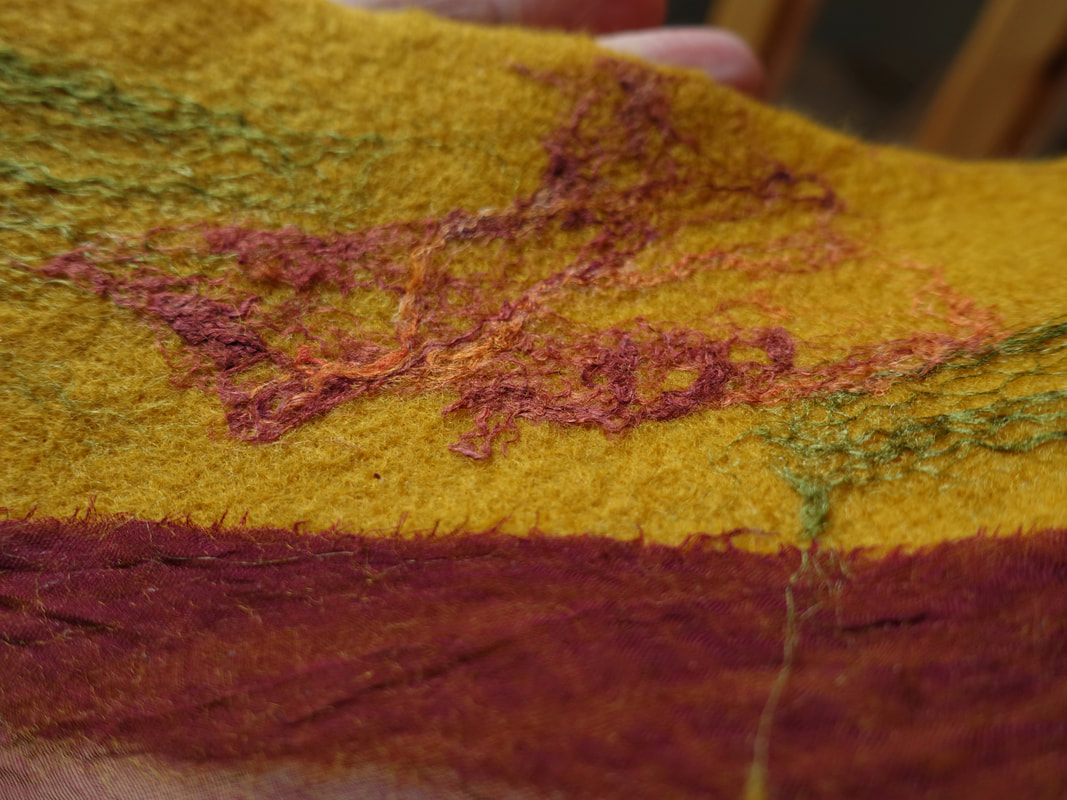
Over the summer I've gradually built up a larger supply of felting supplies. I've always sold fibre to felters, but felt making isn't something I have much of a background in, so hadn't ever focussed too strongly on that usage of fibre. However, I've now done a few workshops on felt making, and done more experimenting at home, so am now a bit more confident about sounding like I know what I'm talking about! One of the new products is bias cut silk chiffon. This is 10cm wide, and because it's cut on the bias it doesn't need to be hemmed to stop it fraying. There's also 19 micron Superfine Merino pre-felt, that's also 10cm wide. Combined together they make a really lovely nuno felted scarf, that's very easy to make even for a non-felter. Because felt is slightly stiff the narrower width means it sits around your neck without feeling like you're wearing a mask. The low micron count means even the most sensitive skinned people can happily put this next to skin and not get prickled. I added some embellishments using some Tussah Silk and some hand dyed Silk Laps. If you're an experienced felted then you won't need much more information on how this scarf is made, but if you're not, it's still a perfectly achievable first felting project. I started off by putting the scarf on a strip of bubble wrap, but then I remembered one of the things I learned on a felting workshop this summer, and that I discovered I can felt things much better just using plain plastic sheeting, and no bubbles to cushion the rolling. I used the plastic sacks that my fibre is supplied in, but any plastic would work. Lay out the pre-felt, then add a sprinkling of water. This holds the silk chiffon and the wisps of silk in place. The more you overlap the chiffon and pre-felt the narrower the scarf will be. Your embellishments need to be very fine wisps, big clumps won't stick down properly! I use a plastic drinks bottle with a sports cap, and just a slight squirt of washing up liquid. Don't use too much soap... or you will be battling a suds mountain when you start rolling! Once you have a rolled up parcel just push up and down on it for a couple of minutes. You don't want to start rolling until the whole thing is evenly wet, otherwise you'll rub the silk off the surface of the wool. After this nothing will be stuck in place yet, but the water will be holding it in position. You can now roll the whole thing up more tightly and start to roll the whole bundle backwards and forwards under your hands. Do this roughly 100 times, then unroll, and roll in the other direction. Occasionally I used a scrunched up plastic bag and rubbed along the length of the scarf on the back, focusing on the part of the merino that overlapped the chiffon. I particularly focussed on the middle of the scarf, because that's always the bit that is most cushioned in the bundle. Normally when felting you'd turn the project 90 degrees to roll in the other direction, but that's not really possible on a long thin piece. After a while you'll start to see the merino changing structure, and the silk will begin to stick in place. Keep going until the chiffon has meshed in to the surface of the merino, and the silk embellishment is thoroughly stuck down.
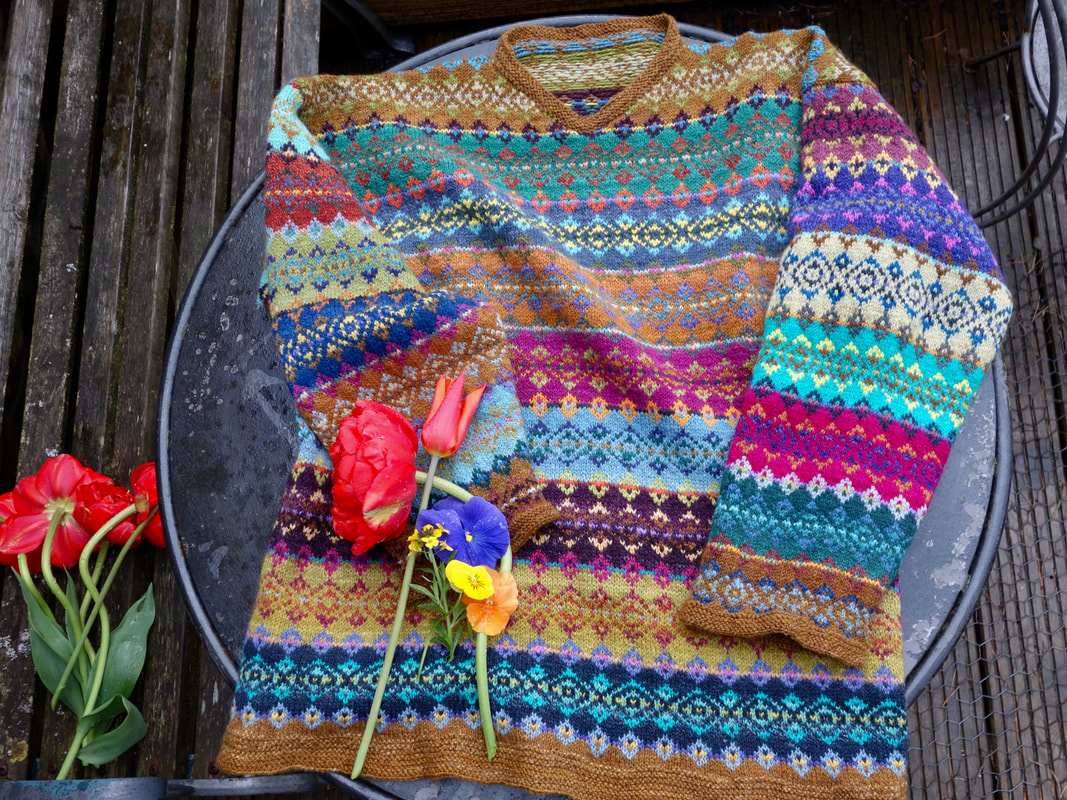
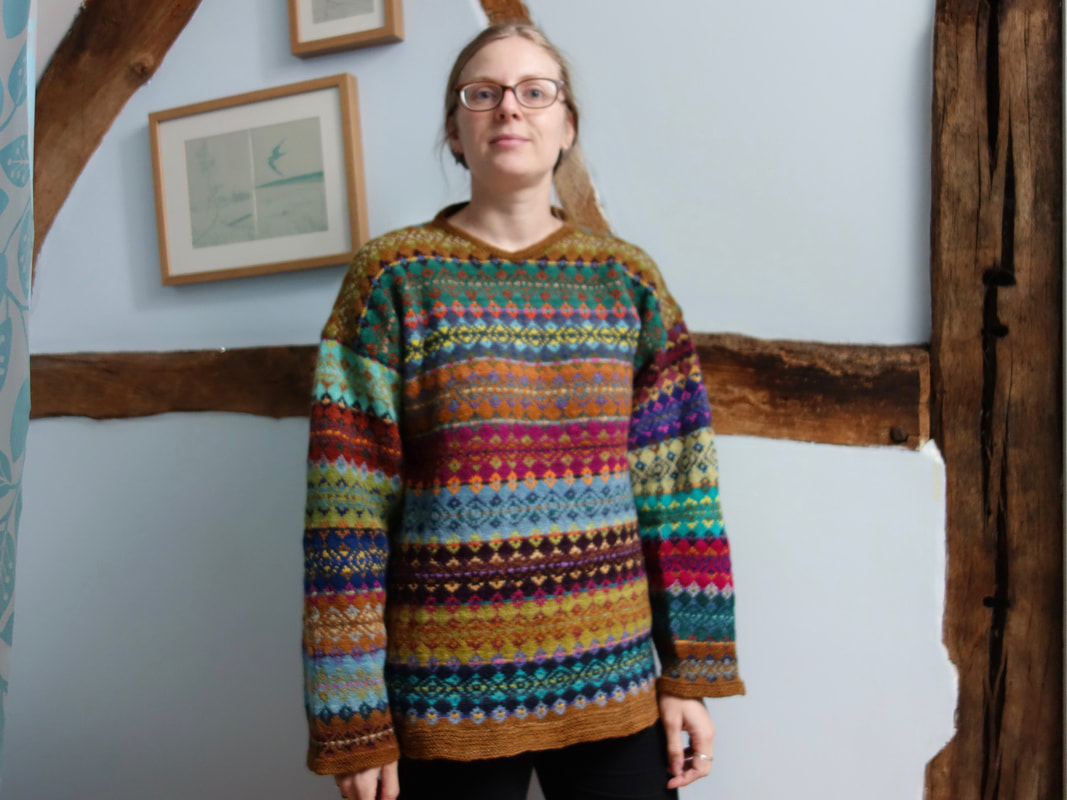
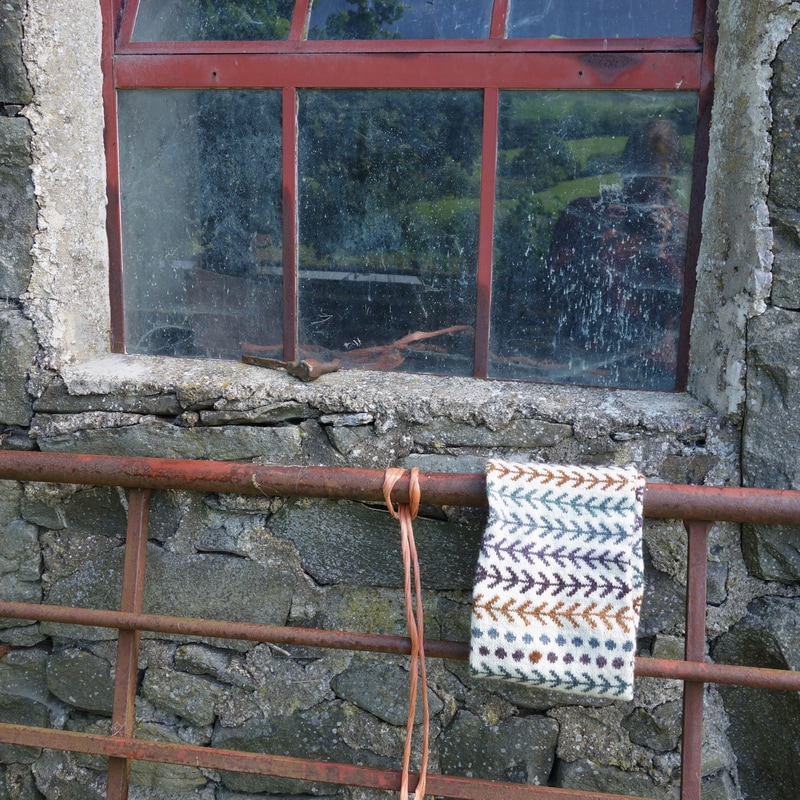
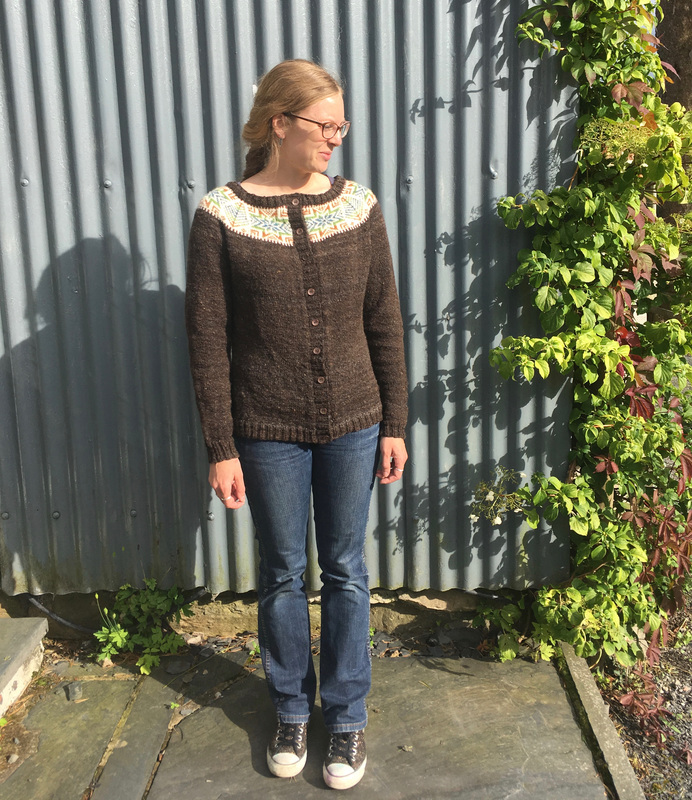
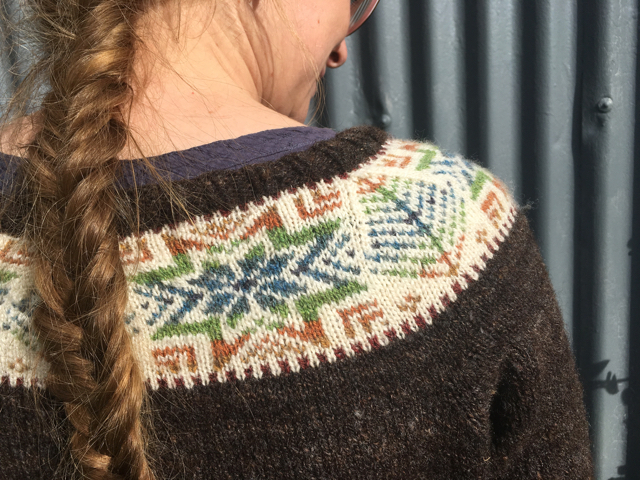
Rinse out the soap, roll up in a towel to squash out most of the water and leave to dry. I gave mind a quick press with an iron just to smooth down the silk. Cough, Christmas is coming.... these would make excellent gifts, certainly quicker than knitting! If you know someone crafty why not hand over the components, and let them make their own present. Back in January I shared the start of a stranded colourwork sweater I was making. I started over Christmas, but then have done lots of other projects on the side, and it took until the night before Wonderwool to finish it. The whole project is a bit of a learning curve, and a prime example of making design decisions on the fly! Here's the post I wrote in January at the beginning of the project. Things I like... the unexpected colour combinations and the mismatching sleeves. The steeked neck worked really well, as does the garter stitch edging. I love the comfiness of the jumper. Yes it's got no shaping, so it does look like I'm wearing a sack... however, I own lots of beautifully fitted jumpers, and when I'm sat at home I want a jumper I can wear lots of layers underneath, that doesn't ride up when I sit down, and keeps my bum warm. The sleeves are a little over-large at the top. The size of the pattern motif limited when I could make the steek holes, and 2 repeats was not wide enough for my upper arm. What I needed to do was decrease stitches sooner, but I didn't want a snug arm on a loose fitting body, and instead ended up compensating in the other direction. I also needed to go down a needle size for the garter stitch on the cuffs, and hem. For now I'm going to live with it and see how the stitches settle, and if it bugs me it's only an evenings work to rip out and re-knit. This truly dreadful photo is the best of a very bad bunch... My skills with the camera on self-timer were lacking today! And yes... I did wash my face this morning, the shadows were not being kind! Technical details-
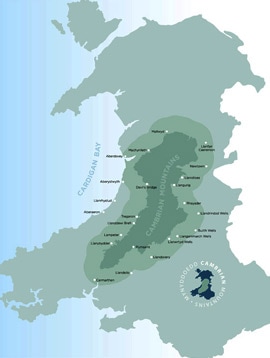
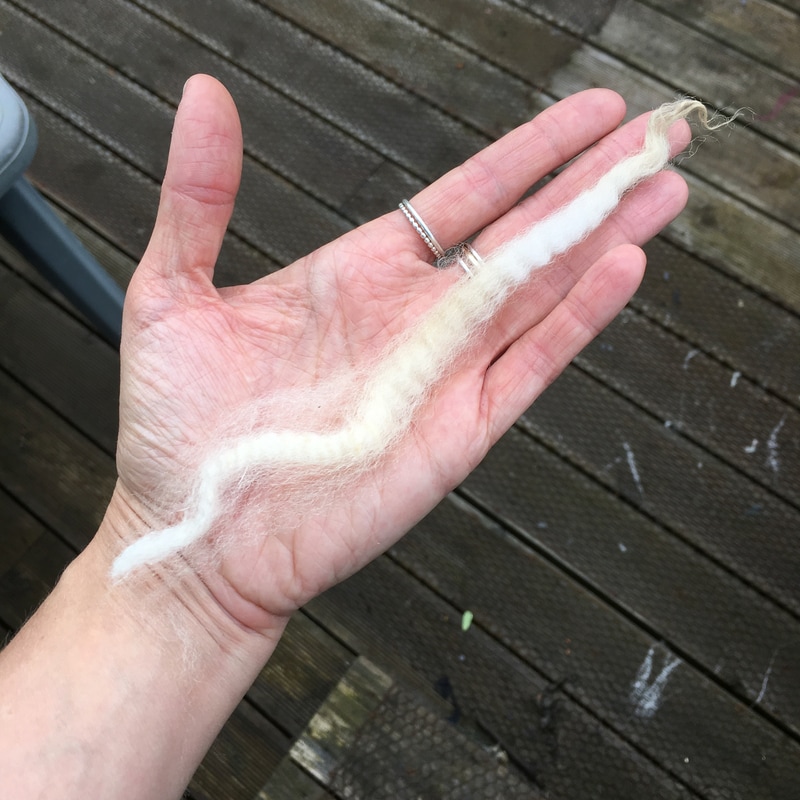
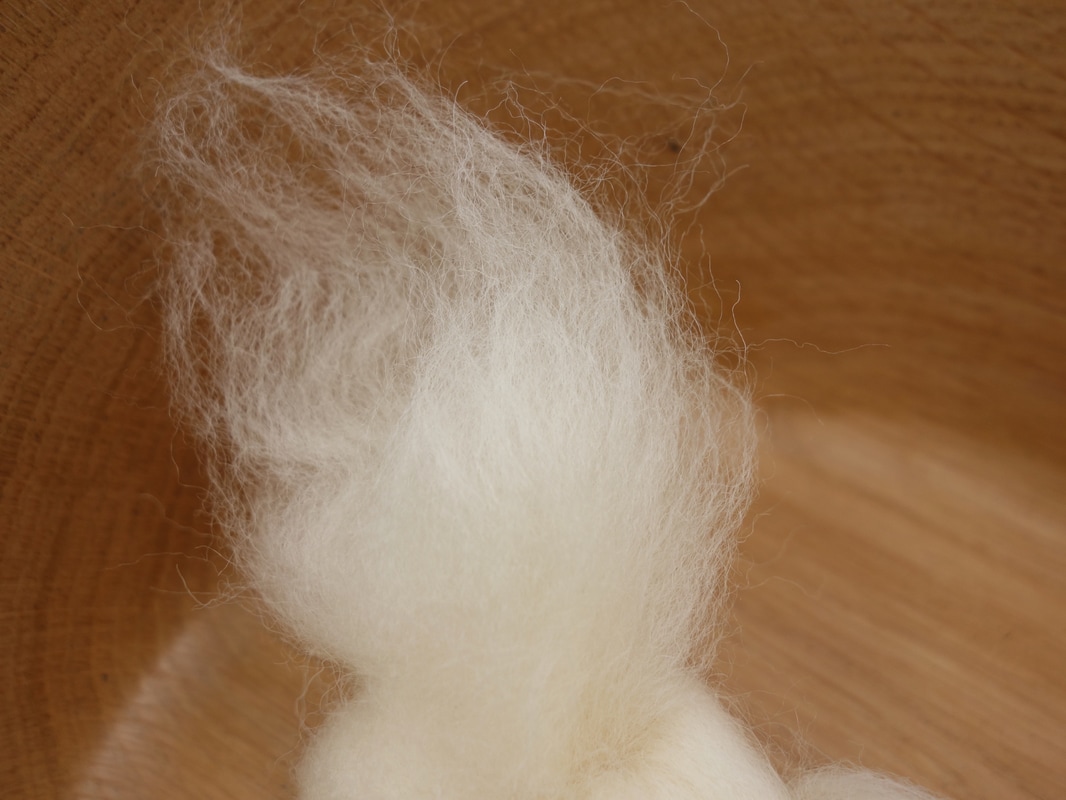
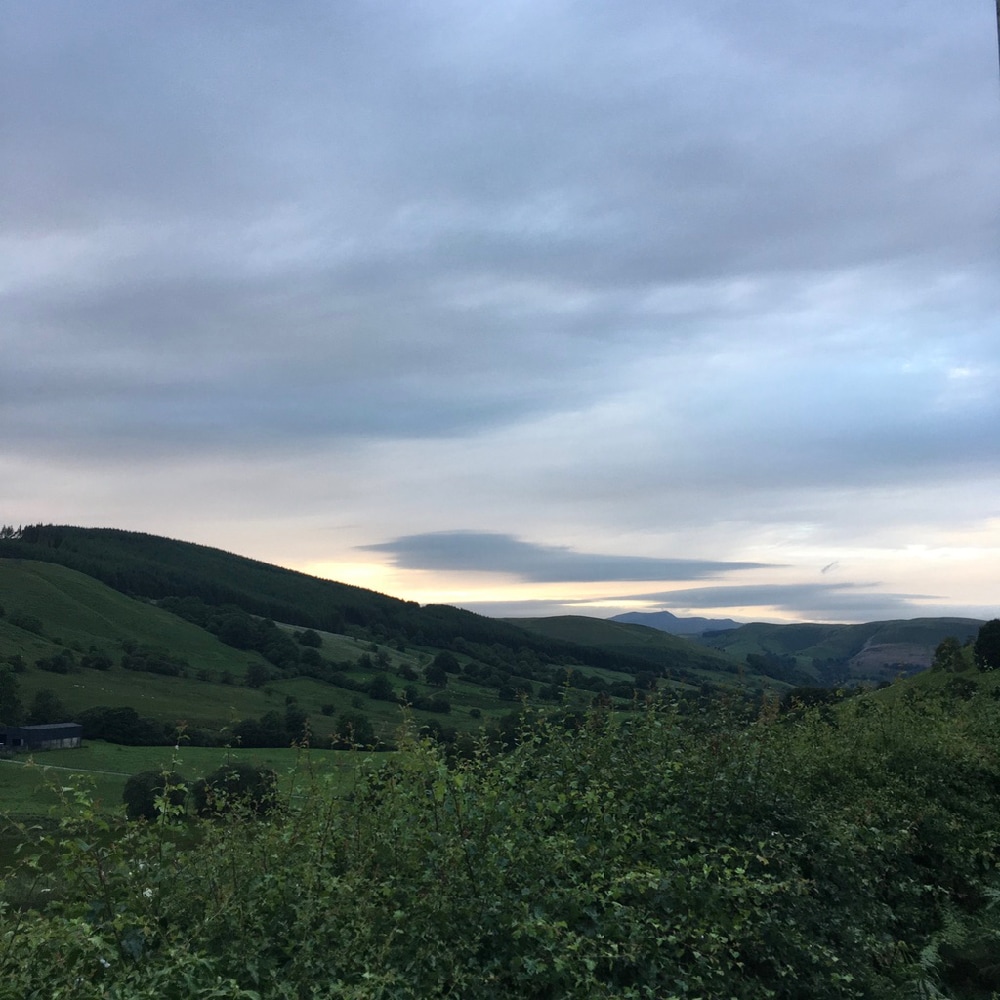
Yarn was spun as a 2-ply fingering weight to match Jamiesons and Smith 2-ply jumper weight yarn. The fibre is Superfine Shetland, hand dyed by me, the skeins used up all the oddments from various colour packs. I have no idea about yardage... bu the whole project weights 720g. Chest (and the rest of the body!) measures 44 inches (112 cm) Body Length 26 inches (66cm) Arm length 20 inches (51cm) Motifs used were from 200 Fair Isle Designs. I love dyed fibre in it's raw form, I once had a lengthy twitter debate about dyeing and wether it counts as art (side point, I think it is, particularly in the style I use, if you're only dyeing solid shades to a recipe then maybe not...) However, the nice thing about this form of art is that it really is a group project, and I love seeing what happens to fibre once it's turned in to yarn, and then turned in to a useful item. Over in the Ravelry group I run a thread that's dedicated to the sharing of skeins of yarn and finished objects, and it's always stuffed full of inspiration. Wether it's the first skeins from a new spinner, or a wonderful huge project combining many braids, I love seeing them all. As a bit of a thank you for the effort people make in sharing photos I offer a bit of an incentive, and every 3 months there are two £25 gift vouchers available, the winners are picked from the thread using a random number generator. The new thread has just been started, so if you get some yarn spun, or something made in the next 3 months then head over and share it, this time you had a 1 in 50 chance of winning the gift voucher, and those odds are none-to-shabby! Here's my favourite posts from the last 3 months, the images should all link to the original project pages if you want to know more details. Cambrian, not to be confused with Cumbria (home to Woolfest, Herdwick sheep, and English), is an area in the central of Wales. Put bluntly, it's that bit in the middle. The bit that when you look at a map seems rather unpopulated, and doesn't have much by way of roads... It's been described as the Green Desert of Wales (because of the lack of people and roads, not due to the rainfall!), and if you want to see the stars there's practically no light pollution. What we do have a lot of is sheep... one visitor from the US commented to me that she had no idea just how many sheep she'd see on an almost continual basis. I've always found it a real shame that I couldn't get more local wool... We don't have a farm ourselves, and whilst I know of ways I could source fleece, and have it processed I could never manage to do it on a scale where it made economic sense. However, there is now a CIC (Community Interest Company) who are doing just that. They're buying up the fine wool clip from farms in the Cambrian Mountains, and getting it processed in to yarn and combed top. The sheep they're using are known as Mules, a mule in this context is a crossbreed sheep. The upland sheep around here are Welsh Mountains, they're small, hardy, excellent mothers, and do well on the upland areas. However their fleece isn't very fine, and the lambs aren't quick growing, or large enough for the modern meat market. So many farmers use a BFL Ram, and create a cross-breed. This gives the best of both worlds. For our purposes as spinners that means the fleece is much finer, longer, and far more useful for clothing. If you're careful about the fleeces you select, you can easily find fibre that looks like this. I've been in the Newtown Wool Marketing Board sorting depot a couple of times, and this sort of fleece is not unusual. And the really good part... I now stock the wool top. And it's beautiful. I will of course be dyeing it in all my usual dyeing styles, but I also wanted to do something that linked the wool back to the landscape. So I've developed 5 colourway packs, called Colours of Cambria. For me, these are the accent colours of home, there's a Pinterest Board with some inspiration images, and the packs. I need to get some more dyed up for the online shop, but hope to do that this week, when they're available you'll be able to find them here. We've had a bit of a chat in the Ravelry group recently about using up 100g chunks of fibre, but the nice thing about this wool is that you can also buy it as commercially spun yarn, in lots of colours and in DK and Fingering weight. If you fancy getting some hand dyed yarn then my neighbours Wrigglefingers and Barber Black Sheep stock the base. I did some speed spinning and knitting to get a sample ready for Woolfest using one of the Colours of Cambria packs, together with 100g of the undyed fibre. and then turned it in to a Punctuated cowl. It's soft, but has good structure, it won't end up looking pilled and fluffy where it rubs against your coat. It certainly passed the Mum prickle test. I hope you're going to enjoy working with something that comes from the place I call home...
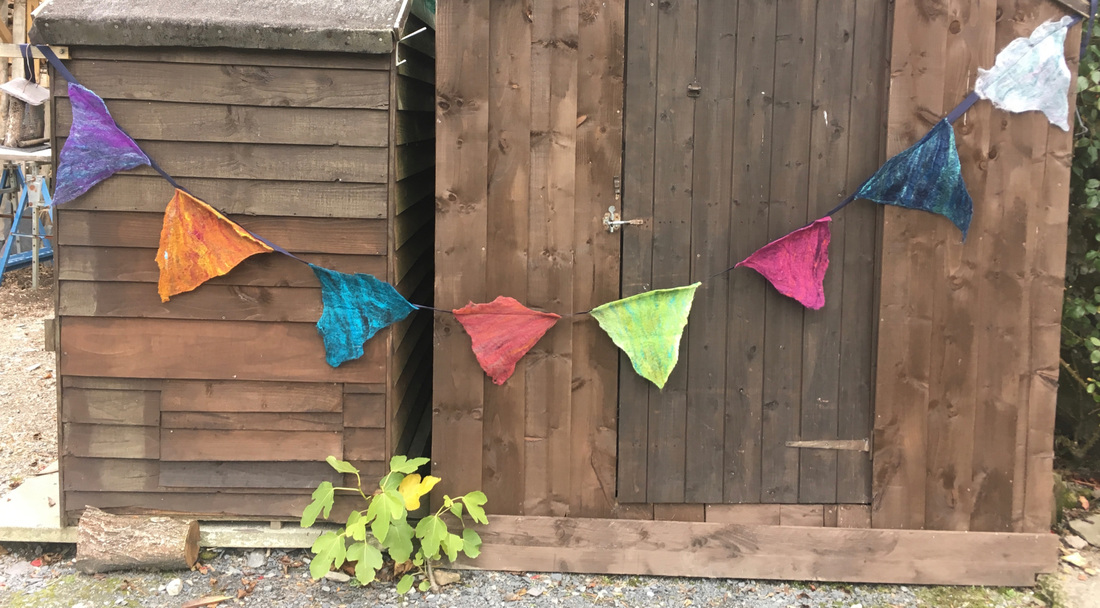
This summer I was approached by a local felting group who wanted me to run a drum carding workshop for them. I've taught drum carding workshops so many times now that I can pretty much do them standing on my head, but they'd always been for spinning groups, so taught with a view to making batts that are great for spinning. I'm a dabbler in felting, rather than an expert. I know just enough to realise how little I actually know! So out came the drum carder, and it was time to put some ideas in to practise. I knew I wanted to get them experimenting with texture, and colours, and that we were definitely going to be using more wools than just merino. The bunting above is the result of all my sampling, and I learned loads from doing it... When I card to spin I like my fibres to be well blending, but with felting doing 1 less pass on the drum carder gives a better effect. I also found I needed far more of the textural fibre than I would include for spinning blends. I also really love the feel of the felt made with some added fleece, it made the piece feel much more bouncey. Even the ones where I included some Shetland or BFL tops in with the merino really helped the feel of the finished piece. I think I might stick to my spinning though... one thing a day of making samples brings home is just how energetic felt making is!
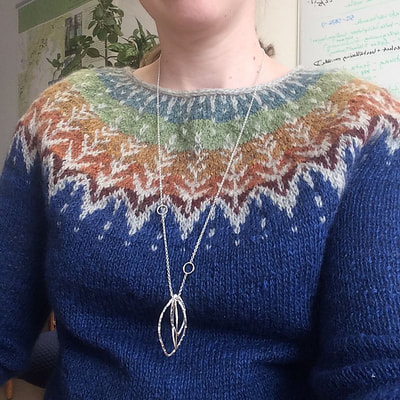
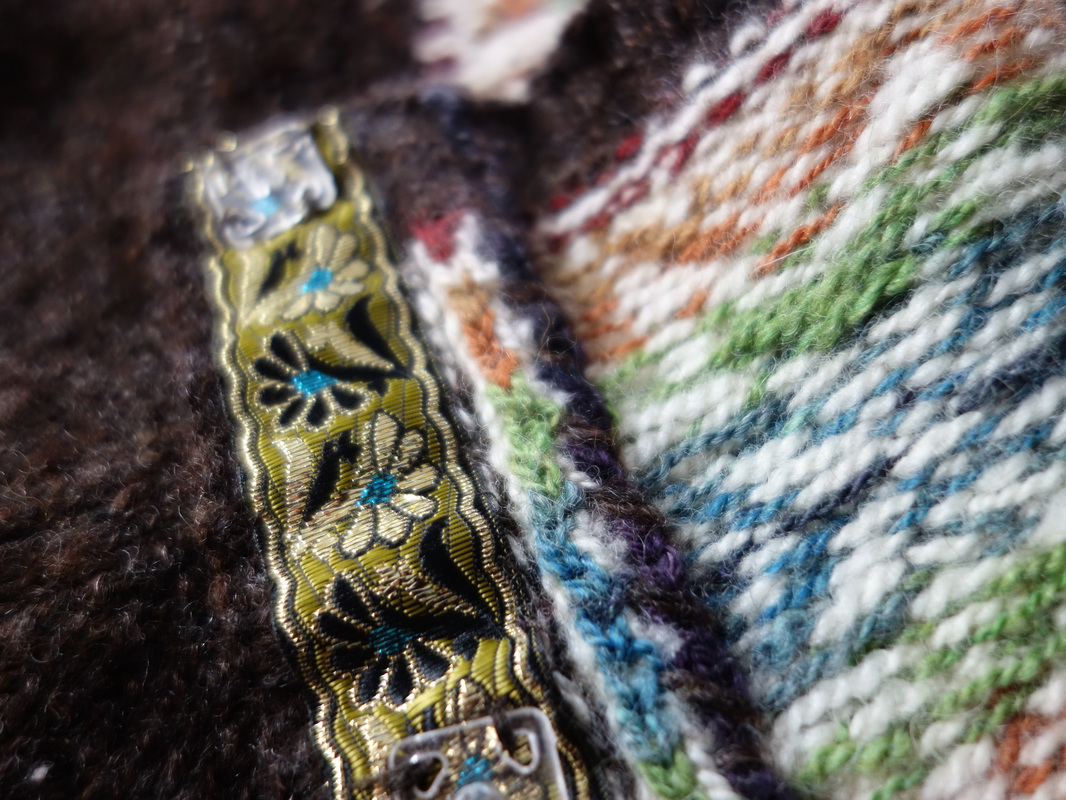
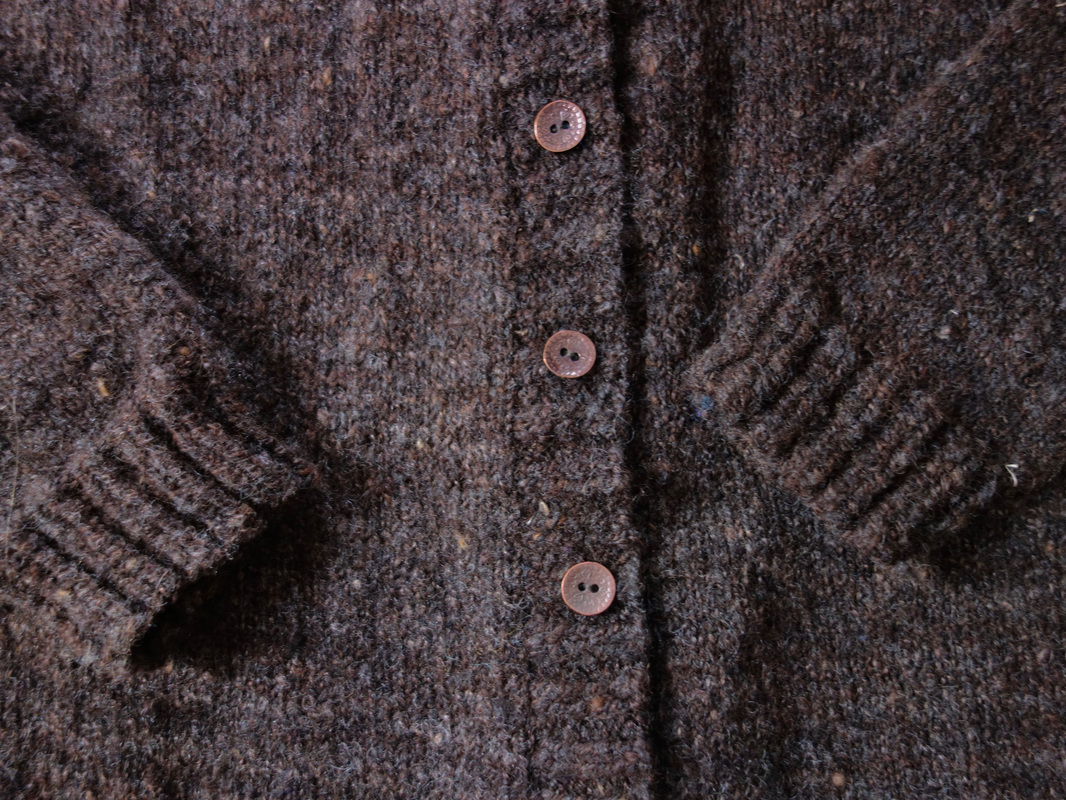
Sometimes I have projects that I dream up and complete almost instantly. Other times the idea has to stagnate for a while, real life seems to get in the way of crafting dreams! Kate Davies Yokes book has been out for a long time now, but when it was first released it was a similar point in time to when I was developing the Hiaeth range of tops. I saw Cockatoo Brae and immediately wanted to do one in handspun, using Hiraeth as the colour work. Two years later and I've finally done it. The main body uses a BFL part-fleece I've had for years, plyed with some coloured Romney that I picked up at Proper Woolly 2 years ago. The coloured parts of the yoke are Hiraeth (Pendragon, Ynys Mon, Rhos, Sheep, Blue Lagoon, Pembroke and Dinorwic) with plain white BFL as the back ground. I've not checked yardages, but I suspect a sample pack would give you plenty of yarn for this part. Mine is a more rustic, less fitted version than the pattern original, but I have plenty of fitted cardigans, and wanted something a little more boxy. The button band is backed with grosgrain ribbon, and then has snaps for closing it, I'm never happy with the finish of knitted button holes, they're always a little sloppy for my taste, and this solves that problem nicely. Copper buttons from Textile Garden complete the illusion of a normal cardigan.
The Never Ending Gradient Club has been running for a whole year!
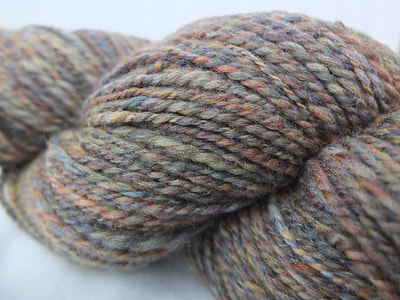
When I took the decision to end my Best of British Club it was a bit of a sad moment, I loved dyeing the club, and exploring the different British breeds, but I was ready for a change, and the gradient club certainly provides that. It's an interesting club to plan, as I want to keep the colour palette shifting, but at the same time not move colours and shades too quickly or it makes it hard for people to use the fibres in larger projects. I always dye some spares of club fibres, sometimes the dyeing goes wrong and a broad won't be a good match for the rest of the batch, and I like to have spares in case parcels go missing (though this happened extremely rarely). When the club first started Mum very nicely asked if she could spin up one of the spare braids once it became apparent they wouldn't be needed. Since then she's made up 2 whole garments using the club fibre.
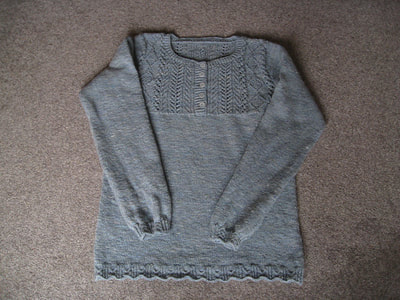
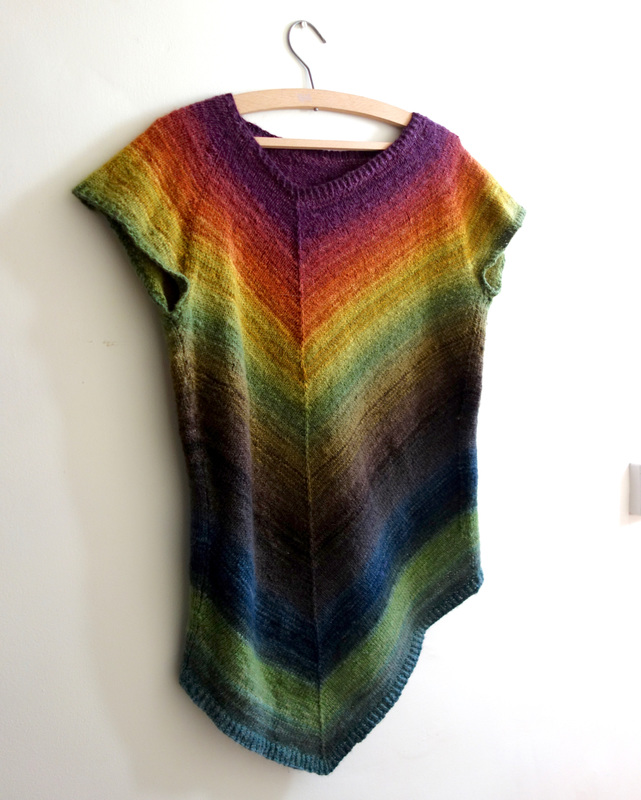
She's horrendous to pin down for modelled shots, so I'm afraid a hanger is the best I could manage. This one is Sugar Maple, and uses the first 4 months.
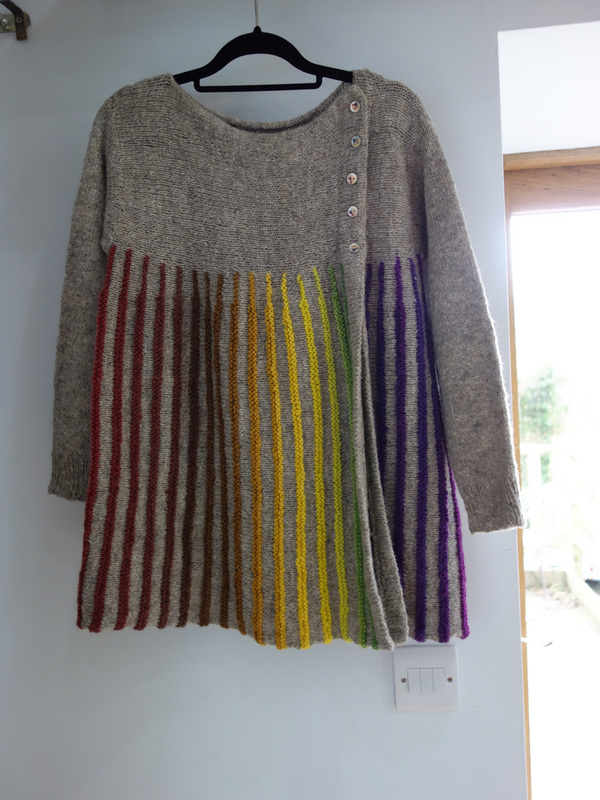
Then she got a bit more inventive. This isMoore with a few modifications, such as a folded hem to neaten the front edge. It uses the Gradient braids along the bottom, paired with some Jamiesons and Smith 2-ply jumper weight
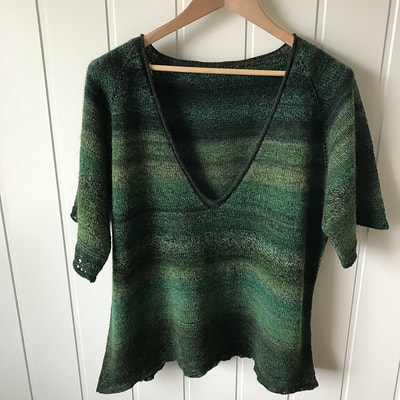
The majority of the skeins were more jewel toned, so Braid 5 (August) was left out completely, as was the first half of braid 6 (September). They're wound up in a giant 150g ball and will work for another smaller project. After that it uses all of October, but then sections out of November and the start of December so that the colours progressed more quickly.
The leftover sections will be put to good use at some point... and of course, the magic braid fairy keeps delivering more wool!
I wonder what she'll make next...
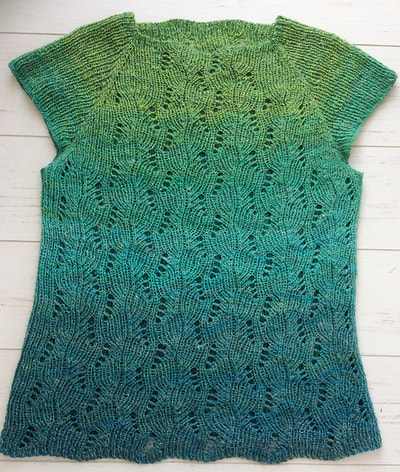
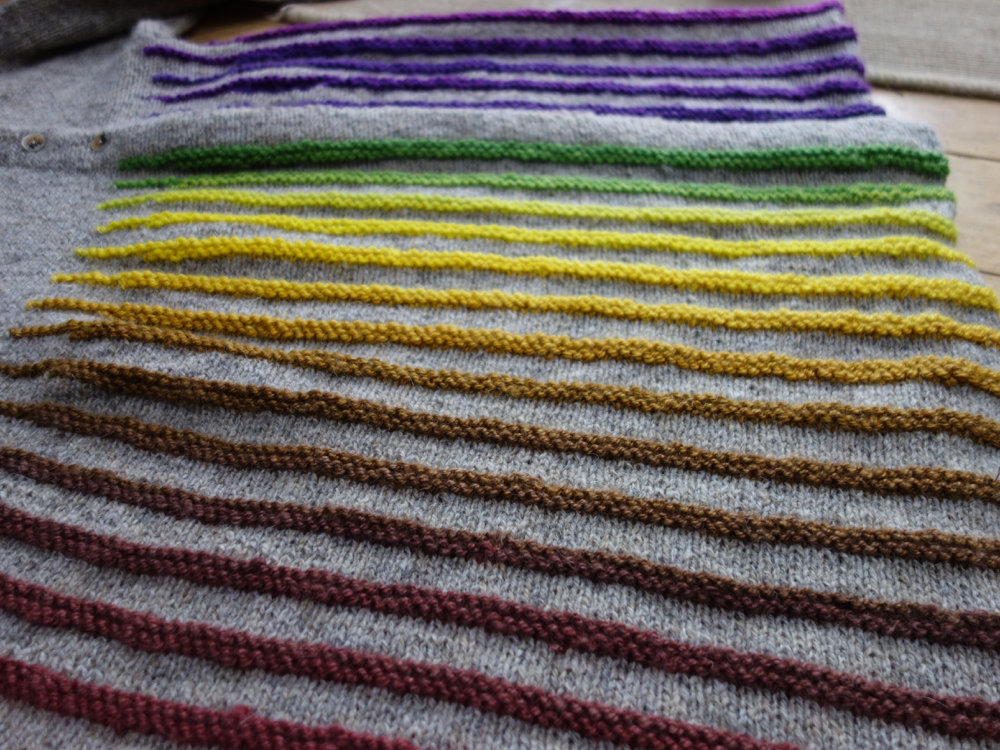
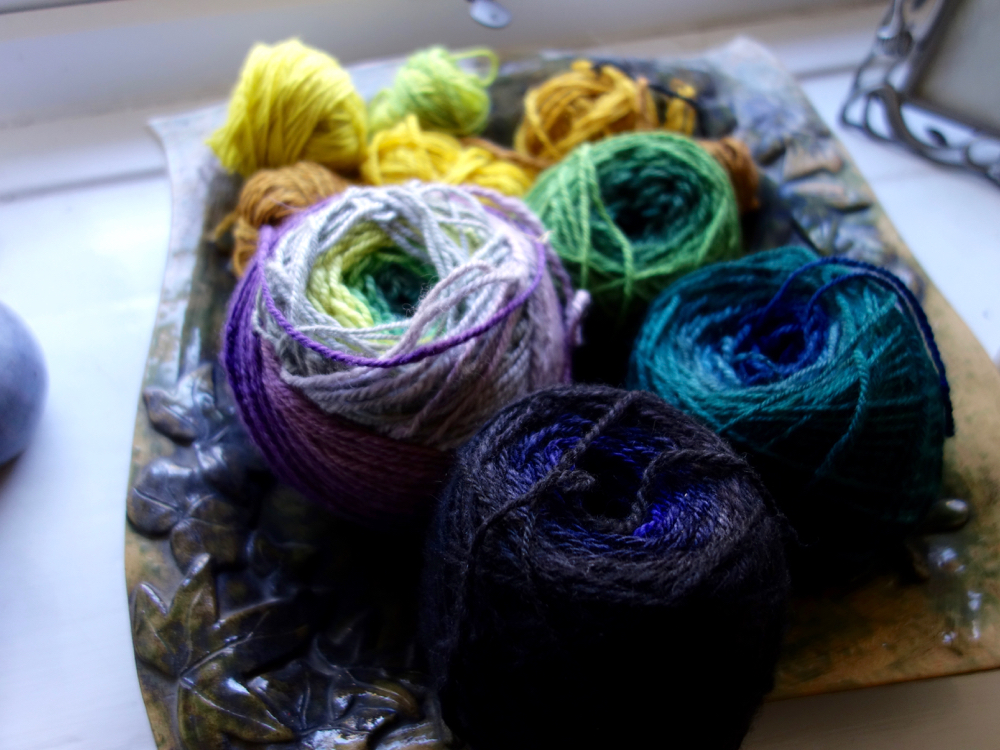
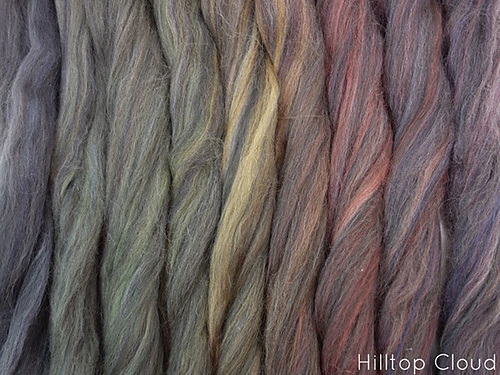
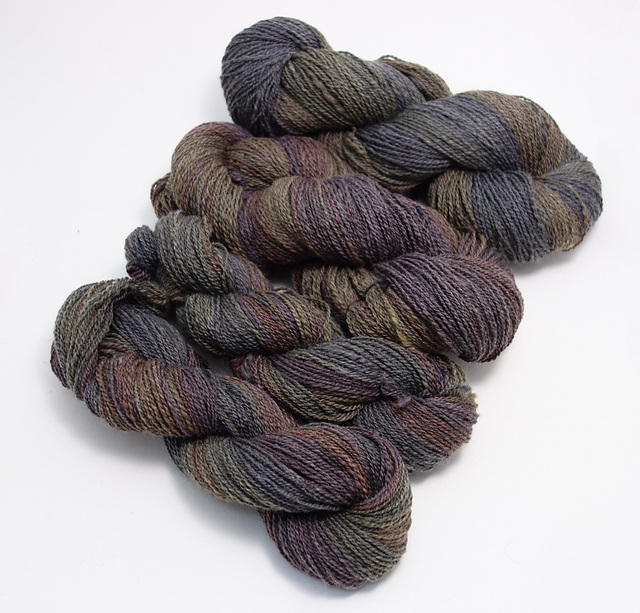
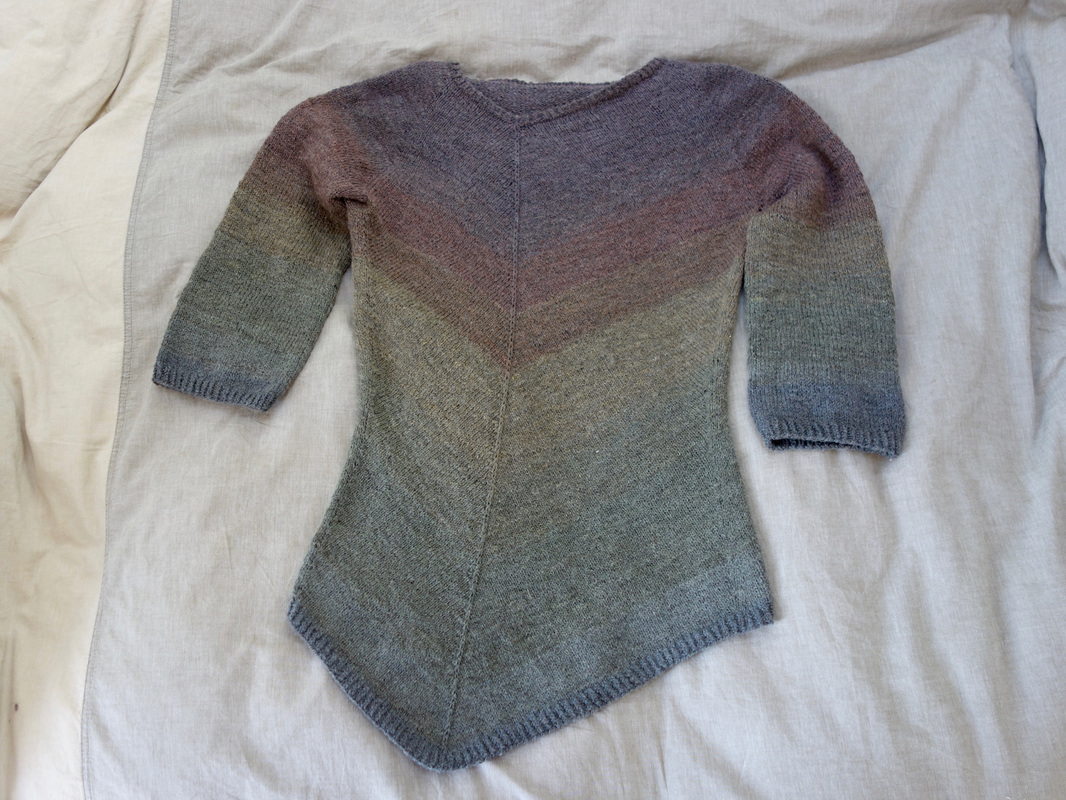
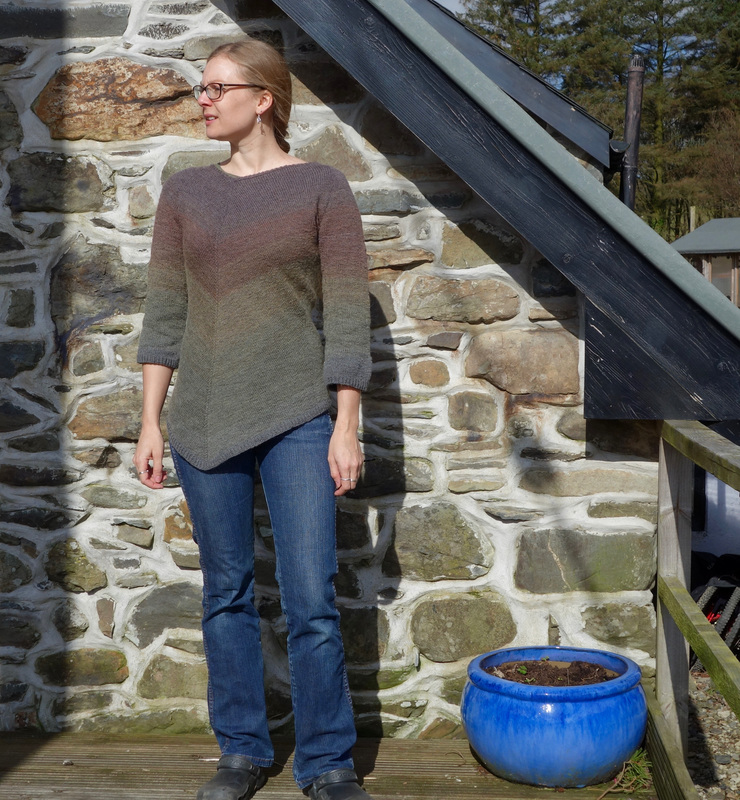
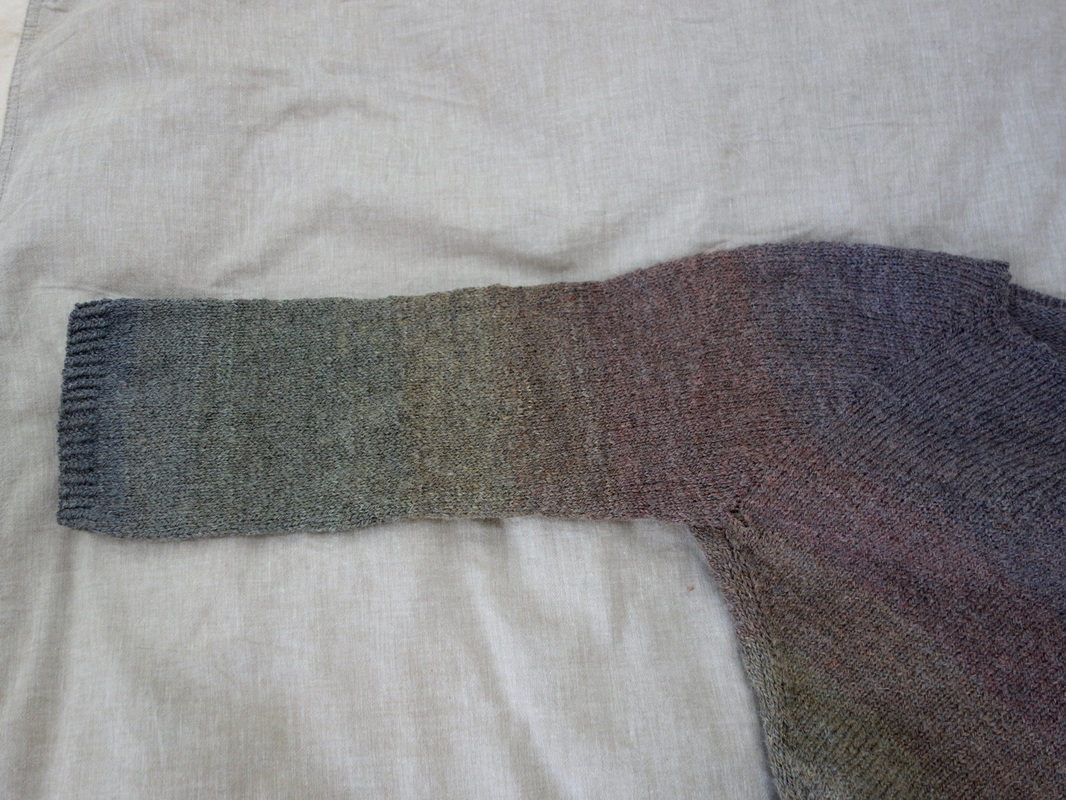
If you'd like some ideas for patterns that work really well with gradients then I've been collating a bundle of favourites on Ravelry. The club has a limited number of spaces, I can only dye so much fibre in any given time, and dyeing 100 braids of the same colour way would be too much like working in a production line. Therefore this club is comparatively small, and I don't operate a waiting list. Spaces are offered on a first come, first served basis, and are advertised using my shop mailing list, if you don't already get my emails then you can sign up below. Last year for the Tour de Fleece I created special colour way for Team Flossy (Hilltop Cloud). It was a Gradient Pack called Cobblestones, inspired by the minted colours you get on set stones when they're used as a road surface. The general look of the colour way was muted grey, but with a bit of a rainbow lurking underneath. I had 3 packs, and spun the yarn in to a 2 ply fingering weight. Two packs I plyed with each other to make one large gradient skein (actually 2 skiens as 280g is too large to wind on a niddy noddy). The 3rd pack I split in to quarters, and spun it in to 2 matching shorter skeins, each containing half a pack. The big skeins were for the body of a jumper, and the shorter skeins were for matching sleeves. The end result is a gradient jumper, with matching long sleeves. Isn't being a hand spinner useful at times! The original pattern (Sugar Maple) uses cap sleeves so that you don't have to worry about matching sleeves when using hand dyed yarn. It's a top down pattern so I put the stitches on holders instead of casting off, and then joined in my sleeve skeins. I used up every last bit of the yarn for the sleeves, but I didn't use all of the body yarn as it was getting a bit long. My Ravelry project page can be found here- http://www.ravelry.com/projects/hilltopkatie/sugar-maple-2
|
Archives
January 2024
Categories
All
|
Hilltop CloudHilltop Cloud- Spin Different
Beautiful fibre you'll love to work with. Established 2011 VAT Reg- 209 4066 19 Dugoed Bach, Mallwyd, Machynlleth,
Powys, SY20 9HR |

 RSS Feed


