|
I have spent the past 2 days taking dreadful photos. You see I bought a new camera, the old one was 4 years old, and not even very expensive then. I'd developed a very specific set of techniques to coax it in to taking good photos of the shop stuff, but it was rather uncooperative taking shots outdoors, particularly in the grey welsh winter. I also never bothered taking it places because it was large and heavy. New camera definitely takes better photos, and has more options to adjust things manually, but taking product photos is quite a specialised task, and not something that many people have to do. Dark and gloomy, not true to colour, and too blurred at the back. I took around 250 like this yesterday, and that was in my light box, with 2 daylight lamps providing illuminations By the end of today, after a bit more trial and error, and fiddling with umpteen settings I've been achieving this. Not all the photos are fantastic, but they're as good as what I was getting before, and over time they'll get even better. The dyeing is probably the easy part of my job, one of the perks of bring a sole-person business is that if a job needs doing you'd better learn to do it yourself!
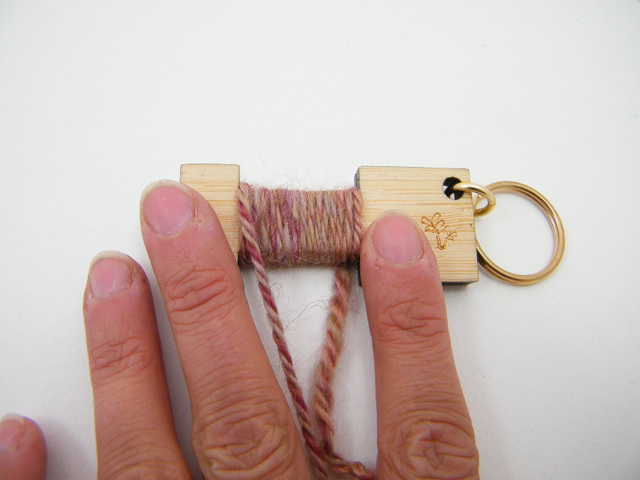
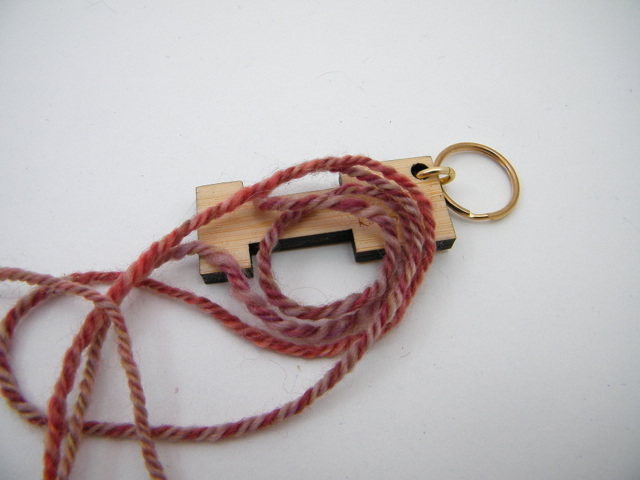
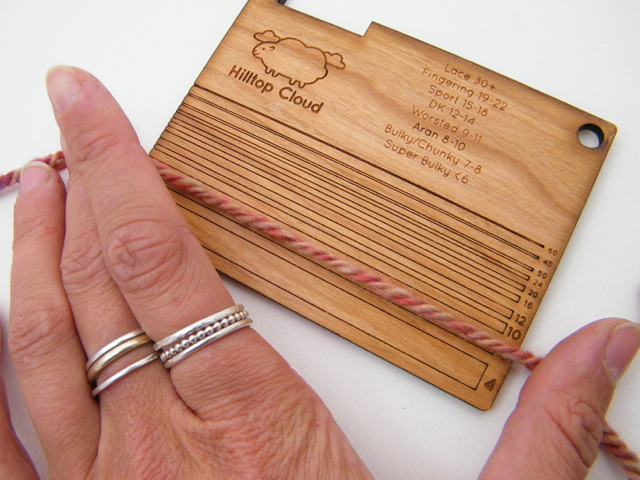
From product photography, to accounts, to graphic design, I've slowly gained the skills that let me do all of it. This post works rather well with the article I wrote on measuring the length of your skein of yarn.After all, once you've finished spinning a skein of yarn the most useful thing you can know about it is how much you have, and how thick it is. Armed with that information you can go on to the advanced pattern search on Ravelry and find a pattern that will allow you to use every last metre of your yarn (all the options you need are on the left hand side). Measuring yardage is pretty straightforward. There's a bit of counting, and some very simple maths, but it's not really something that's open to debate. Yarn thickness however, is something of a dark art. As you get more experienced you do get better at eyeballing a piece of yarn and declaring "DK weight", but sometimes it's nice to check, and of course, eyeballing requires a bit of experience. I'm sometimes asked if there's not a chart a spinner can use to work out yarn thickness. There may well be, but I'd not trust it any further than I could throw it. Yarn thickness is effected by so much more than just the number of metres for any given weight. Hand spun always tends to be denser than commercial yarn, so most of the time a commercial yarn of around 400m/100g will be fingering weight (The term 4-ply might be more common in the UK, but isn't a great term to use as plys are the number of individual strands twisted together to make the yarn, a 4-ply can be any thickness). In handspun, if you have that much yardage per 100g you've often spun something thinner than fingering weight. Though not necessarily, it partly depends on the fibre used, and the style of spinning. Woollen yarn contains lots of air, so will have more yardage for a given weight at any thickness. Something like silk, where the fibres are tightly packed together will be much denser, so a lower yardage for a given weight at the same thickness. This is true no matter wether you're a spinner or not. Commercial yarns succumb to exactly the same effect. Socks That Rocks Lightweight is definitely a fingering weight yarn, but it's tightly spun, and tightly plyed structure only give it 250m/100g. In contrast Jamiesons & Smith Shetland Jumper Weight is a more woollen style yarn, lightly spun, lightly plyed, packed full of air. It has a whopping 456m/100g. Yarn thickness is measured using something called WPI, which stands for Wraps Per Inch. The idea is you wrap your yarn around a gap measuring 1 inch, and count how many strands you can fit in. It works pretty well for thin yarns, if you can manage to count how many strands you've got, not always easy when there's 50+ of them packed in that gap. For thicker yarns I've always found it an impossible technique to do accurately and consistently. I don't think I'm alone either, in an elderly Spin Off I once ready an article where many people were challenged to measure the wpi of a variety of yarns, their measurements differed wildly. By wrapping you often pull on the yarn, so it reduces in diameter, and then there's the "to-pack or not-to-pack" debate. This is a tradition wpi gauge, wrapped tightly, and with as many strands in there as I could fit. In total there are 16 of them squashed in there. Take a look at the same yarn, no longer under tension, and it's a very different beast. Even to look at, it doesn't look like a yarn that should measure 16wpi, and be a Sport Weight. Now admittedly the example above is an extreme one, but even if you relax your wrapping slightly, the act of winding the yarn in to a gap applies tension, and distorts the measurement. For years now I've instead being comparing my yarn to a line of a known thickness. The lines are based around divisions of 1 inch, so for example a line that measures yarn of 8wpi, will be 1/8th of an inch wide. I find it gives me far more consistent results. I used to have a little bit of printed card hung on my wheel, but now I can replace it with one of these. Laser cut, on ether cherry veneer, or acrylic plastic. It's got a wide set of lines on it for comparison purposes, and a reminder of how certain wpi measurements match to the names given to commercial yarns. To use you just overlay your yarn on top of the tool, and match it to the right thickness. Here's the same yarn I was measuring above. It just covers the 8wpi line, which compared to commercial yarns I've handled feels right, just on the border between a heavy Aran, and a skinny Chunky weight.
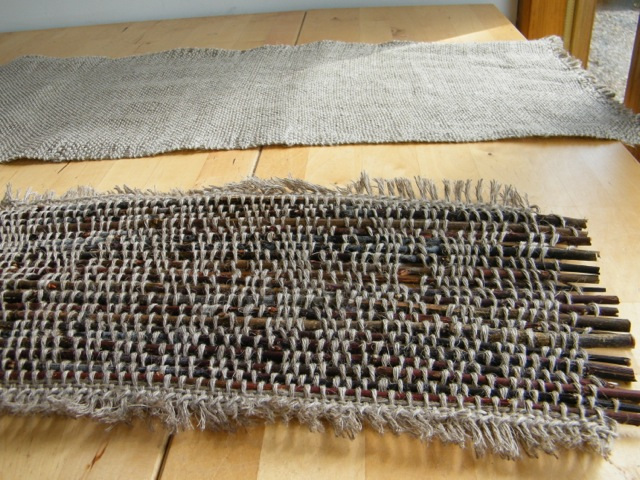
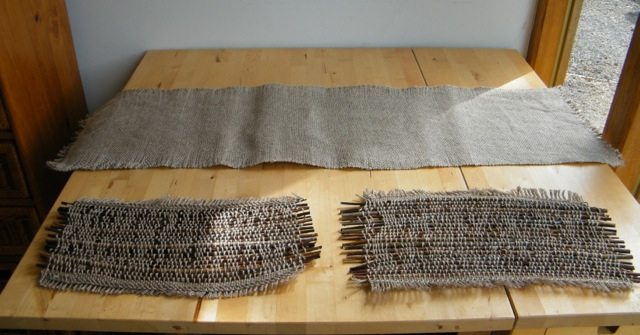
You can even attach it to your wheel and use it as a checking tool while you spin to help keep your singles a more consistent thickness. WPI Guages are available in the shop here. My little (well not so little really) brother has just moved in to his own house. He's finally got a place of his own instead of having a room in a shared house. I thought I should make him and his girlfriend a present, but I am short on free time at the moment, so a knitted blanket was out! However, at Woolfest this year I had seen some very nice woven placemats, where instead of using yarn as the weft (the strand that goes across the width of the cloth), the weaver had used thin sticks. Mine are a decidedly more rustic version, but do have their own charm. The sticks came from the lane behind our house. The trees we cut down 2 years ago, that had formeerly been a hedge, are now growing shoots from the base. Stripped of leaves, and left to dry they worked perfectly. They'll certanly insulate the table from anything hot, and worst case scenario, everything in them is natural so should they find their way to the compest heap they'll slowly break down and leave no trace. I had a length of warp left, because I didn't meassure and do sums, so that was just woven using some more linen to make a table runner to match the mats.
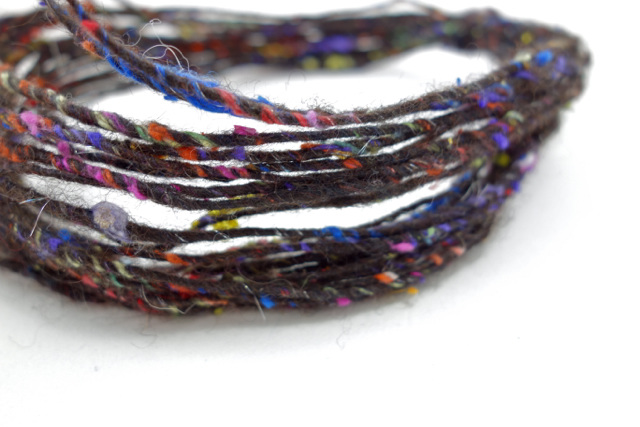
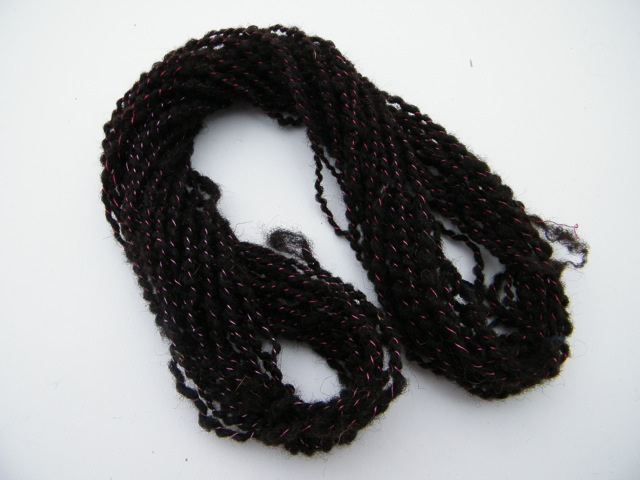
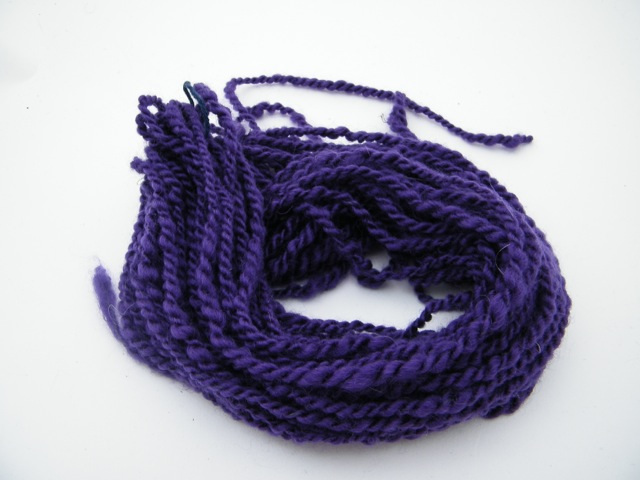
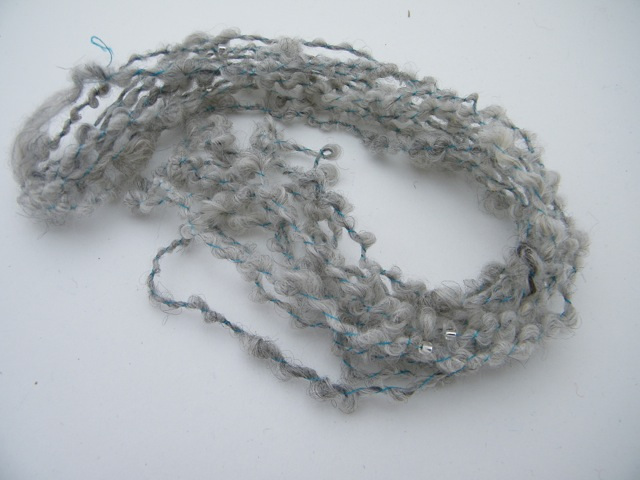
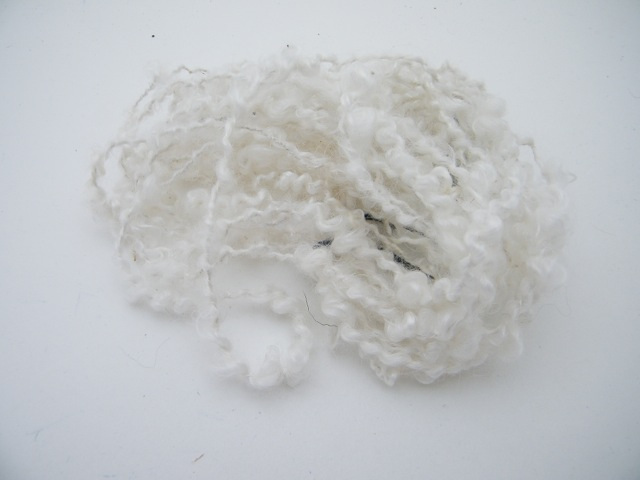
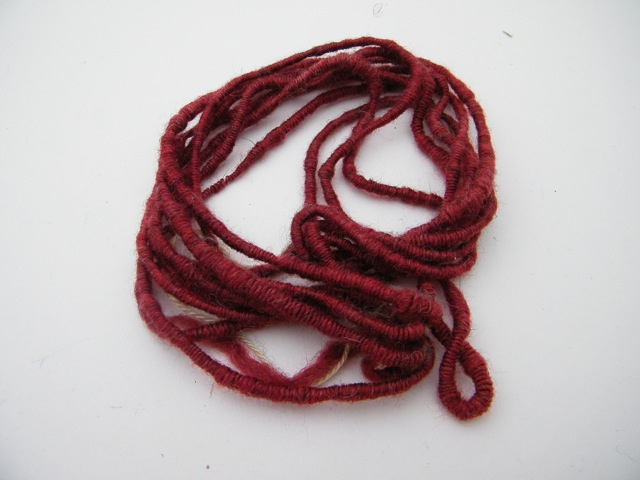
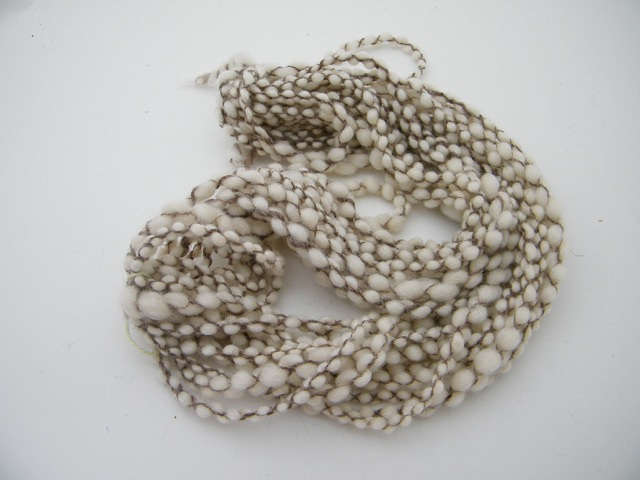
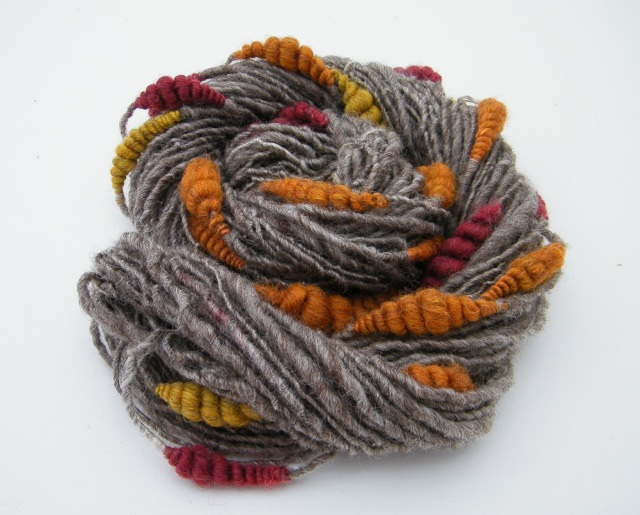
Last weekend saw me sat in another workshop with Sarah Anderson. This time it was one I'd organised on behalf of my local guild. I failed spectacularly at taking photos... again. In my defence when you're the person organising the whole shebang there's not a lot of free time! Sarah, yet again, was fabulous. We were a large class at 18, but I feel pretty confident in saying that every person in the class came away feeling like they'd learned something, and weren't short on individual attention whenever they needed it. This time the class was on Core Yarns, and Crepe Yarns. Core yarns are actually something I spin a lot of, so I was already a convert, but I think a lot of people learned what fun this construction method is, and how you can use it in so many different ways. My usual core yarns are fat, fluffy and textured, so for the workshop I went in the other direction. Smooth, thin and controlled. This is some carded Zwartbles fleece, that's then spiral plyed with some thick sewing thread. The nice thing about plying core yarns is that you don't need to pre-spin the core in the opposite direction like I usually do for my singles corespun yarns. This is some BFL top, which is then plyed with itself. My Mum described it as looking like beginner yarn, but actually it's got it's own subtle beauty, it almost looks like the twisted cord you see being sold for upholstery, and the core means it doesn't have a lot of stretch. This is a bit closer to what I normally spin as core yarn. It's some carded Gotland, that's then plyed with thread strung with silver beads. This would weave beautifully... This has photographed really badly, but is beautiful yarn. Kid Mohair locks, just teased open, and then core spun. It makes the expensive locks go a very long way, and you then ply it with a tonal thread to help hold the fibre in place. This little skein is another skein of super coils, again, a technique I have already been using, but there's nothing like seeing someone do it in the flesh to refine your technique. Final yarn is a bubble crepe. This is one of the yarns I spun last New Years Eve, and I loved it then, and love it even more now. Not the quickest yarn to spin as you need to ply it twice, but oh so lovely to look at and feel. Again, I think this might be nice woven, especially if you could get the warp threads to sit in crossed sections... The past 2 weeks have really revived my spinning mojo. I have so many ideas buzzing round in my head, new techniques I want to try, even from the classes where I've spun yarns that I felt I already had a good understanding. Speaking of new things, this popped in to my head a few days ago. I think it's safe to say that beehives are now a technique I've mastered!
|
Archives
January 2024
Categories
All
|
Hilltop CloudHilltop Cloud- Spin Different
Beautiful fibre you'll love to work with. Established 2011 VAT Reg- 209 4066 19 Dugoed Bach, Mallwyd, Machynlleth,
Powys, SY20 9HR |

 RSS Feed


