|
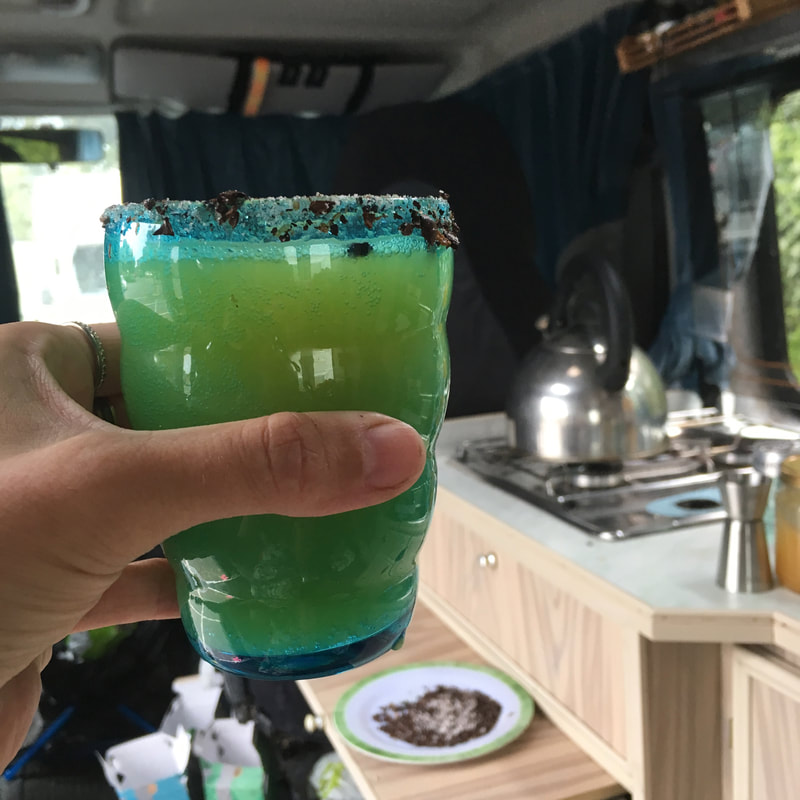
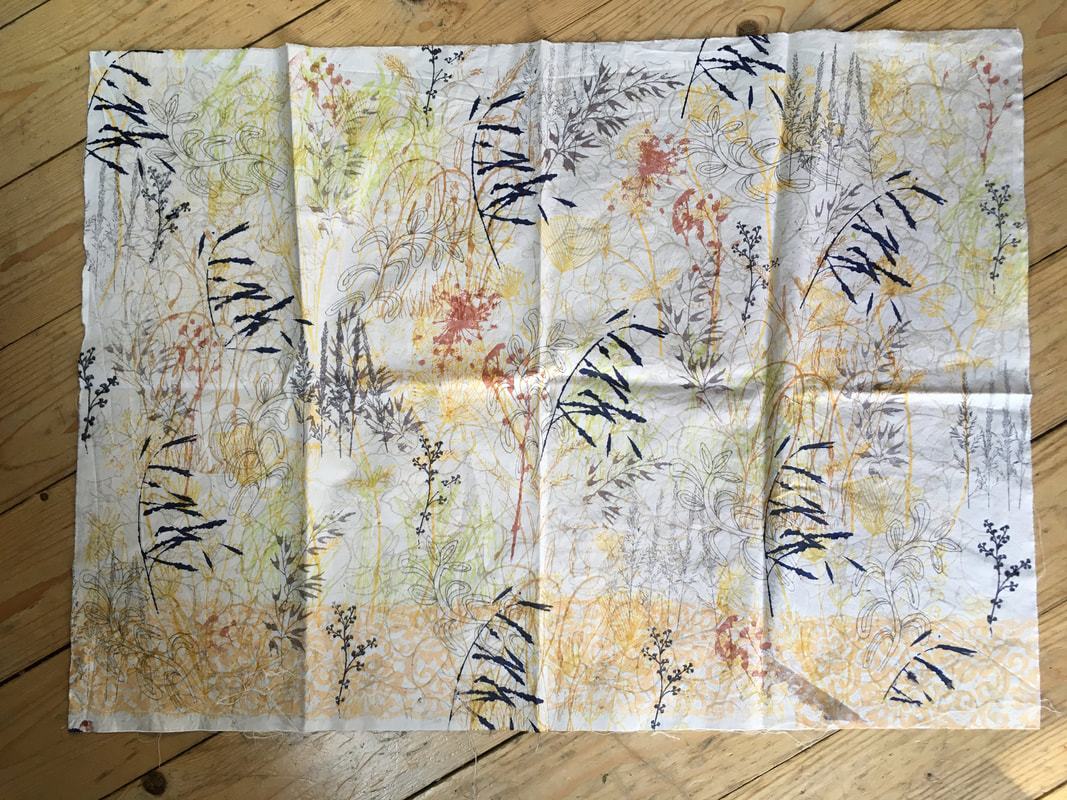
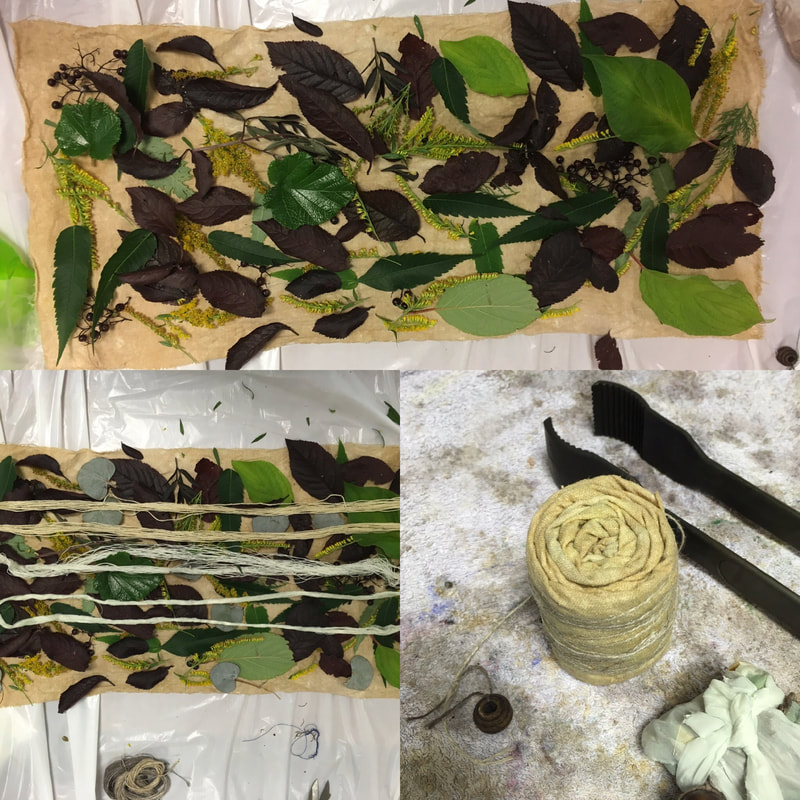
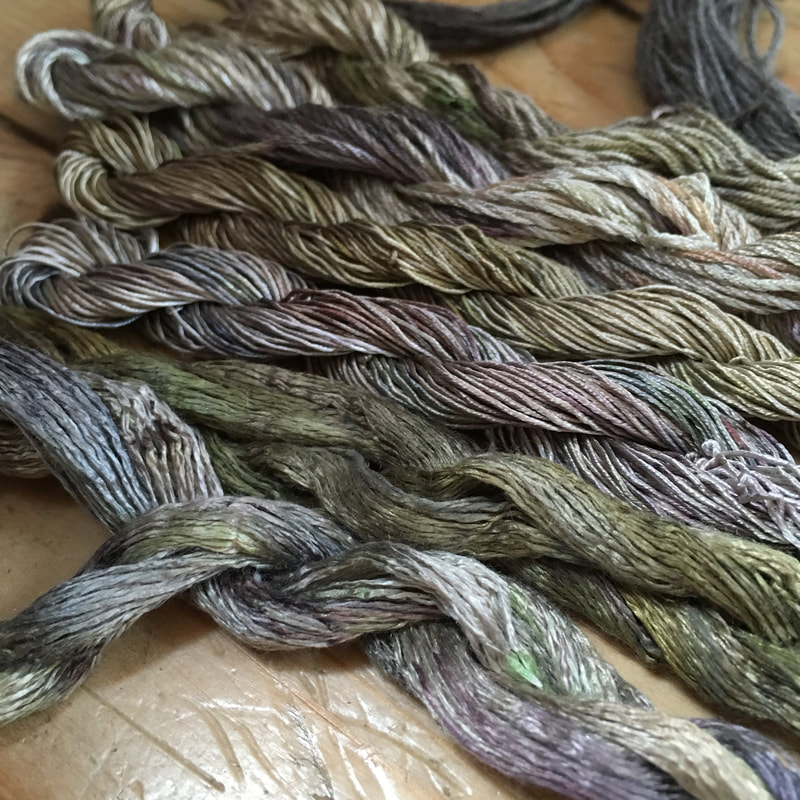
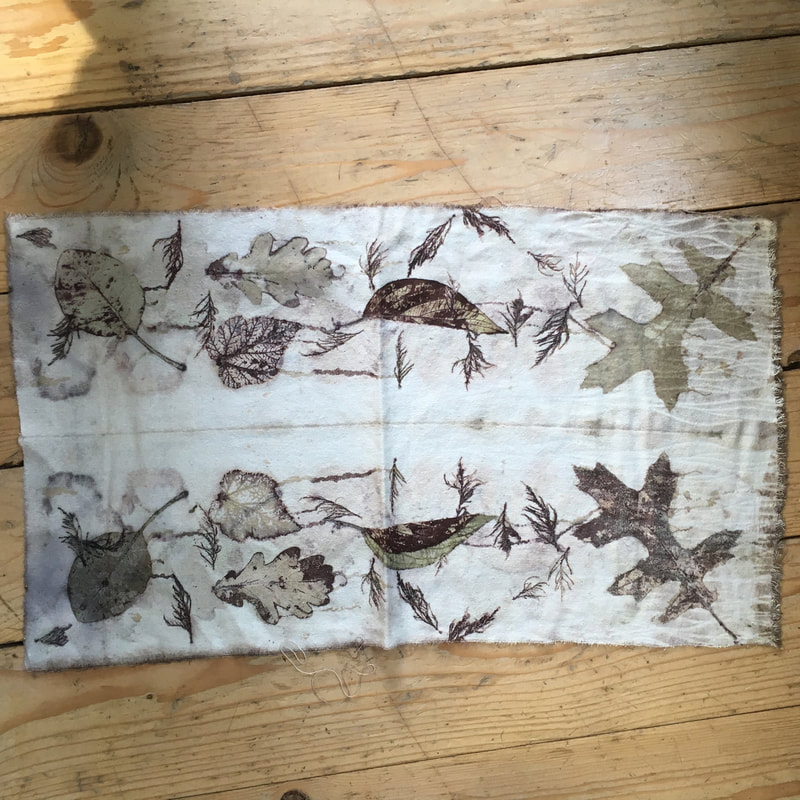
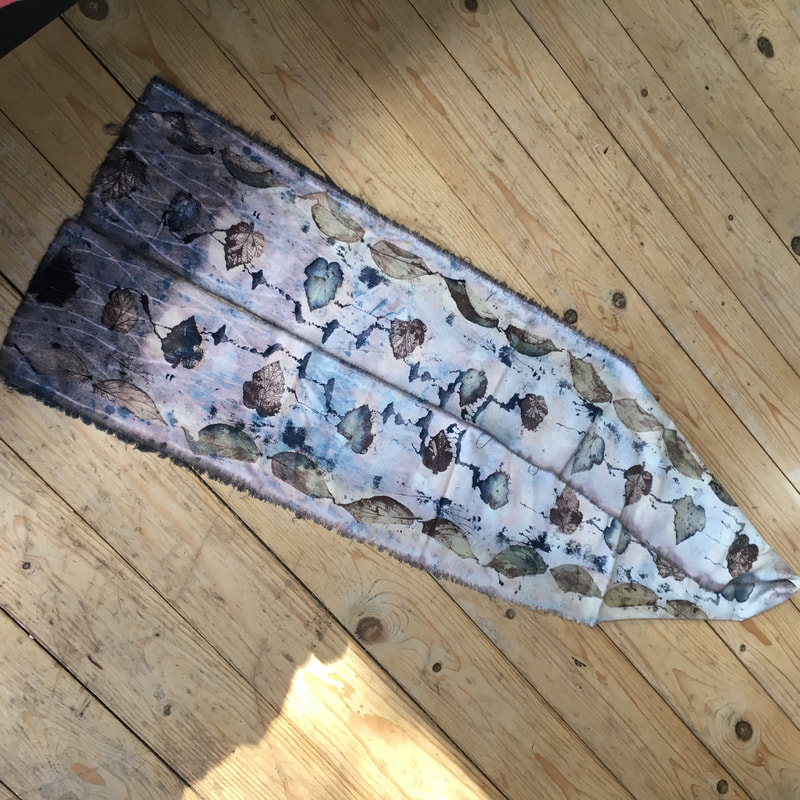
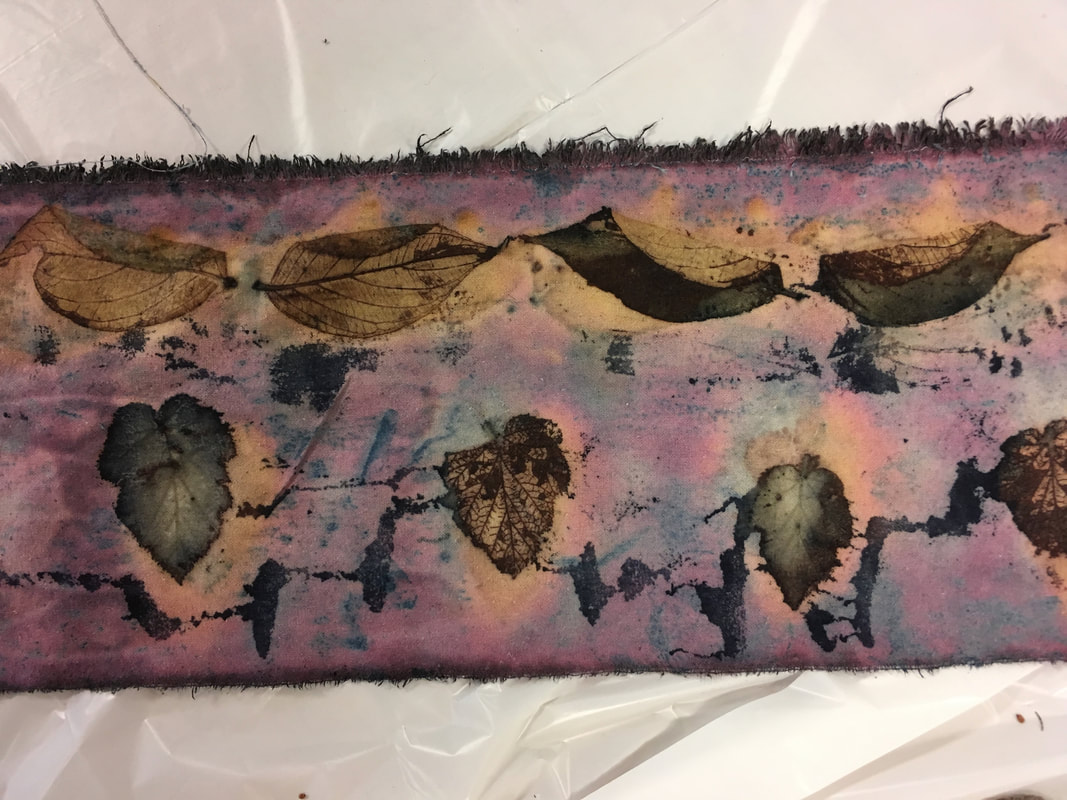
Two years really does fly-by... Earlier this month I spent a week at the Association of Guilds of Weavers, Spinners and Dyers Summer School. It was my second time as a course attendee, and my 3rd visit. You can see what I got up to in 2015 here, and my visit in 2013 here. This year was very different to my last experience, last time I spent most of my free time helping out with the evening entertainments, and also ran a summer school twitter account. This year I was purely there as a course attendee. It was also different accommodation, instead of a student bedroom I went down in Mabel our camper van, which was great, I could make a cup of tea while lying in bed, and we had a fridge to provide us with ice and cold tonic water. The cold tonic water was important because we had 30 different types of gin to sample throughout the week! Yet again my course involved fabric printing. This time it was using screen printing, and also trying out eco-printing. We had two tutors for the very different parts of the week, and I have printed up so much fabric. It was great to be able to have access to a huge number of screens and designs to combine. I can definitely see the improvements as I went along, just working out the order to apply motifs makes such a difference. I approached the whole process with a really open mind and my usual willingness to make a mess of something, because better to try an idea than to be forever wondering "what if". This piece started out purely because I liked all the bugs, and I wanted some practise in putting them where I wanted them to go, and getting them consistent. It was a bit messy to start off, and the white background was very stark. I knocked it all back with a random block stamp, and then it's had a trip in to an indigo vat. I spent 3 days layering the orange and green bee fabric above. The final stage was adding the mathematical formula, which finally happy with the design. On the Wednesday morning we carried on screen printing, but this time did so on mordanted cloth with thickened natural dyes. These were great fun, not least because you put the dye on, and then had to wait and see what colour you actually got... A lot of the colours didn't develop in to their traditional shades. Our logwood ended up being navy blue, and our weld was tan brown, the safflower came out bright yellow. This was another piece where my tutor watched with faint horror... I started out with the ink splats in all the different ink colours, because I just wanted to see what colours everything turned out as. It's pretty, but it's very safe, and to me it didn't look handmade, it just looked like a polka dot fabric in muted tones. When I started printing I'd always planned for that stage to be a background, so after doing the right thing, putting it to one side for an hour, and still feeling that it was boring, it went back on the work bench and had more layers applied! The only part I marginally regret, the bright yellow large bursts, but of course being natural dyes these will change over time. These are still unwashed, I've left them for a couple of weeks to give the dyes a nice long opportunity to bite on to the mordanted cloth. This was my second screen print with the natural dyes, in the photo the dark blue grasses are a bit more dominant than in real life. Again, I am intrigued to see what happens when I wash this... Finally in the last part of the week we moved on to eco-dyeing. Personally I find the name a bit misleading, in part because it implies everything else is un-eco-dyeing. In short, it's a form of contact natural printing/dyeing, you use leaves to make contact prints on fabric, so instead of making a solution by boiling up your dye-stuff and then boiling mordanted cloth, you roll up a cloth bundle with your dye material, and then heat the whole thing together. Some things don't need a mordant, but others were boiled in iron or copper solution. It was all great fun, and I think we'll give it a go as our guild dyeing day in the future. We also dyed some threads in bundles to use for embroidery by laying them inside a bundle before they went in the dye pot. One of the nice parts of doing this as a group was that it highlighted the unpredictability of this type of dyeing. Even when we all had access to the same leaves, and bundles were put in the pot for the same length of time our class of 12 all got dramatically different results. Some of these worked better than others, and as ever I got a bit experimental! There's some vintage parachute silk in these, and also some over-dyeing on some cloth that had already been Shibori indigo dyed, and I experimented on my sample test piece from the 2015 Summer School. At times you get incredibly crisp prints, and other times you get more of a general area of colour. My favourite techniques produced this... Leaves that were soaked in an iron solution, on Tussah Silk Noil fabric. I got incredibly crisp results, and it really highlighted the difference in the print you get from one side of the leaf compared to the other. The folded Dogwood leaf in the middle was a complete accident! Which inspired this long length of fabric, just using 2 types of leaves (Dogwood and Ornamental Blackcurrant. I folded the leaves intentionally this time! It went in to a Logwood dye bath to cook, so the iron seeping out of the leaves will act as a mordant for the logwood dye. There's a long thin strip to go around the bottom of a skirt. My tutors, if you want to see how the professionals do al this, were Alison Hulme for Screen Printing, and Caroline Bell for Eco-Printing. Both were newcomers to Summer School, and did a great job teaching us.
There are a few things that matter to me when it comes to how I run the business. I occasionally share bits and pieces on the blog.
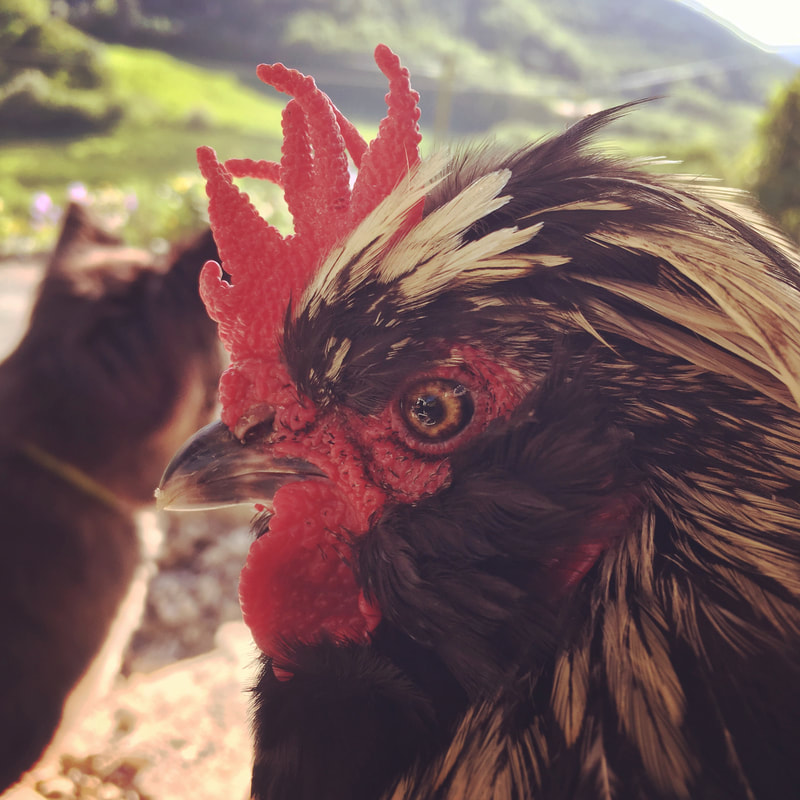
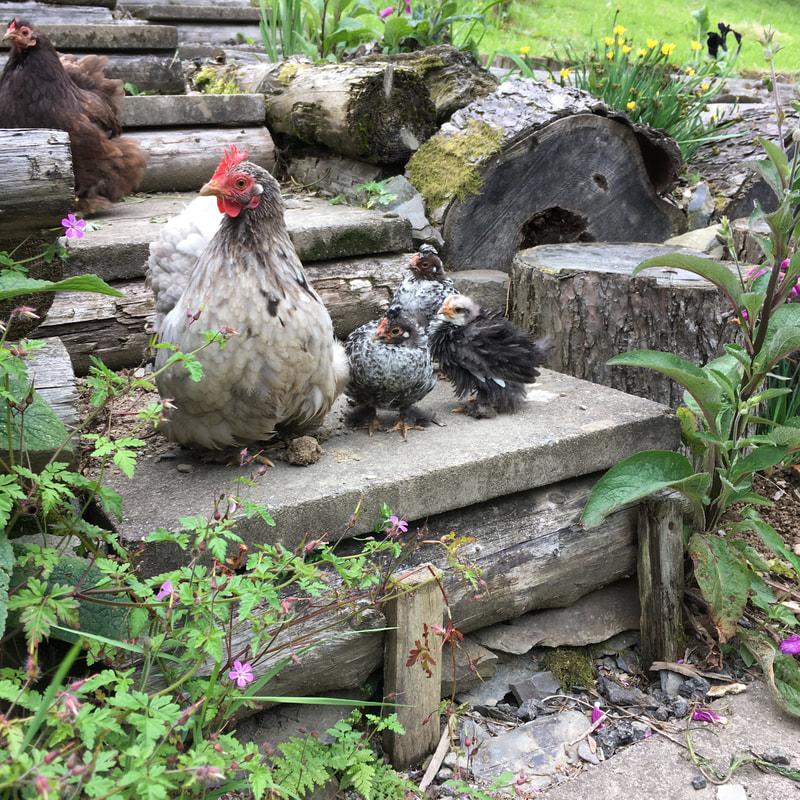
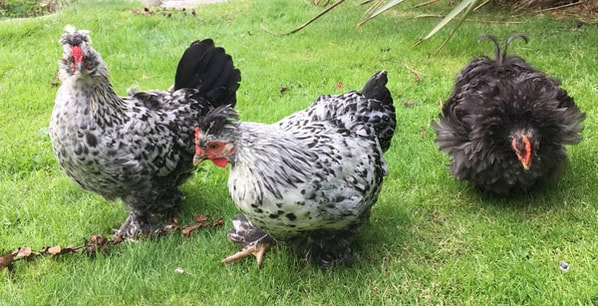
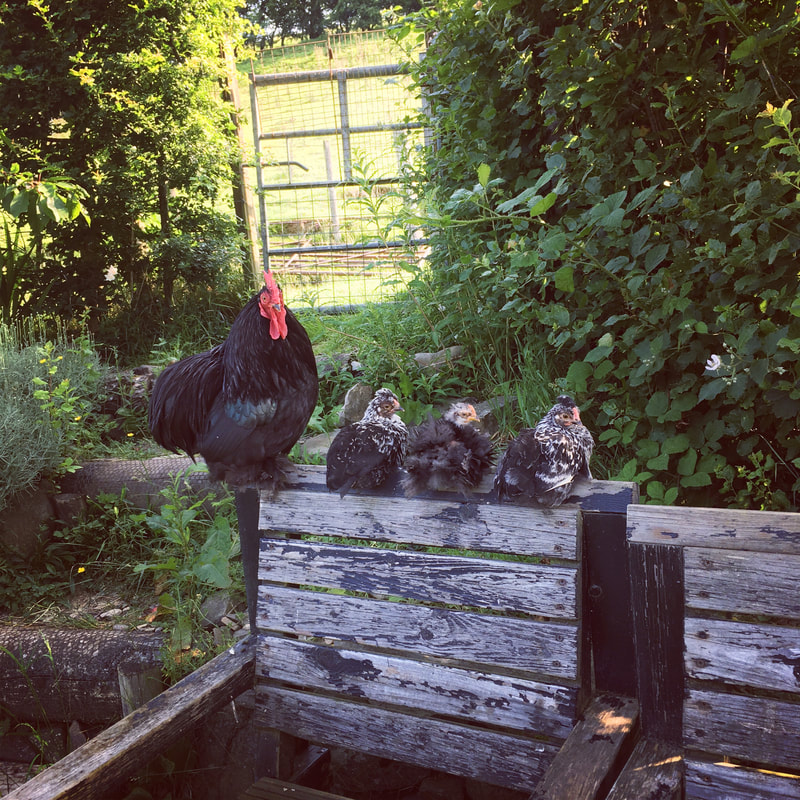
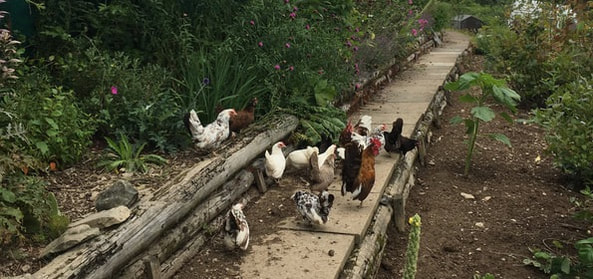
One of the big things that matters to me in how I do things, is waste. Everything that I do is designed to minimise the amount of stuff that gets thrown away. To me it makes perfect sense, less waste reduces costs, and is better for the environment. So what do I mean when I talk about reducing waste? For starters running a business means lots of deliveries arriving with me. If I can, I re-use that packaging. If I can't reuse it then it will be recycled. I bulk order as much as possible to minimise the amount of packaging that arrives with me, and where possible will buy options that are re-fills. When I dye I try to reduce the amount of plastic that I use. I've yet to develop a satisfactory no-plastic method, but I keep trying. The only paper kitchen roll I use is to test colours, anything that needs wiping up is done using washable towels and cloths. In terms of dyes, I make sure that the dye ends up on the fibre, and stays there. I use professional quality dyes responsibly, next-to-no dye ends up going in to the waste water system. Our water come from a spring, so I'm also aware of trying to reduce the amount I use in summer. I try to strike a balance between enough to make sure fibre is rinsed well, and avoiding waste. Water for soaking fibre before dyeing is used to water the garden. I also use a biologically friendly, degradable, scentless, detergent. When I send out orders I try to minimise the amount of packaging that you get. I don't do fancy tissue paper wrapping or pretty stickers. I know that it's probably more pleasurable to open a parcel that feels like a present, but that tissue paper has taken resources to make, and even if you recycle it I still feel it's an unnecessary "extra". Instead I send out fibre in a grip-seal plastic bag. And yes, plastic is less green than paper, but most wasteful of all is having to replace an order that has got damaged in transit due to water or scent damage. The bags I use are good quality and can be re-used for multiple tasks for years. The mailer bags themselves are made from recycled plastic, and are bio-degradable. For those same reasons the only "extra" you get in a parcel is a small sample of fibre. I could create lots of lovely branded "stuff" but in our house most of that "stuff" just ends up going straight to the recycling bin. I don't need a pretty postcard, or a bookmark. Minimising extras also reduces my costs, which means you pay less. Yes I can get things printed for minimal cost, but it's amazing how 10p here, and 5p there starts to add up when you work out prices for things. Fancy packaging also takes more time to do, I'd rather devote my limited hours to dyeing, which again means that I can charge less. Old time readers of the blog will know that I have a flock of mini bantam chickens. Pekins are perfect for us, small, friendly, cause minimal disruption in the garden, and oh so amusing to watch as they scuttle around. A few years ago I bought some eggs to hatch under a broody chicken, and accidentally ended up with a Polish. Cav, the result from that accident was a real character, a bird who blundered from disaster to disaster. When she died I hatched out some of her eggs, and ended up with Big Bird. Big Bird is head cockerel in the flock at the moment, so it comes as no surprise that the eggs we hatched out earlier this year ended up having him as the dad. Over the summer they've grown up, and now look like miniature adults. We thought we'd worked out which were boys, and which were girls, but in the same manner with which the bees have been misbehaving this year, we got it rather wrong! We thought that the one on the left, with minimal wattle and comb was a girl. In the middle, bigger wattle and comb, therefore a boy. On the right, a regular Pekin rather than a Polish x Pekin we weren't sure. So names were chosen... Lilly, Freddy & Pip. Except two weeks later, Lilly decides to start crowing. So rather than being names after characters in The Archers, he has now been renamed to Lillee after Dennis Lillee, the Australian fast bowler. As for the other two, knowing our luck they'll be boys as well. Mind you, we are now down to 3 cockerels in the flock, Millar died a few weeks ago. He'd had a really rough winter, had to spend a couple of weeks being nursed through a cold inside the house, and was my companion in the dye studio for many weeks because he was struggling to get around the garden. This summer he got a new lease of life, and spent most of his time hanging out with the new babies. He was such gentle soul, and it still feels odd to wander out to the garden and not have him wander up to say hello. The babies are no longer the littlest chickens in the garden though. Last week we adopted a whole flock (14 hens and 2 cockerels) of Seramo bantams from a neighbour. They're moving back to the town, and can't take their chickens with them. They've spent all their life living in an enclosure, so watching them learn how to be proper chickens has been lovely. It's not until you watch a chicken out and about that you realise just how much goes on in their little heads. These newbies make my existing chickens look like giants, they're tiny, if you're not careful you can mistake them for a large blackbird.
|
Archives
January 2024
Categories
All
|
Hilltop CloudHilltop Cloud- Spin Different
Beautiful fibre you'll love to work with. Established 2011 VAT Reg- 209 4066 19 Dugoed Bach, Mallwyd, Machynlleth,
Powys, SY20 9HR |

 RSS Feed


