|
Two years really does fly-by... Earlier this month I spent a week at the Association of Guilds of Weavers, Spinners and Dyers Summer School. It was my second time as a course attendee, and my 3rd visit. You can see what I got up to in 2015 here, and my visit in 2013 here. This year was very different to my last experience, last time I spent most of my free time helping out with the evening entertainments, and also ran a summer school twitter account. This year I was purely there as a course attendee. It was also different accommodation, instead of a student bedroom I went down in Mabel our camper van, which was great, I could make a cup of tea while lying in bed, and we had a fridge to provide us with ice and cold tonic water. The cold tonic water was important because we had 30 different types of gin to sample throughout the week! 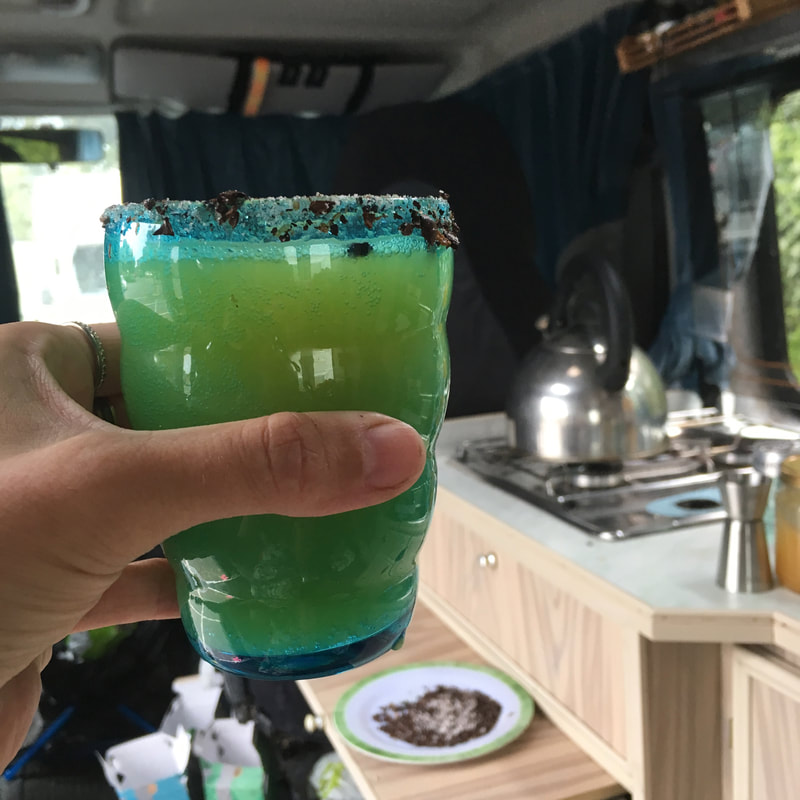 Yet again my course involved fabric printing. This time it was using screen printing, and also trying out eco-printing. We had two tutors for the very different parts of the week, and I have printed up so much fabric. It was great to be able to have access to a huge number of screens and designs to combine. I can definitely see the improvements as I went along, just working out the order to apply motifs makes such a difference. I approached the whole process with a really open mind and my usual willingness to make a mess of something, because better to try an idea than to be forever wondering "what if". This piece started out purely because I liked all the bugs, and I wanted some practise in putting them where I wanted them to go, and getting them consistent. It was a bit messy to start off, and the white background was very stark. I knocked it all back with a random block stamp, and then it's had a trip in to an indigo vat. I spent 3 days layering the orange and green bee fabric above. The final stage was adding the mathematical formula, which finally happy with the design. On the Wednesday morning we carried on screen printing, but this time did so on mordanted cloth with thickened natural dyes. These were great fun, not least because you put the dye on, and then had to wait and see what colour you actually got... A lot of the colours didn't develop in to their traditional shades. Our logwood ended up being navy blue, and our weld was tan brown, the safflower came out bright yellow. This was another piece where my tutor watched with faint horror... I started out with the ink splats in all the different ink colours, because I just wanted to see what colours everything turned out as. It's pretty, but it's very safe, and to me it didn't look handmade, it just looked like a polka dot fabric in muted tones. When I started printing I'd always planned for that stage to be a background, so after doing the right thing, putting it to one side for an hour, and still feeling that it was boring, it went back on the work bench and had more layers applied! The only part I marginally regret, the bright yellow large bursts, but of course being natural dyes these will change over time. These are still unwashed, I've left them for a couple of weeks to give the dyes a nice long opportunity to bite on to the mordanted cloth. 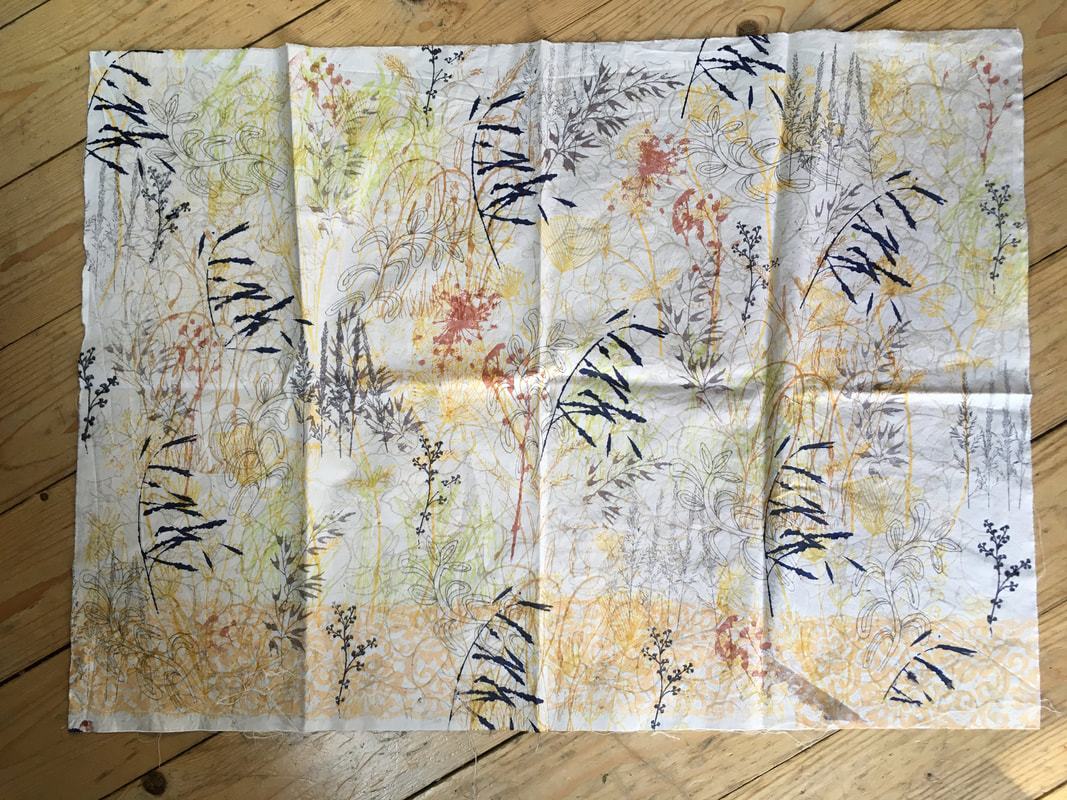 This was my second screen print with the natural dyes, in the photo the dark blue grasses are a bit more dominant than in real life. Again, I am intrigued to see what happens when I wash this... Finally in the last part of the week we moved on to eco-dyeing. Personally I find the name a bit misleading, in part because it implies everything else is un-eco-dyeing. In short, it's a form of contact natural printing/dyeing, you use leaves to make contact prints on fabric, so instead of making a solution by boiling up your dye-stuff and then boiling mordanted cloth, you roll up a cloth bundle with your dye material, and then heat the whole thing together. Some things don't need a mordant, but others were boiled in iron or copper solution. It was all great fun, and I think we'll give it a go as our guild dyeing day in the future. We also dyed some threads in bundles to use for embroidery by laying them inside a bundle before they went in the dye pot. 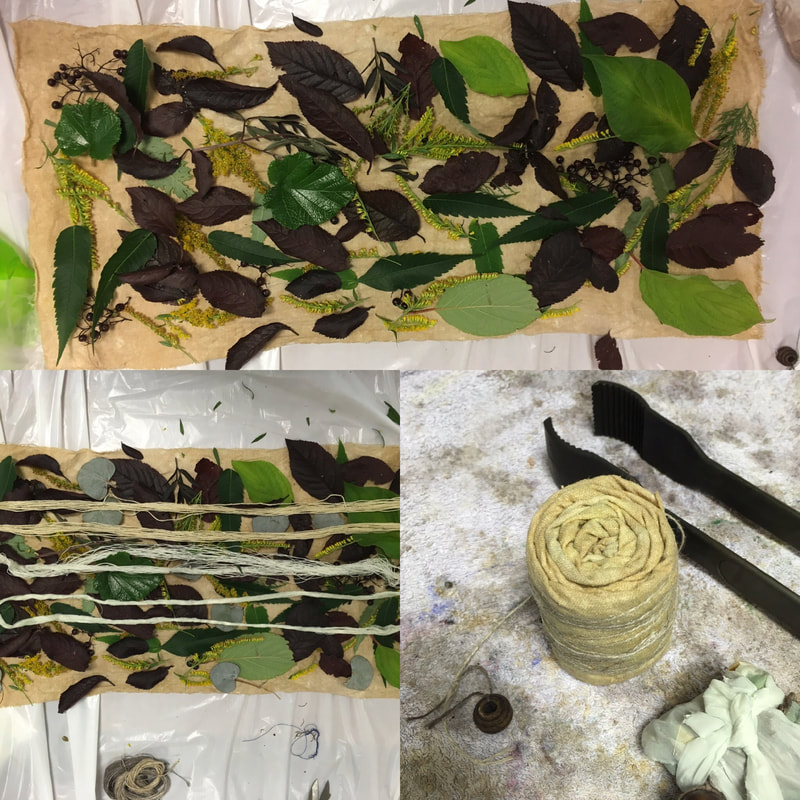 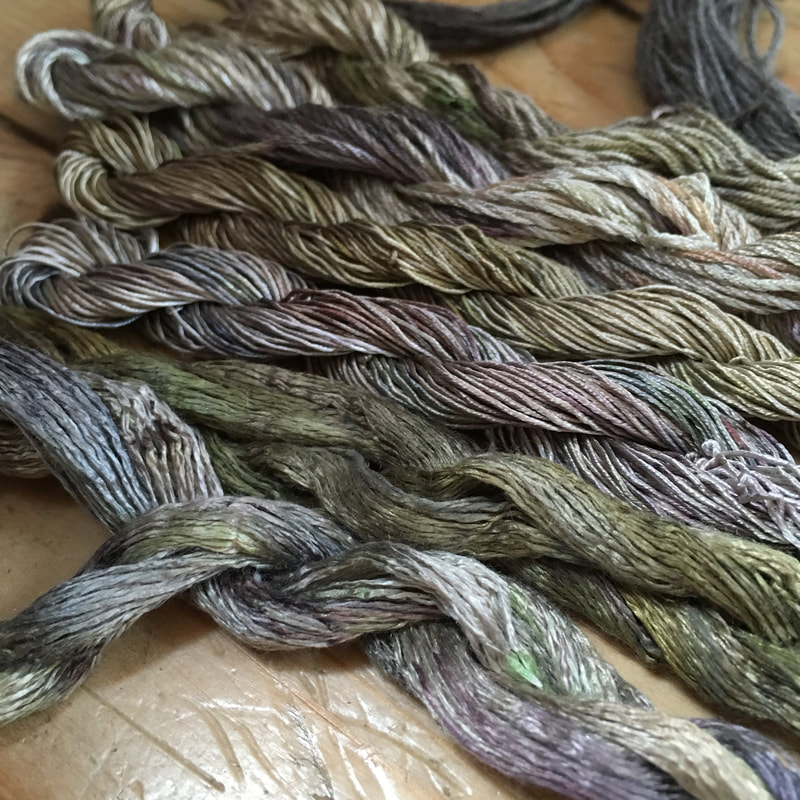 One of the nice parts of doing this as a group was that it highlighted the unpredictability of this type of dyeing. Even when we all had access to the same leaves, and bundles were put in the pot for the same length of time our class of 12 all got dramatically different results. Some of these worked better than others, and as ever I got a bit experimental! There's some vintage parachute silk in these, and also some over-dyeing on some cloth that had already been Shibori indigo dyed, and I experimented on my sample test piece from the 2015 Summer School. At times you get incredibly crisp prints, and other times you get more of a general area of colour. My favourite techniques produced this... 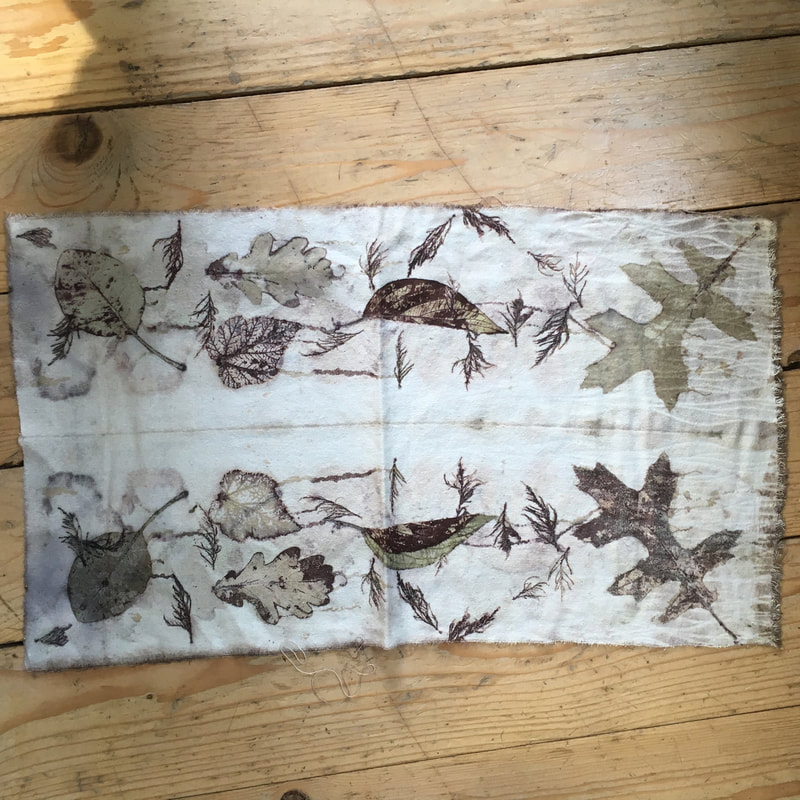 Leaves that were soaked in an iron solution, on Tussah Silk Noil fabric. I got incredibly crisp results, and it really highlighted the difference in the print you get from one side of the leaf compared to the other. The folded Dogwood leaf in the middle was a complete accident! 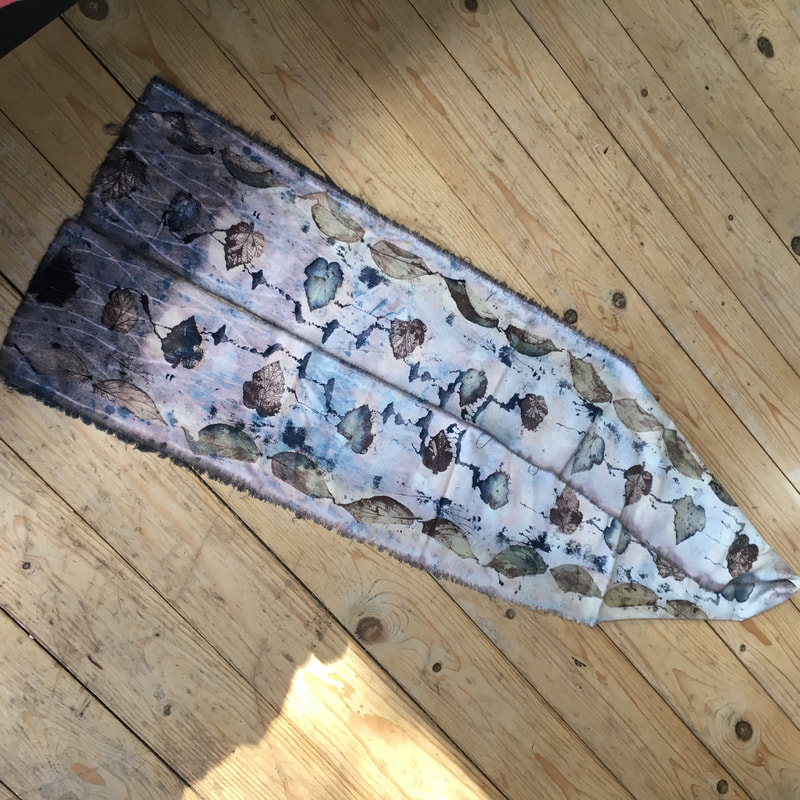 Which inspired this long length of fabric, just using 2 types of leaves (Dogwood and Ornamental Blackcurrant. I folded the leaves intentionally this time! It went in to a Logwood dye bath to cook, so the iron seeping out of the leaves will act as a mordant for the logwood dye. There's a long thin strip to go around the bottom of a skirt. 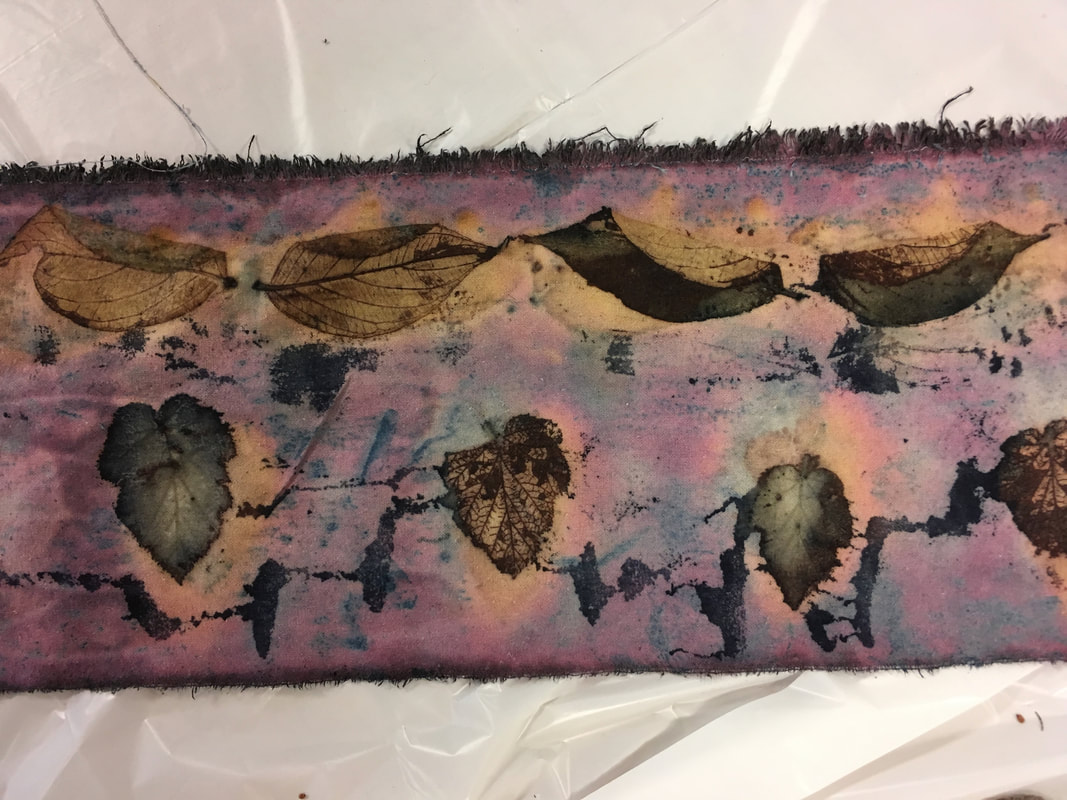 My tutors, if you want to see how the professionals do al this, were Alison Hulme for Screen Printing, and Caroline Bell for Eco-Printing. Both were newcomers to Summer School, and did a great job teaching us.
Comments are closed.
|
Archives
January 2024
Categories
All
 |
 RSS Feed
Hilltop CloudHilltop Cloud- Spin Different
Beautiful fibre you'll love to work with. Established 2011 VAT Reg- 209 4066 19 Dugoed Bach, Mallwyd, Machynlleth,
Powys, SY20 9HR |
|
