|
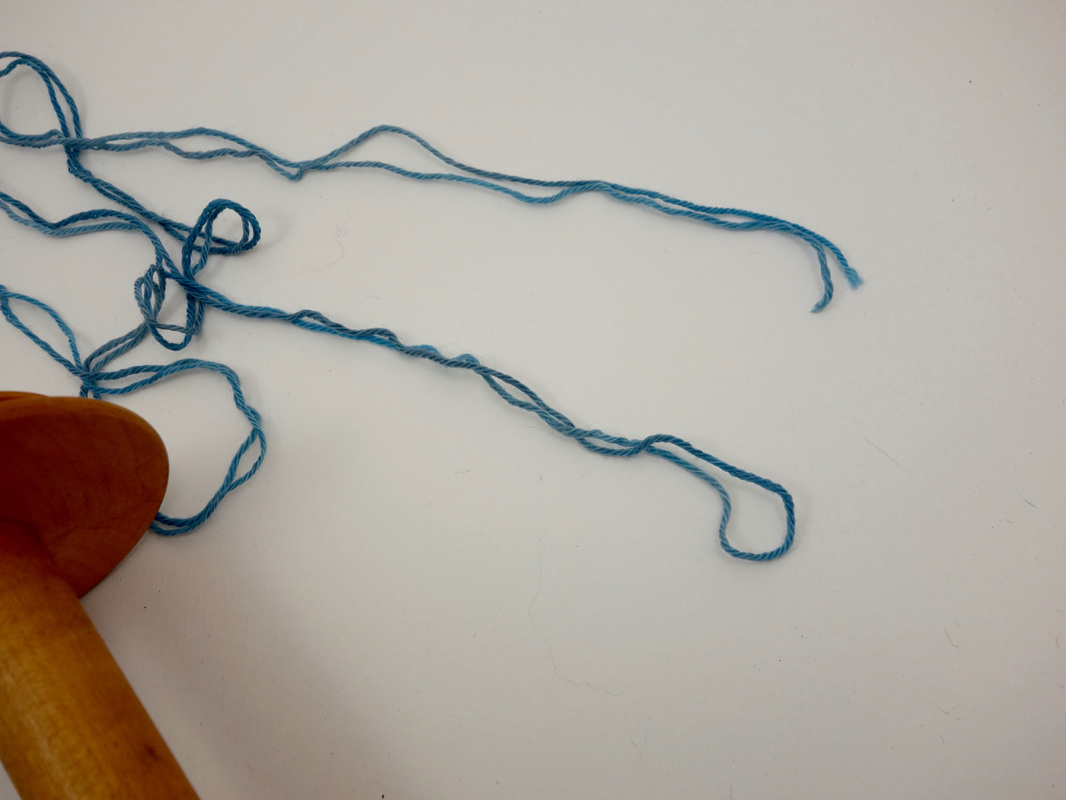
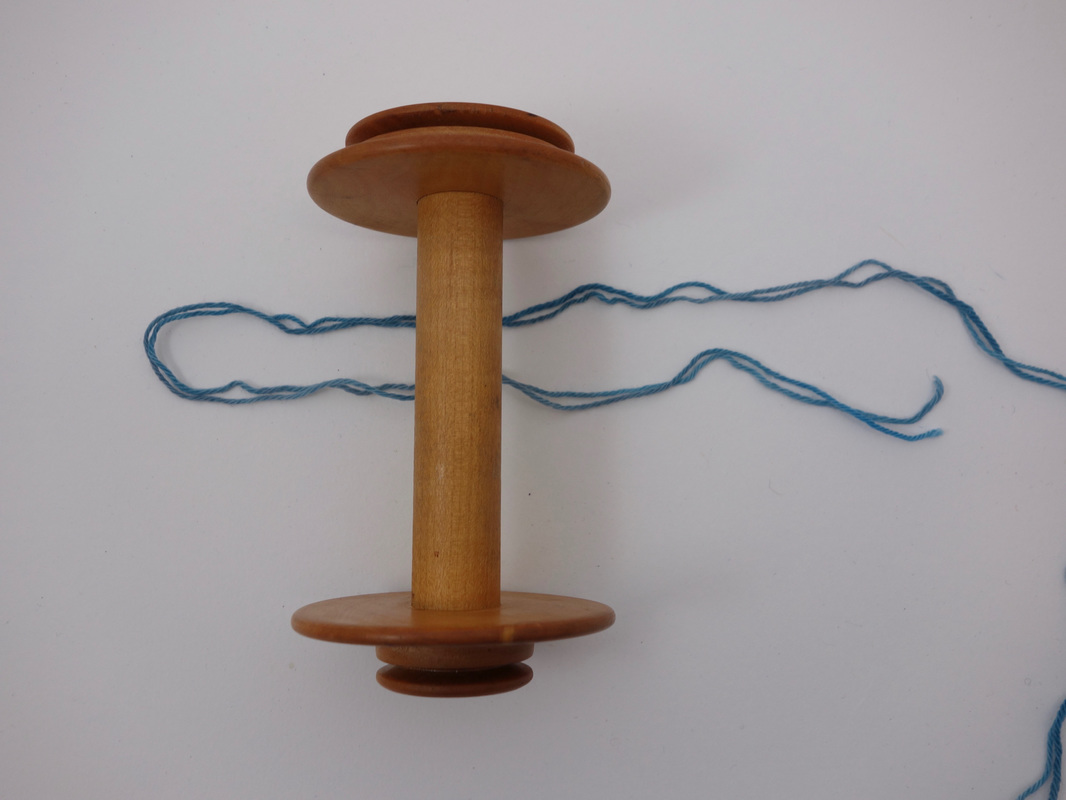
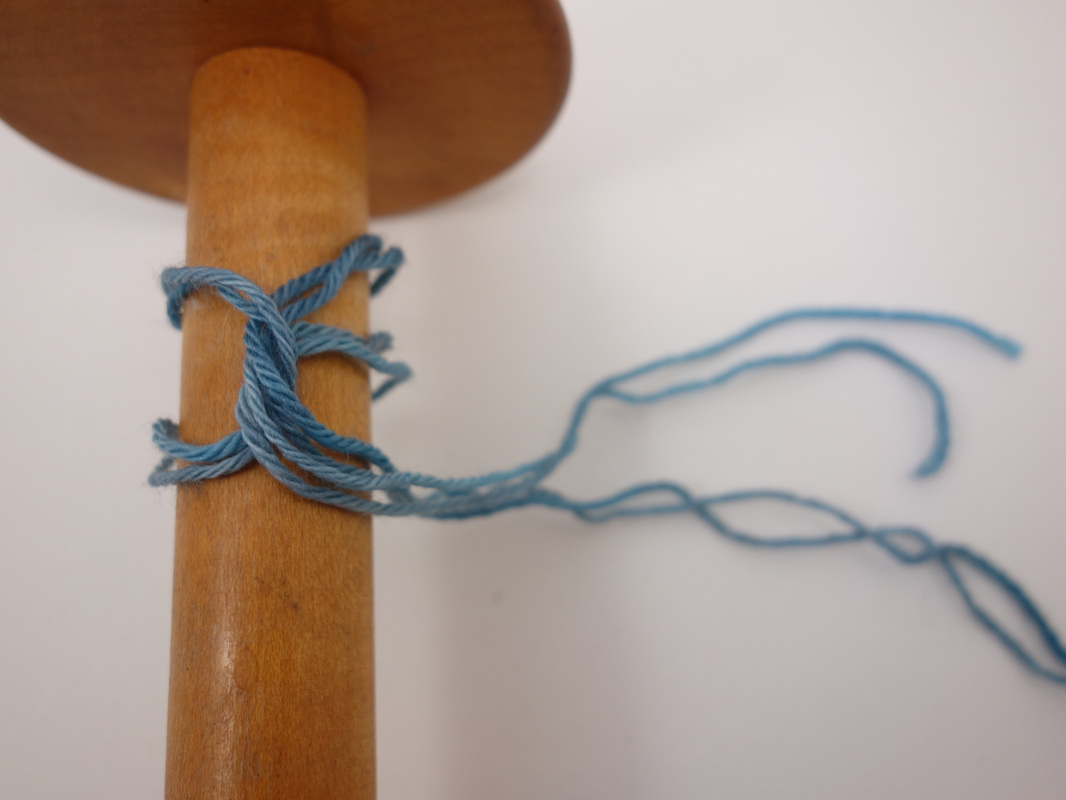
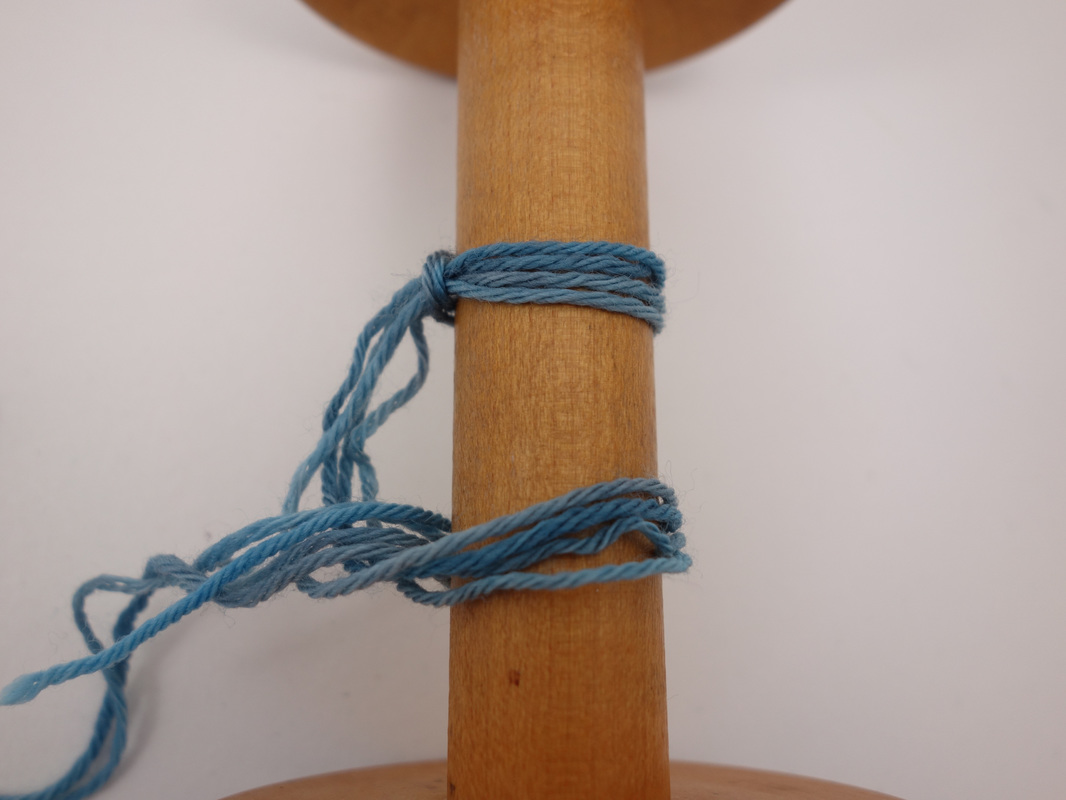
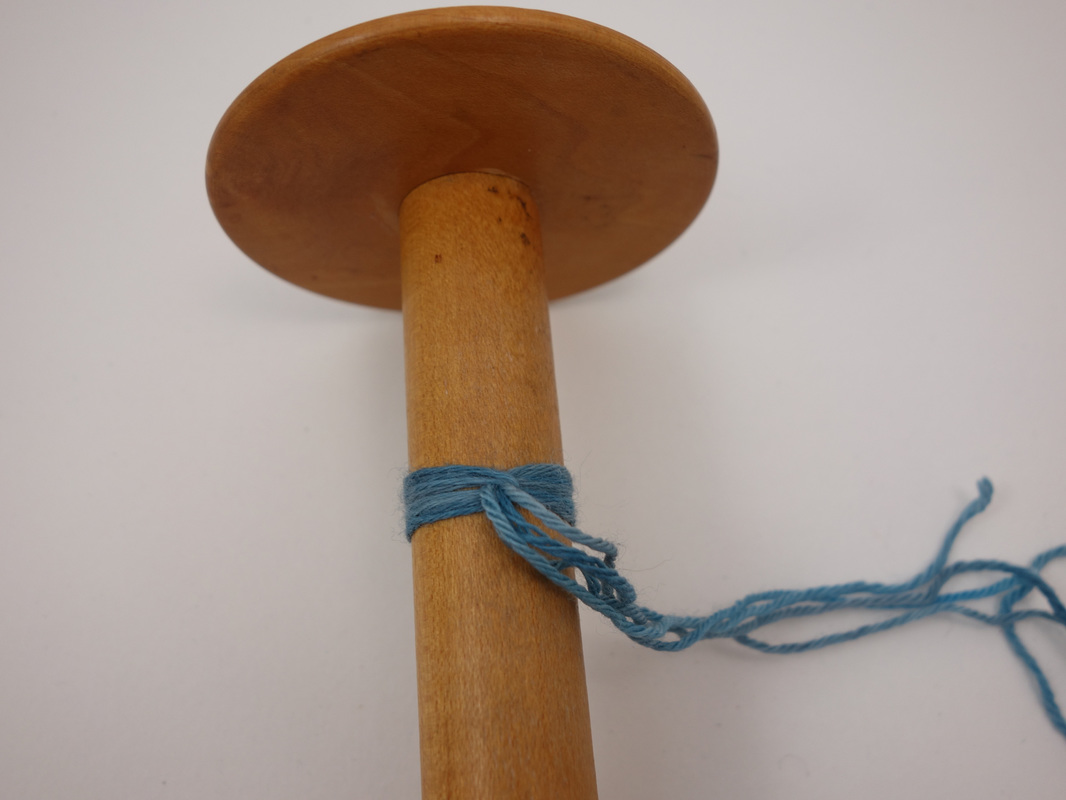
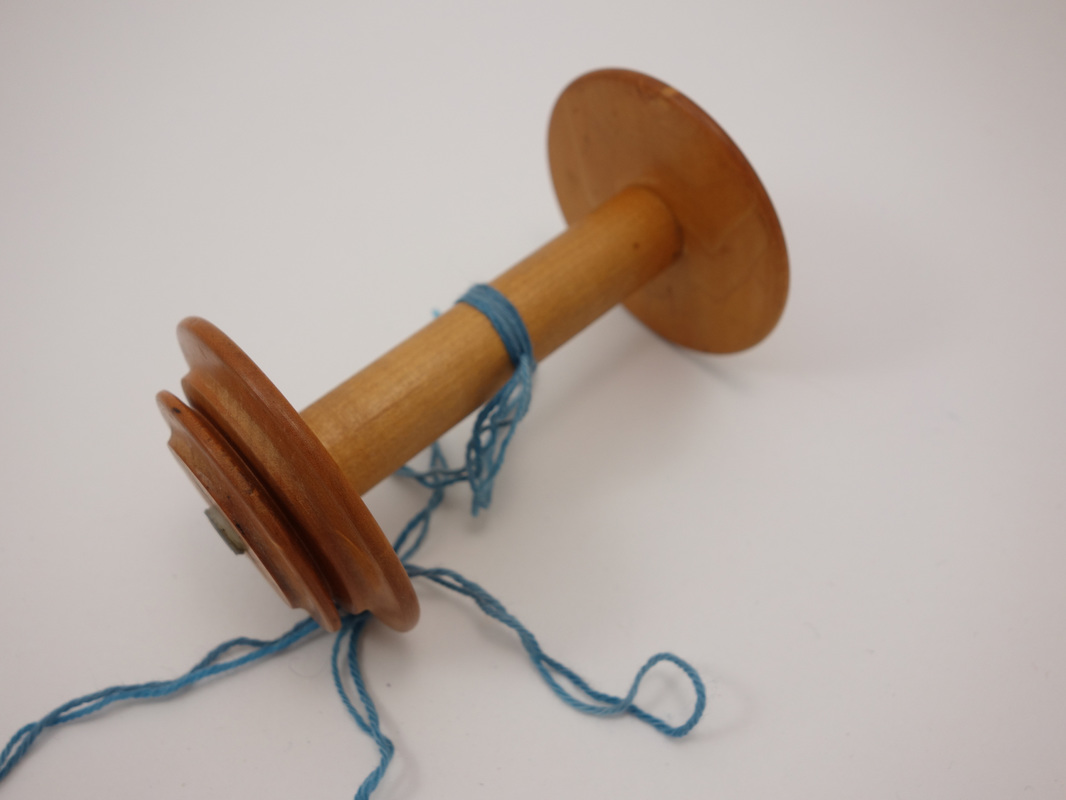
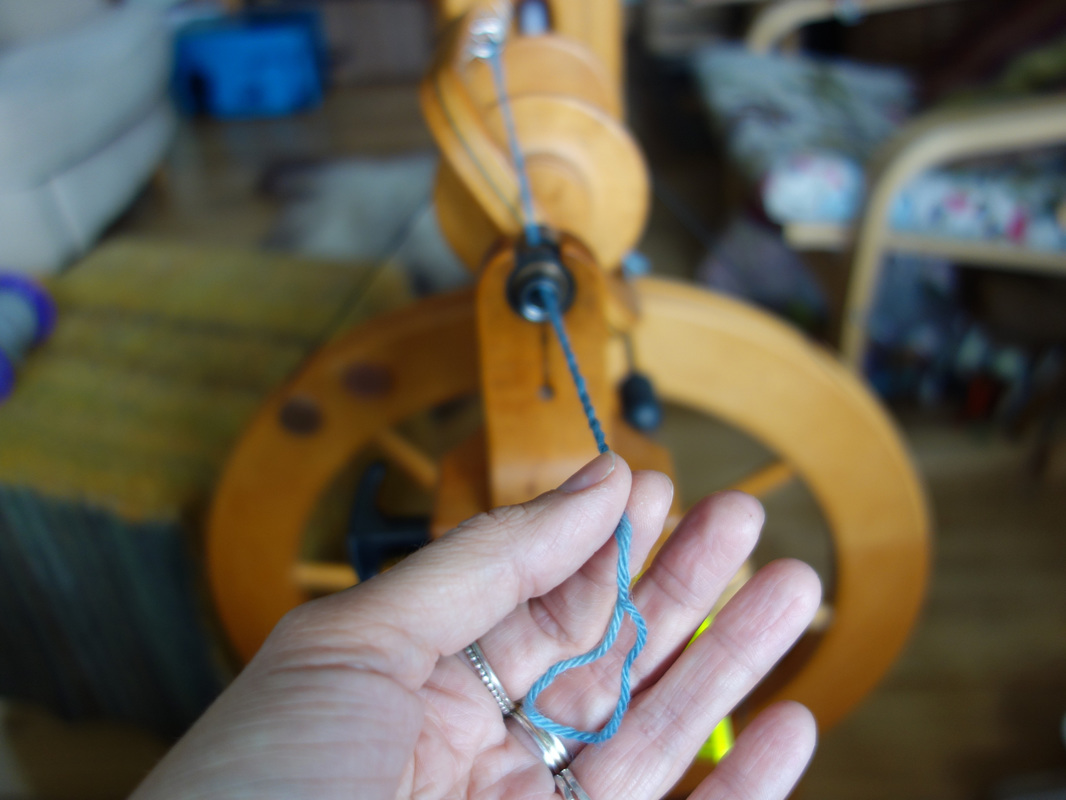
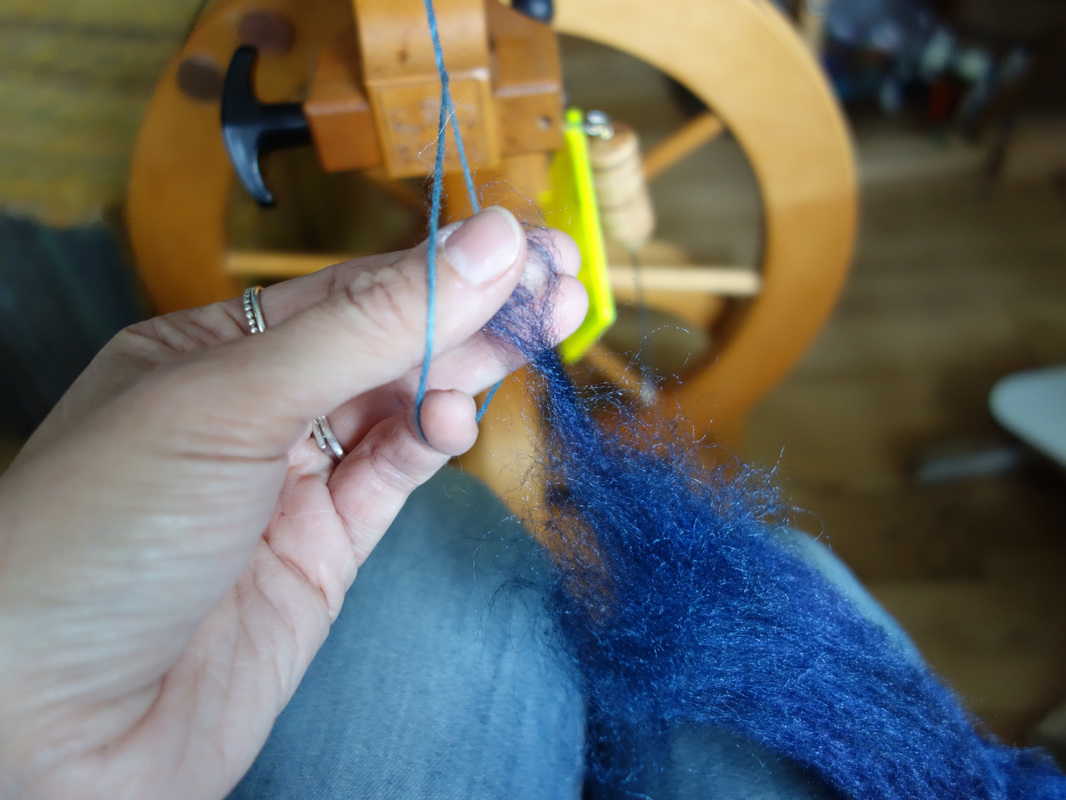
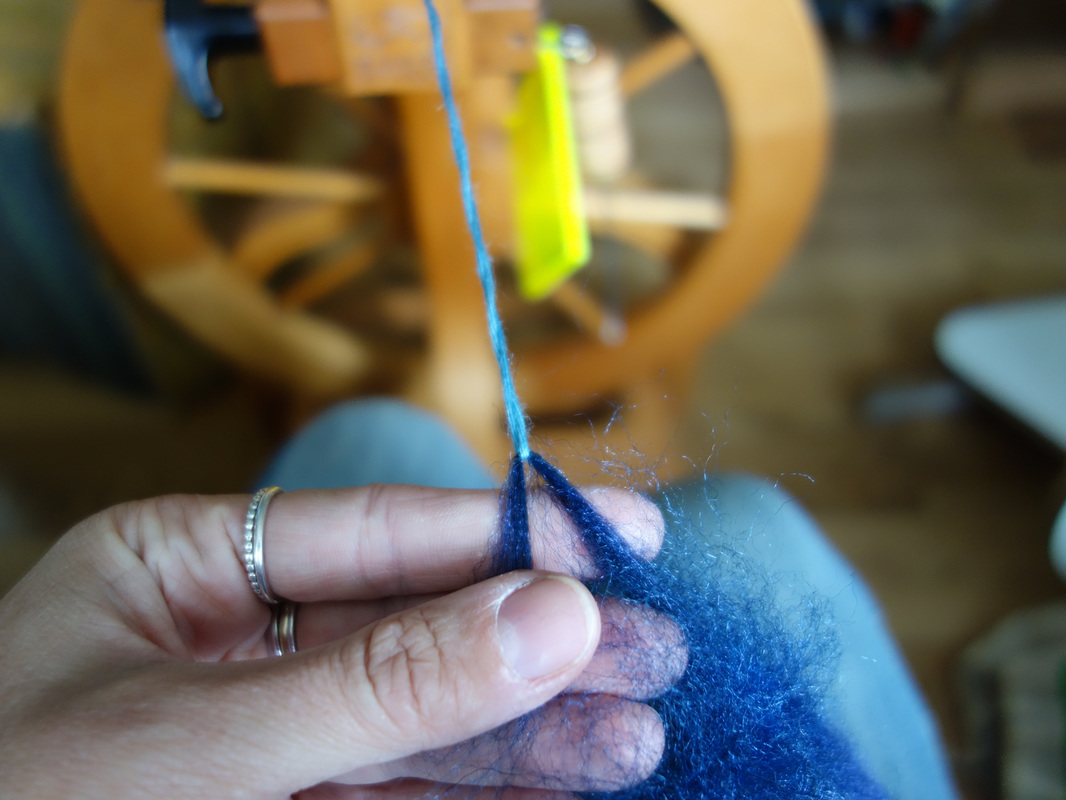
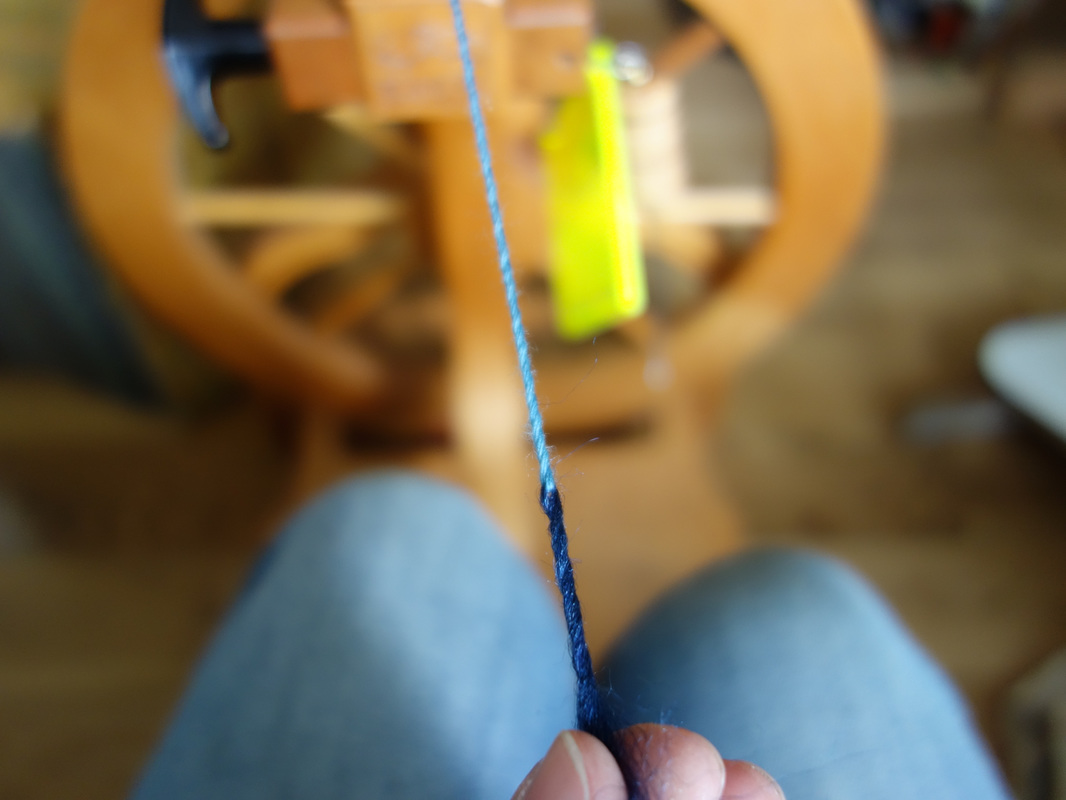
A few years ago I was shown an ingenious way to put leaders on my bobbins... Not something that ever gets covered in many starting spinning books, and when I go out an teach the varying set ups are definitely the cause of many issues that people have when they sit down to spin. The leader might be spinning around the bobbin shaft, no matter what you do with your tension you really struggle to get your single to take up. Or your fibre just won't bite on to your leader, you draft a section along the edge of your leader and it just won't stick, and the leader gets sucked on to the bobbin, but your fibre doesn't go with it. It all makes for a frustrating start to the bobbin but is easily fixed by attaching your leader to your bobbin slightly differently. Firstly you need a long length of smooth strong yarn (sock yarn is ideal). Don't use a single as it will either untwist, or over twist so badly that it snaps. I like to have a length that's at least 2.5m, sounds long, but it's not because the first thing you do is fold it in half. Line up the 2 ends, and turn it in to a doubled length. Long is better, in my opinion, because that give you time to do things like sort out tension, take up, etc. without having to do the joining and drafting. You can let a length of leader be fed on to your bobbin and have your wheel adjusted just right when you start spinning. It also sets you up in a better spinning position, you're not starting hunched over your wheel, so there's more chance of you sitting more ergonomically. The cut ends are going to be the ones attached to your bobbin, leaving you a loop at the other end. Take your doubled length and fold it in half again, you'll have a loop on one side of your bobbin, and the cut ends and the remaining long length of leader on the other. Take your cut ends, and your long looped length and pull them through the loop on the other side. You're making what's called a larks foot, with the bobbin in the middle. If you just do one larks foot then the leader will slip round the bobbin, causing frustration when you start spinning... so here comes the clever part. you're going to repeat that process, so loop on one side of the bobbin, cut ends and long length of leader on the other. Pull the cut ends and loop through to make a second larks foot. Pulled snug this gives you a low volume knot that doesn't slide around the bobbin. You can trim off the cut ends if you want, but it doesn't really matter. You've now got a bobbin with the leader attached, and at the other end is a loop. That loop is rather handy for making joining fibre to your leader a really easy process. When you start spinning, let some twist build up in the leader, but keep the loop open. Pull a wisp of fibre out from your fibre supply, and pull it through that loop. Let the twist enter the loop, this is going to lock that fibre in place. And hey presto.... join made, and you can spin away. When you come to ply and want to remove the fibre from the leader it will either just slide out (plying twist will "unlock" the leader, or just use your finger to untwist it slightly until it slides out. If the pictures leave you flummoxed then this video shows you how to do it as well.
Marion
23/9/2016 09:38:14 pm
Thanks for this tip. I've always put my leader with only one loop onto the bobbin; it never occurred to me to repeat it, to stop the leader spinning around. It's very clever 😄 Comments are closed.
|
Archives
January 2024
Categories
All
|
Hilltop CloudHilltop Cloud- Spin Different
Beautiful fibre you'll love to work with. Established 2011 VAT Reg- 209 4066 19 Dugoed Bach, Mallwyd, Machynlleth,
Powys, SY20 9HR |

 RSS Feed


