|
For me plying is the forgotten final step. It's the stage that makes the biggest difference to your yarn. Most of the time the yarn just goes on the wheel, and we're just happy to get it done, and finish that skein... But a good plying job, where the plying twist is judged according to the fibres, and the project transforms yarn from being fine, to being wow! Craftsy Classes aren't cheap, but are a great learning tool. They often have sales so if you're not in a rush, sign up, and wait, or if you get a bit of money to spend as a Christmas present then treat yourself. Learning from a good tutor is a really sound investment. If you prefer the written word then I'm going to send you back to the Spinning With a Purpose blogposts I wrote earlier this year. They're short exerpts from a workshop I teach at spinning guilds. 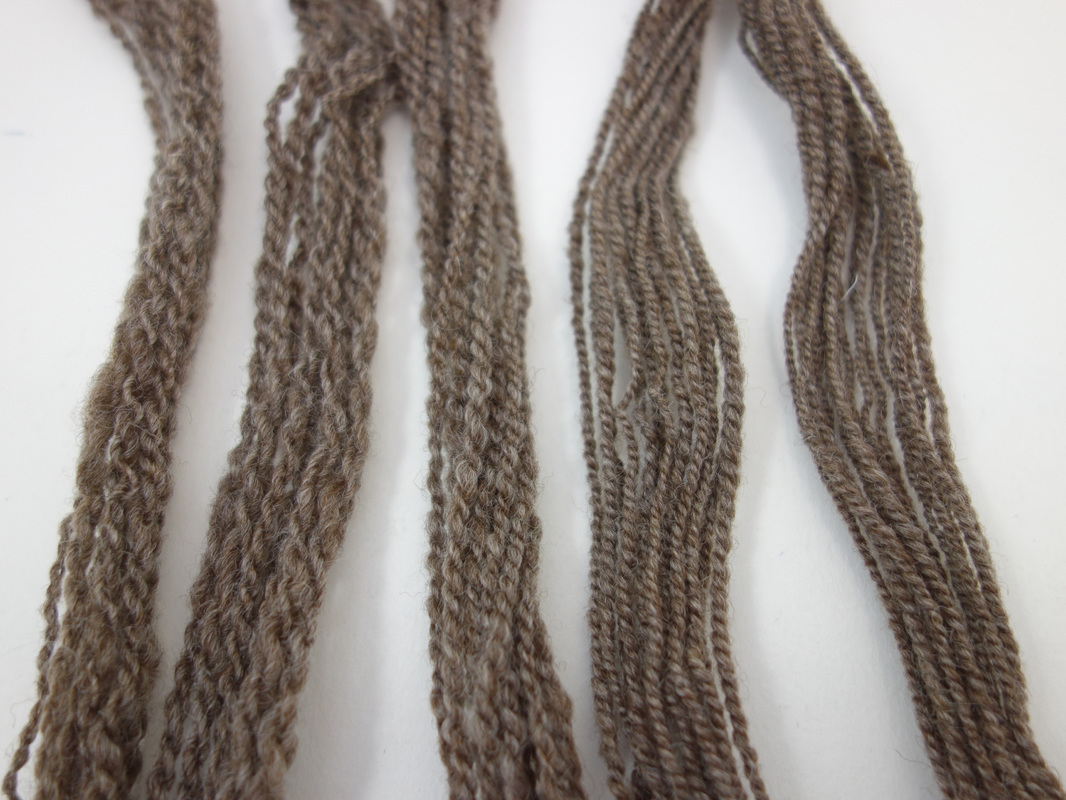 This post is part of my advent calendar 2016. Every day in December we're saying so long to 2016 by embracing learning, knowledge and creativity. Each day there will be a new post with a new skill or craft. You can read all the past posts here.
I think stamp making actually shares quite a lot with spinning.... Bear with me here. Firstly you're working blind, just like with spinning you don't get to see the final result until the hard work is over and done with. Secondly it's pretty hard to fix mistakees, if you draft too thinly then unspinning that fibre isn't really a sensible idea. I love a good stamp... there's something magical about watching a mirror image transform itself in to a thing of beauty that's the right way round. If I'd got more organised I might have had a go at stamp making to decorate my Christmas wrapping paper... This tutorial on how to carve a stamo with your own message is amazingly detailed. The sort that makes you genuinely believe you can do this!  This post is part of my advent calendar 2016. Every day in December we're saying so long to 2016 by embracing learning, knowledge and creativity. Each day there will be a new post with a new skill or craft. You can read all the past posts here.
One of the great things about spinning your own yarn is the control you have over the yarn you make. Part of that control is being able to pick the right fibre, and even more specifically the right wool. There are so many sheep breeds, and so many ways to spin their fleece. Even if you're not a fleece spinner it's still worthwhile knowing about the different breeds because lots of breeds are now available as commercially processed fibre. Even just knowing the difference between BFL and Merino is a good starting point. So with that in mind, here's a free Craftsy class with the wonderful Deb Robson to get you started. 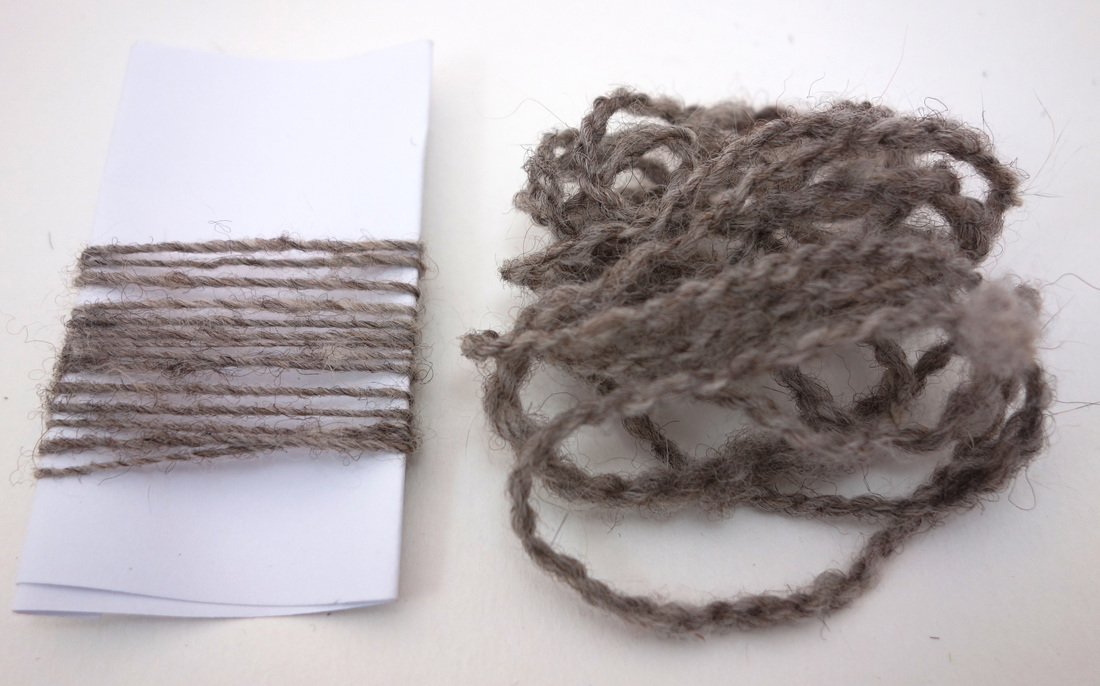 If you prefer reading to watching then the Fleece and Fiber Sourcebook is a treasure trove of information. I refer back to my copy on an almost weekly basis.
The Spinners Book of Fleece is also excellent. Also, be brave. Don't worry about trying new fibres, you might discover your new favourite. Don't be afraid to pull of a small chunk of a new-to-you fibre and experiment. Try a low twist version, or a high twist version, try different drafting methods, and see what gives you the results you're happy with. This post is part of my advent calendar 2016. Every day in December we're saying so long to 2016 by embracing learning, knowledge and creativity. Each day there will be a new post with a new skill or craft. You can read all the past posts here. I do love wet felting, but it's not an activity that is particularly easy to do in front of the TV, and can be a little strenuous. Needle felting is a dry activity, and on a smaller scale, so perfect for Christmas crafting. When I'm at shows the work of Jenny Barnett always captivate me. I love the whimsical look of her creatures. 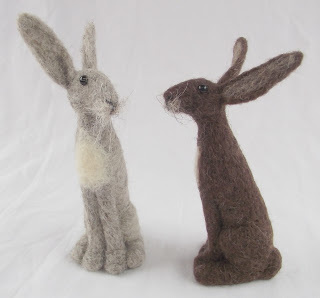 Jenny has kits available in her shop, and also has some very reasonably priced workshops in 2017. If you want something more seasonal then Adleaide Walker have reduced the price on their Snowman Needle Felting Kit.
If you just fancy having a go with the wool you have in your stash already then you just need some felting needles. They come in different sizes and formations, this site has a handy guide. For some tutorials in making a few different things this site has some nice guides. This post is part of my advent calendar 2016. Every day in December we're saying so long to 2016 by embracing learning, knowledge and creativity. Each day there will be a new post with a new skill or craft. You can read all the past posts here. I have to confess, I love a bit of art yarn. I love the technical challenge, and the fact that it makes my hands feet and head work hard. Anyone who takes an art yarn class with me will leave and never again state that beginer yarn is art yarn! When spun well these textural yarns are balanced, and have good structural integrity. Not to say that there is anything wrong with beginner yarn... the skeins you spin when starting out are just the first steps along a spinning journey. They're not bad, they're just what you make when you're learning a new skill that requires the co-ordination of many body parts, and a mechanical tool. I love teaching Art Yarn classes because they're an excellent way to become a better spinner. You learn to control your wheel because you have to stop and start your wheel regularly. Your hands end up working overtime because they have so much to do. If I'm feeling the need to spin, but want a challenge then opening up my copy of Spin Art is sure to make me happy! The book now looks to be out of print, though the Kindle edition is still available. I've heard nothing but good things about the Craftsy class Jacey made on this subject if you learn better from videos. 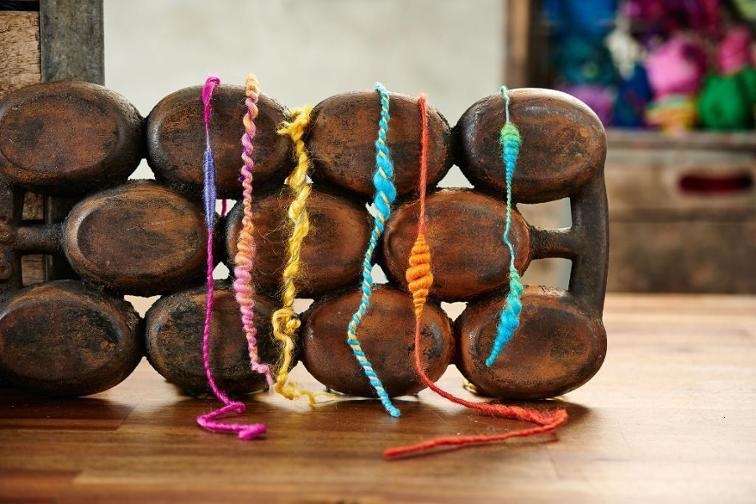 But how to use those beautiful yarns.... This site has some nice ideas, including some lovely ways of using the yarn as home decoration. 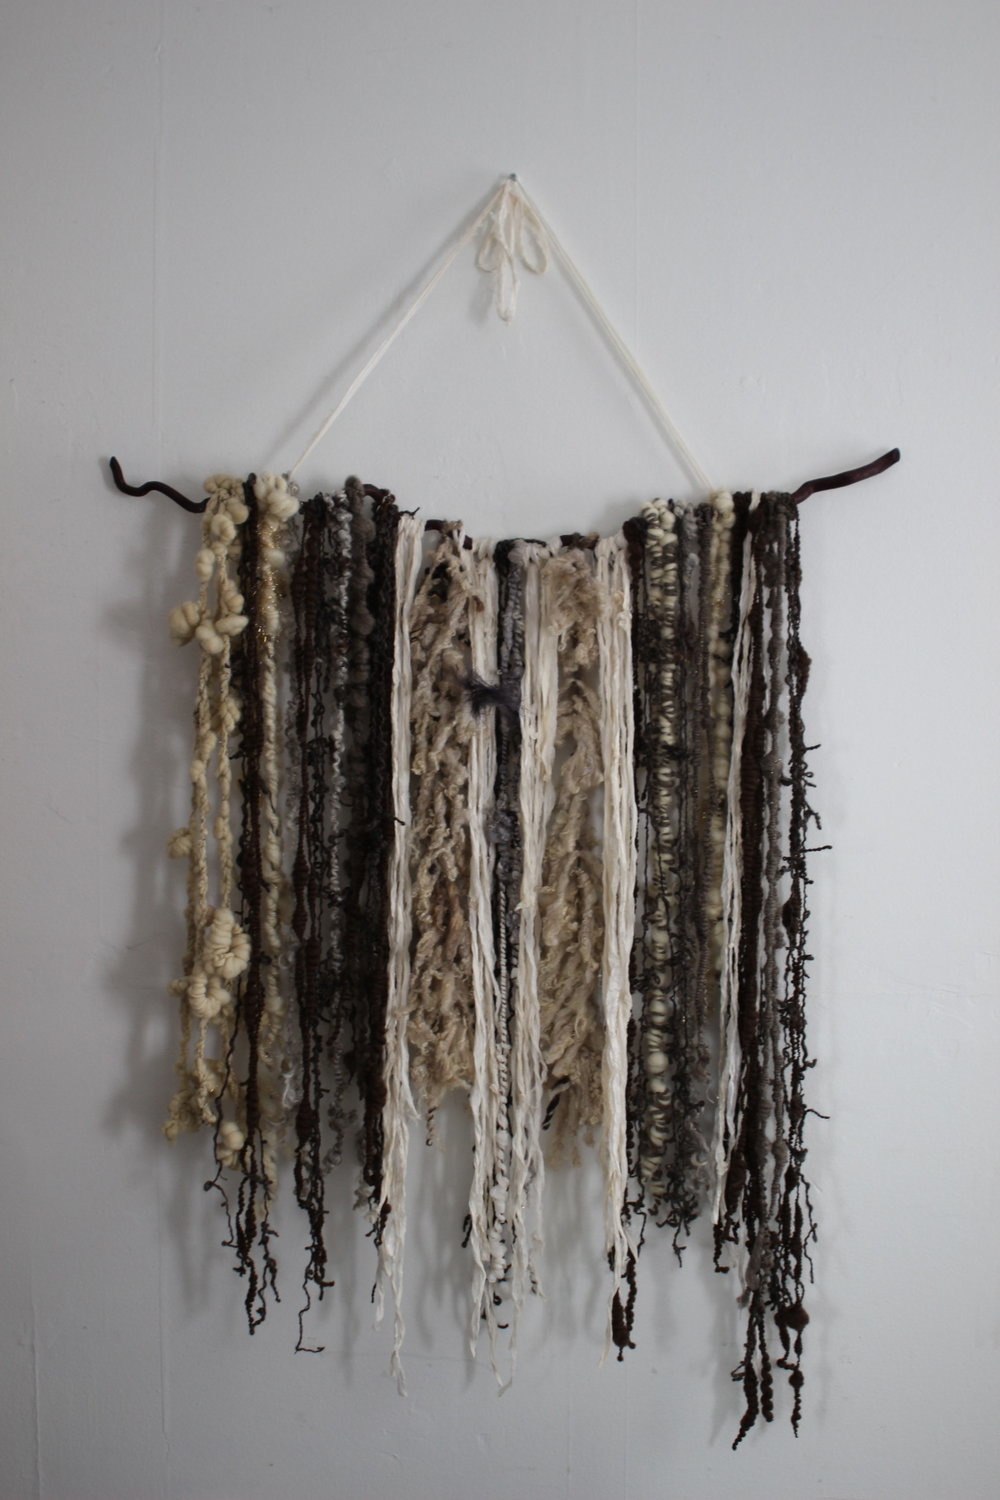 This isn't true paper cutting, but something I indulge in ever year. I love making paper snowflakes, and in the UK they often serve as a very nice White Christmas substitute. This site has some great templates, you just print them out, fold as instructed, then cut out all the grey areas. If you want a slightly more 3D version then these are pretty. 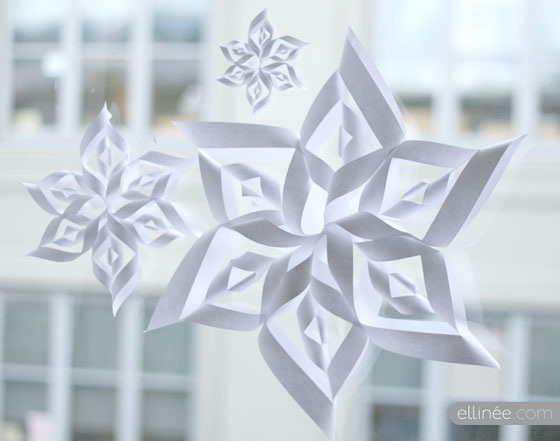 If you are a bit geeky then I think these might just be the best thing since sliced bread... I may set the entire family to the task of making one of every kind on Christmas Day, whilst watching Star Wars. 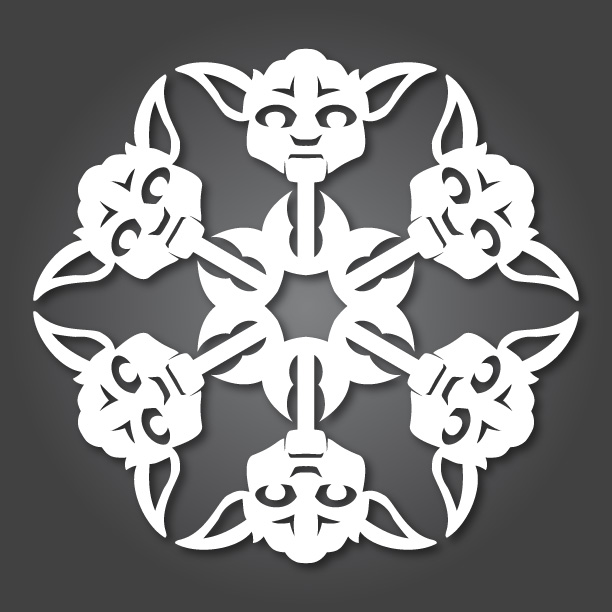 On a slightly more technical level, there's also proper paper cutting. Unlike the snowflakes you do need more than a sharp pair of scissors... I love the graphic simplisity of this craft. 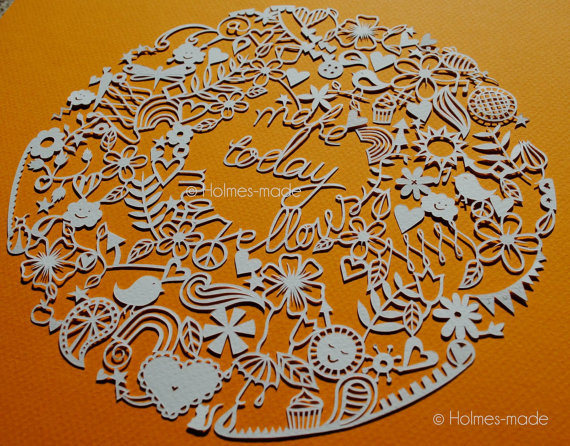 A kit is a nice way to get started, as that way you get a proper cutting mat, a scalpel that is nice and sharp, and some beginner templates.
If you want to go freestyle then this site has some nice beginner templates, and hints about how to make cuts. This site has information about how to create your own papercut from an image you've picked yourself. This post is part of my advent calendar 2016. Every day in December we're saying so long to 2016 by embracing learning, knowledge and creativity. Each day there will be a new post with a new skill or craft. You can read all the past posts here. Chances are, if you make things, at some point you will need some buttons... Now my first port of call is my button stash. Then, because of course no matter what I have it's never quite the right size, colour, or I don't have enough, I invariably end up on the Textile Garden website... However, this advent calendar is about making, and it is possible to make buttons from yarn. I'm a particular fan of this because handspun yarn is precious, therefore projects that will use up leftover oddments are a very good thing! 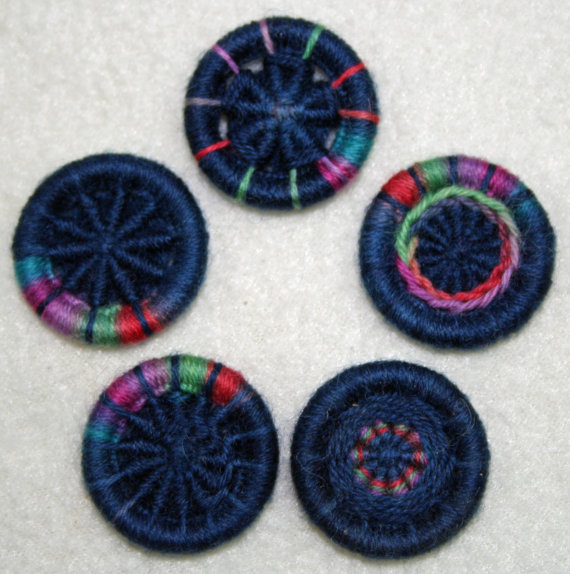 In order to make a Dorset Button you take a ring, and then wrap and knot thread or yarn around it. The instructions here are nice and clear featuring line drawings, these instructions make a different style and is a photo tutorial. Or, if you don't want to find your own rings, and don't have any handspun that is thin enough the kits from Beaker Button are lovely. I really like some other experimental ones, which would be a great way to display some beautiful yarns. 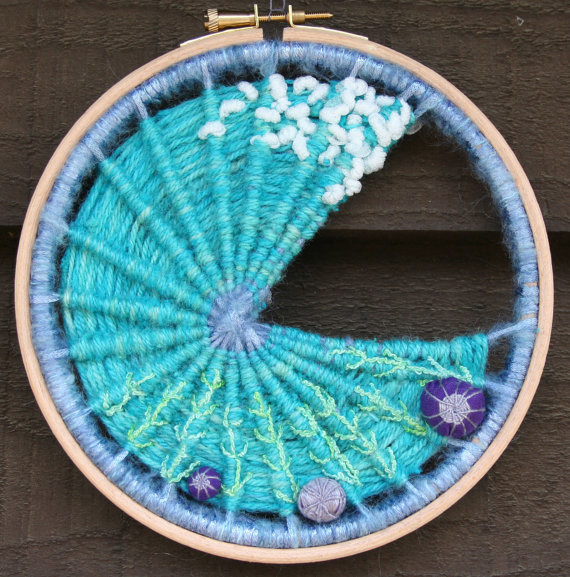 This tutorial isn't for a Dorset Button, but for a way of covering a regular button with yarn, ideal if you need something slightly smaller.
This post is part of my advent calendar 2016. Every day in December we're saying so long to 2016 by embracing learning, knowledge and creativity. Each day there will be a new post with a new skill or craft. You can read all the past posts here. Chain plying, also known as Navajo plying is one of those magical spinning tricks that is a really useful skill to know how to do. It allows you to take a single bobbin of singles and turn it in to a 3-ply yarn. It's great for keeping colours clean while plying, and when done well it's very hard to tell the difference between the yarn structure and a true 3-ply. Like so many, I learned how to do this skill from this wonderful Sarah Anderson video.
The main things when trying to ply using this technique it not to rush! What tends to happen when your hands get in a mess is that your feet start to get faster and faster, which only makes the problem worse. If your hands are struggling, stop treadling, fix the mess, then start treadling again. It's worth practising your wheel control, learn where to stop the treadles so you can start again without using your hand on the drive wheel. At a workshop before I even start teaching this technique I tend to get people to sit at their wheels and find the balance point with their treadles, we go one direction, then switch to the other, the go back the other way. I also tend to get people to start with scrap yarn, just to get a feel for the hand motions. The plyed yarn will of course be unbalanced, but at least you're not wasting precious handspun singles. I like to use a proper lazy kate for this technique. The bobbin storage built in to many wheels makes plying this way harder because you're pulling yarn up from in front of you, and if you're not careful it interferes with what you're trying to do with your hands. Some people swear by one that tensions the bobbins, but I like one that uses gravity to stop the bobbins over-rotating. This Louet one is my personal favourite, it's pricey, but it works beautifully simply (and seems to fit just about every make, Ashford, Schacht, Majacraft, Hansen, Bliss, Kromski). Ideally place your kate on the same side as the hand you hold at the back when you normally ply, place it ever so slightly behind you and the singles can run off in a straight line, which really helps to avoid tangles. I also like to rest my singles before plying this way, you can ply them as soon as you've spun them, but the whole process is easier if you leave them for 24 hours. And of course... if you end up with corkscrews you can always run the yarn back through the wheel to correct your twist. If you can already Chain Ply then I can't recommend Sarah Andersons book; The Spinners Book of Yarn Design. It's my bible when it comes to spinning different kinds of yarns, and every now and again I like to pick a new yarn to spin, just for the sake of learning something new. This post is part of my advent calendar 2016. Every day in December we're saying so long to 2016 by embracing learning, knowledge and creativity. Each day there will be a new post with a new skill or craft. You can read all the past posts here. 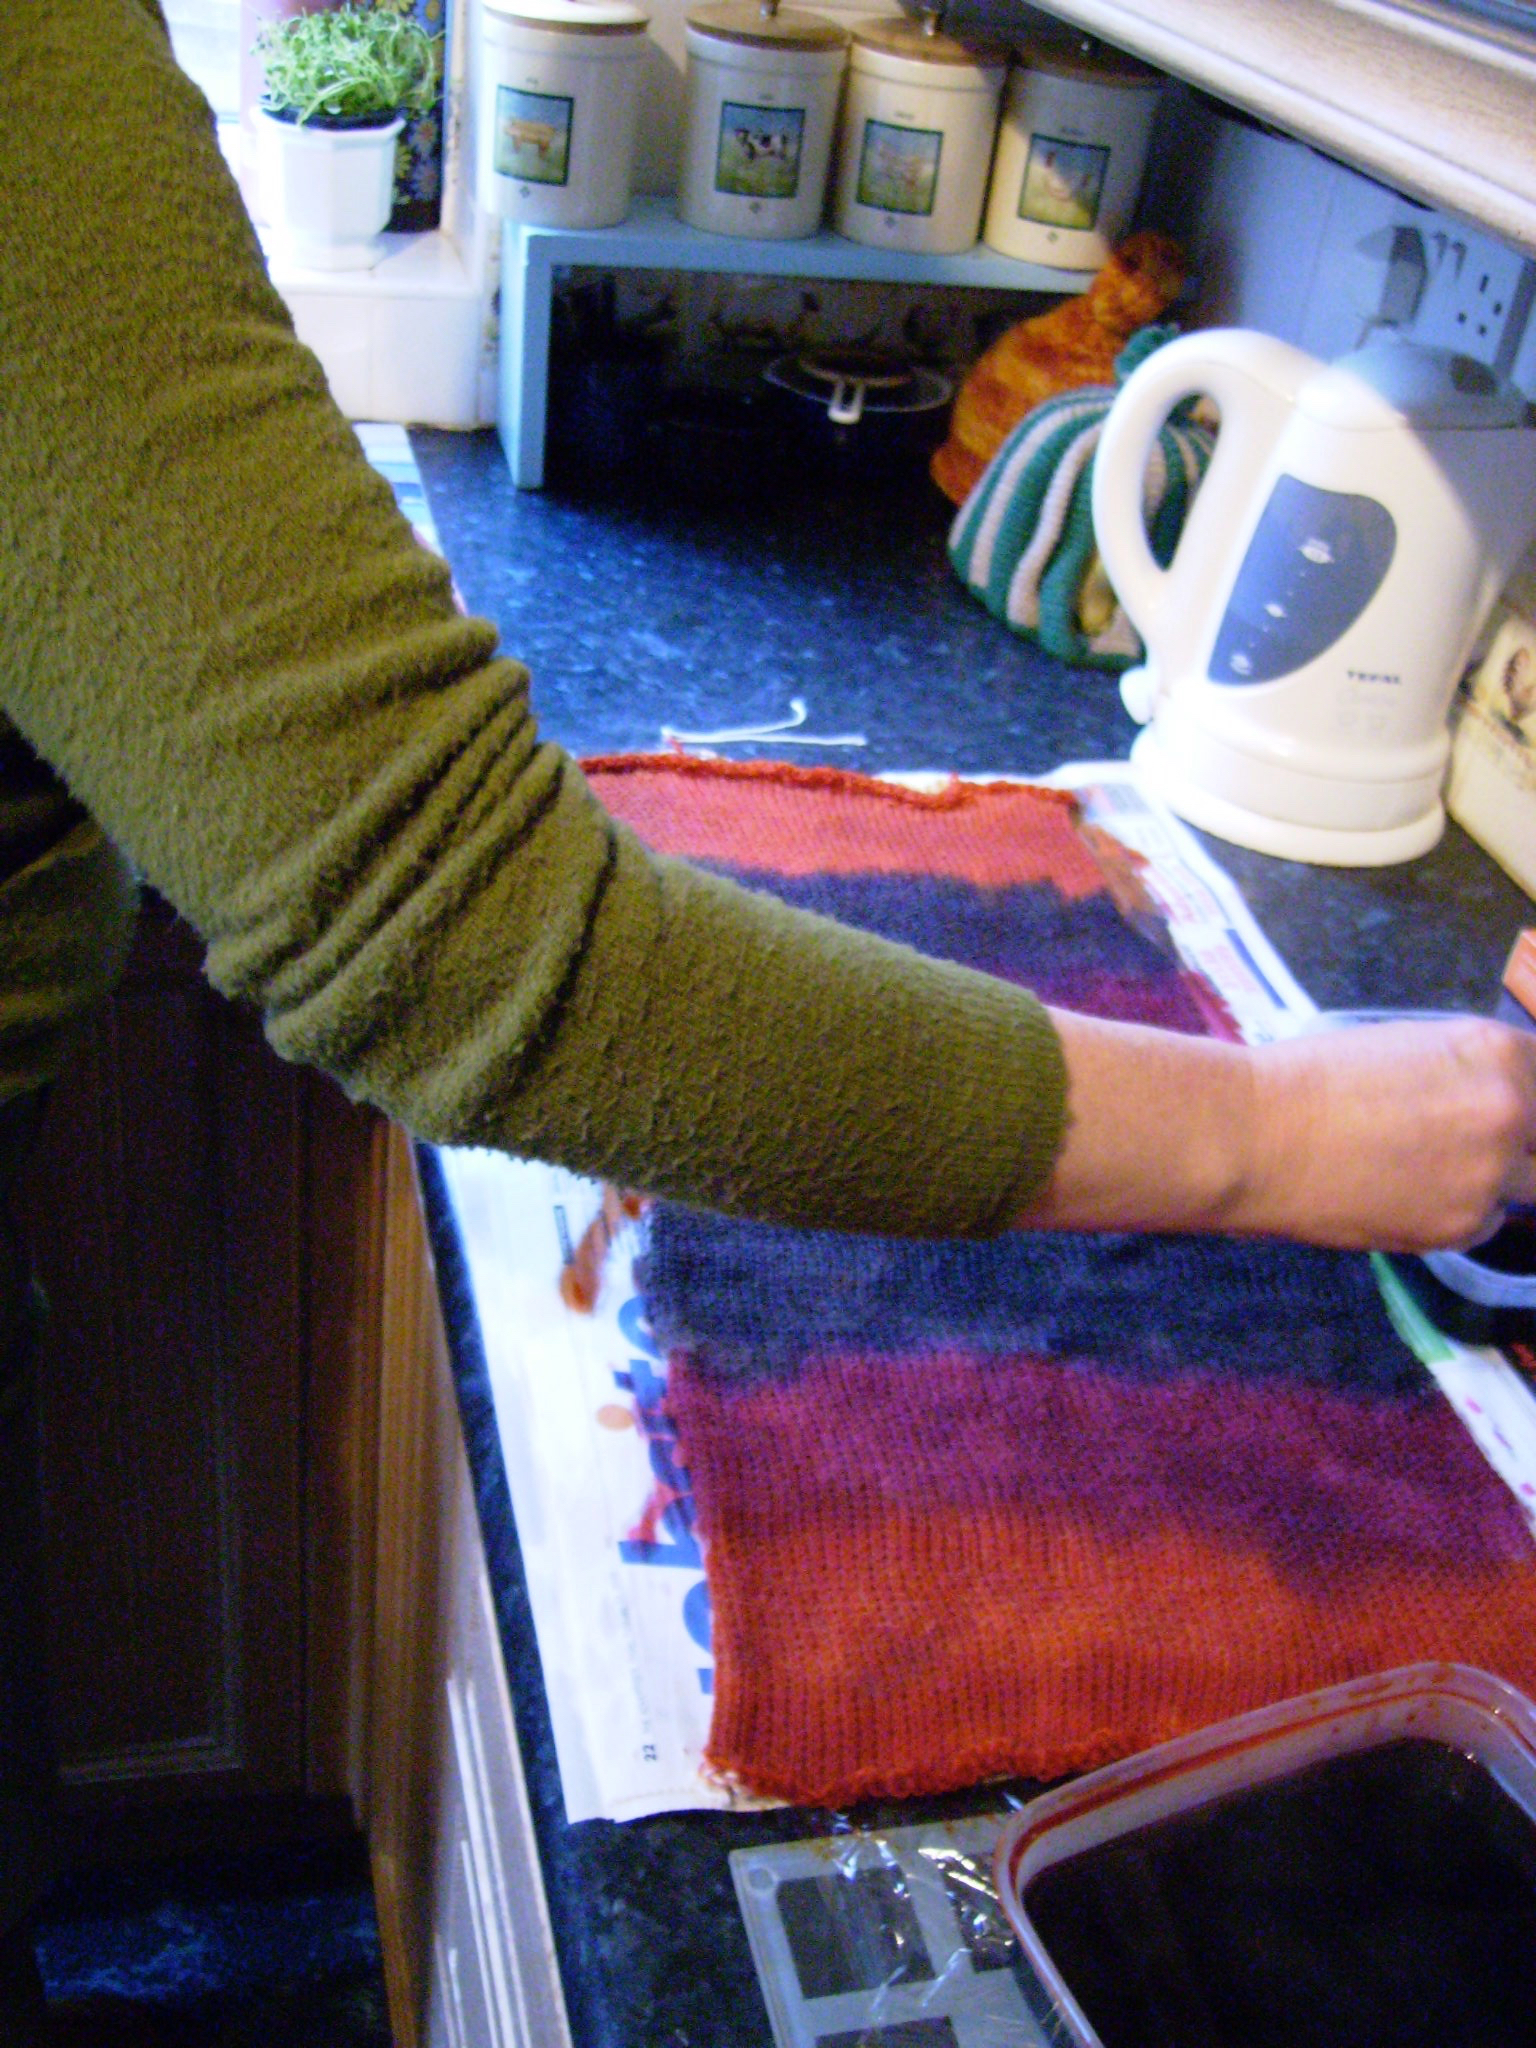 January 2009.
That's when I first dyed wool. This was when Hilltop Cloud was still a long way off. I'd bought a kit for Mum for Christmas, and we had a go at dyeing a sock blank in our kitchen. So for today, I'm going to say have a go at dyeing. It is great fun, and a lovely way to transform the colour of some yarn that you don't like, or to experiment in some undyed yarn. Acid dyes are now incredibly safe and have low toxicity. They are certainly safer than many natural dyes which can be poisonous, carcinogenic, irritants etc. In my opinion, and it is just that, an opinion, I am happier using acid dyes in a domestic setting than I am using natural dyes. Others will disagree... if you like the idea of natural dyeing then the Jenny Dean book, Wild Colour is a great starting point. The acid part in the term acid dye refers to the fact that you need slightly acidic conditions for dye to fix on to the fibres. Most dyers use citric acid (this is the same chemical used in bath bombs, and is what makes lemon juice acidic), splashing it in your eyes will sting, but shouldn't cause any lasting damage. (But at the same time try not to do it, because things in eyes is never a sensible idea!) You can also use vinegar for the same purpose. If you have food colours at home you can use those to dye yarn. This series of blogposts explains how to prepare your yarn, and a variety of methods you can use to fix the colour to the yarn, the microwave is my personal favourite in a home kitchen setting. It's worth saying that dyeing yarn is far less risky than trying to dye fibre, yarn will stand up better to being handled, and you're less likely to felt it. Dyeing fibre is a bit more of a cautious affair, so starting out on yarn teaches you the basics before moving on to fibre. If you do try dyeing at home, read the safety instructions that come with your dyes, they are still chemicals, apply common sense, the same as you would when using household cleaners, or other things that have the potential to cause minor harm. If you don't have food colouring then another fun alternative is to use Kool Aid, this is an American drink powered, where different flavours are different colours. It even has the citric acid already added. You can buy Kool Aid in the UK from DT crafts. I've even done this method in a Youth Hostel kitchen. If Acid Dyes make you twitchy then this is a nice way to get started. Food colouring and Kool Aid are great to play around with, but sometimes it's hard to get the colour you want, and the light fastness, and washability is sometimes not great. If you want a bit more of a professional job then acid dyes are the way to go. This kit from DT Crafts is a great starting point. This post is part of my advent calendar 2016. Every day in December we're saying so long to 2016 by embracing learning, knowledge and creativity. Each day there will be a new post with a new skill or craft. You can read all the past posts here. My Grandad was a great home brewer. He always had some beer on the go, and made some very good, drinkable beer. Dad also does some home brewing, though unlike my Grandad he tends to use the tinned kits rather than work with the grain and hops. For Fathers Day last year thought I did buy him one of these kits. 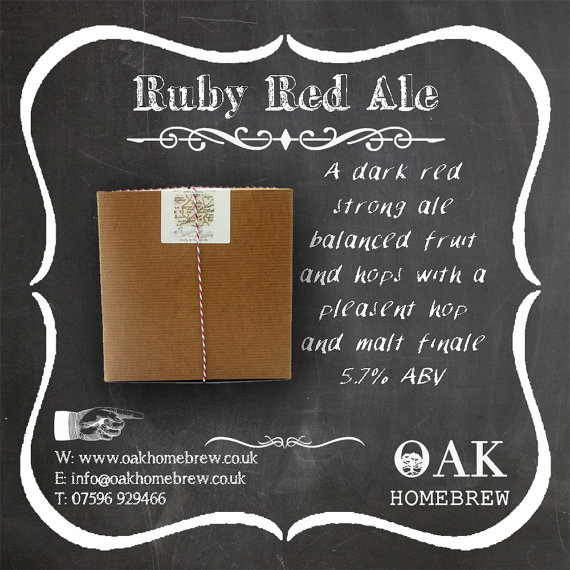 It worked beautifully, and made a lovely tasting pint. You need very little specialist kit to make your own beer, and harnessing the magic of yeast is great fun.
At worst it makes you appreciate all the great small scale breweries that are popping up, making great beer is a real art form. This post is part of my advent calendar 2016. Every day in December we're saying so long to 2016 by embracing learning, knowledge and creativity. Each day there will be a new post with a new skill or craft. You can read all the past posts here. |
Archives
January 2024
Categories
All
 |
 RSS Feed
Hilltop CloudHilltop Cloud- Spin Different
Beautiful fibre you'll love to work with. Established 2011 VAT Reg- 209 4066 19 Dugoed Bach, Mallwyd, Machynlleth,
Powys, SY20 9HR |
|
